Part Locations/Parts QuickBooks Online
QuickBooks Online
QuickBooks Online only has two parts locations, they are:
- Inventory
- Non-Inventory
To sync your part locations from QB to HQ, follow these steps:
-
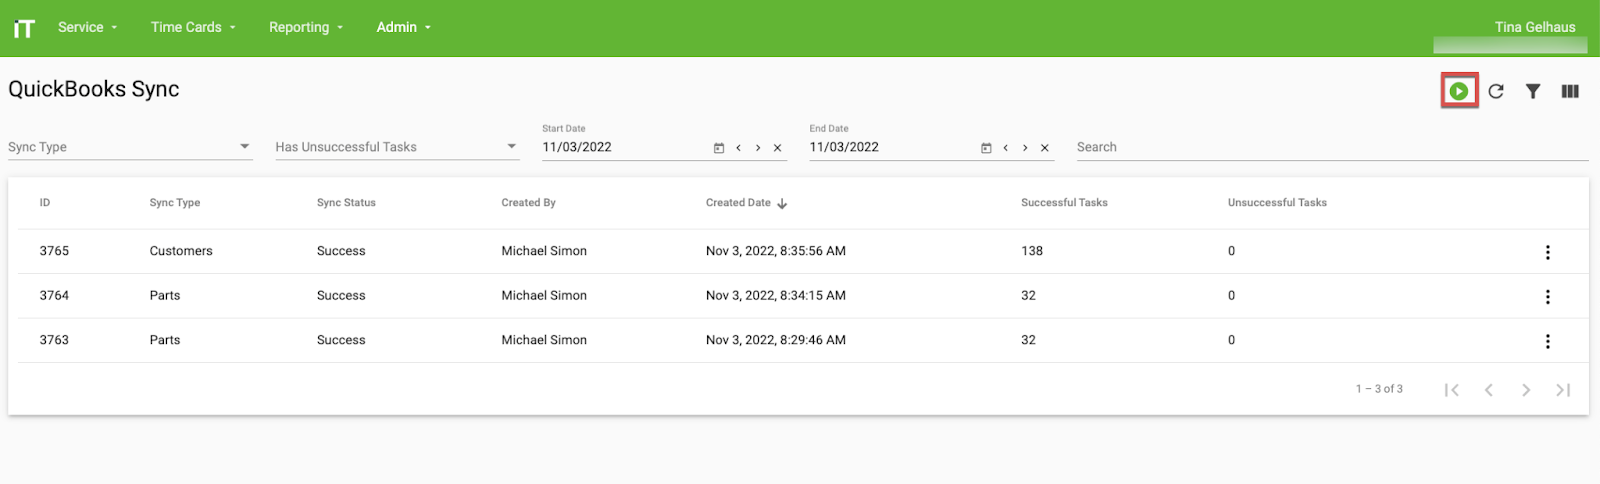
In HQ, go to Admin/Quickbooks Sync.
-
At the top, right corner click the [Play] button.
-
Check the box next to Parts, then click [Run].
-
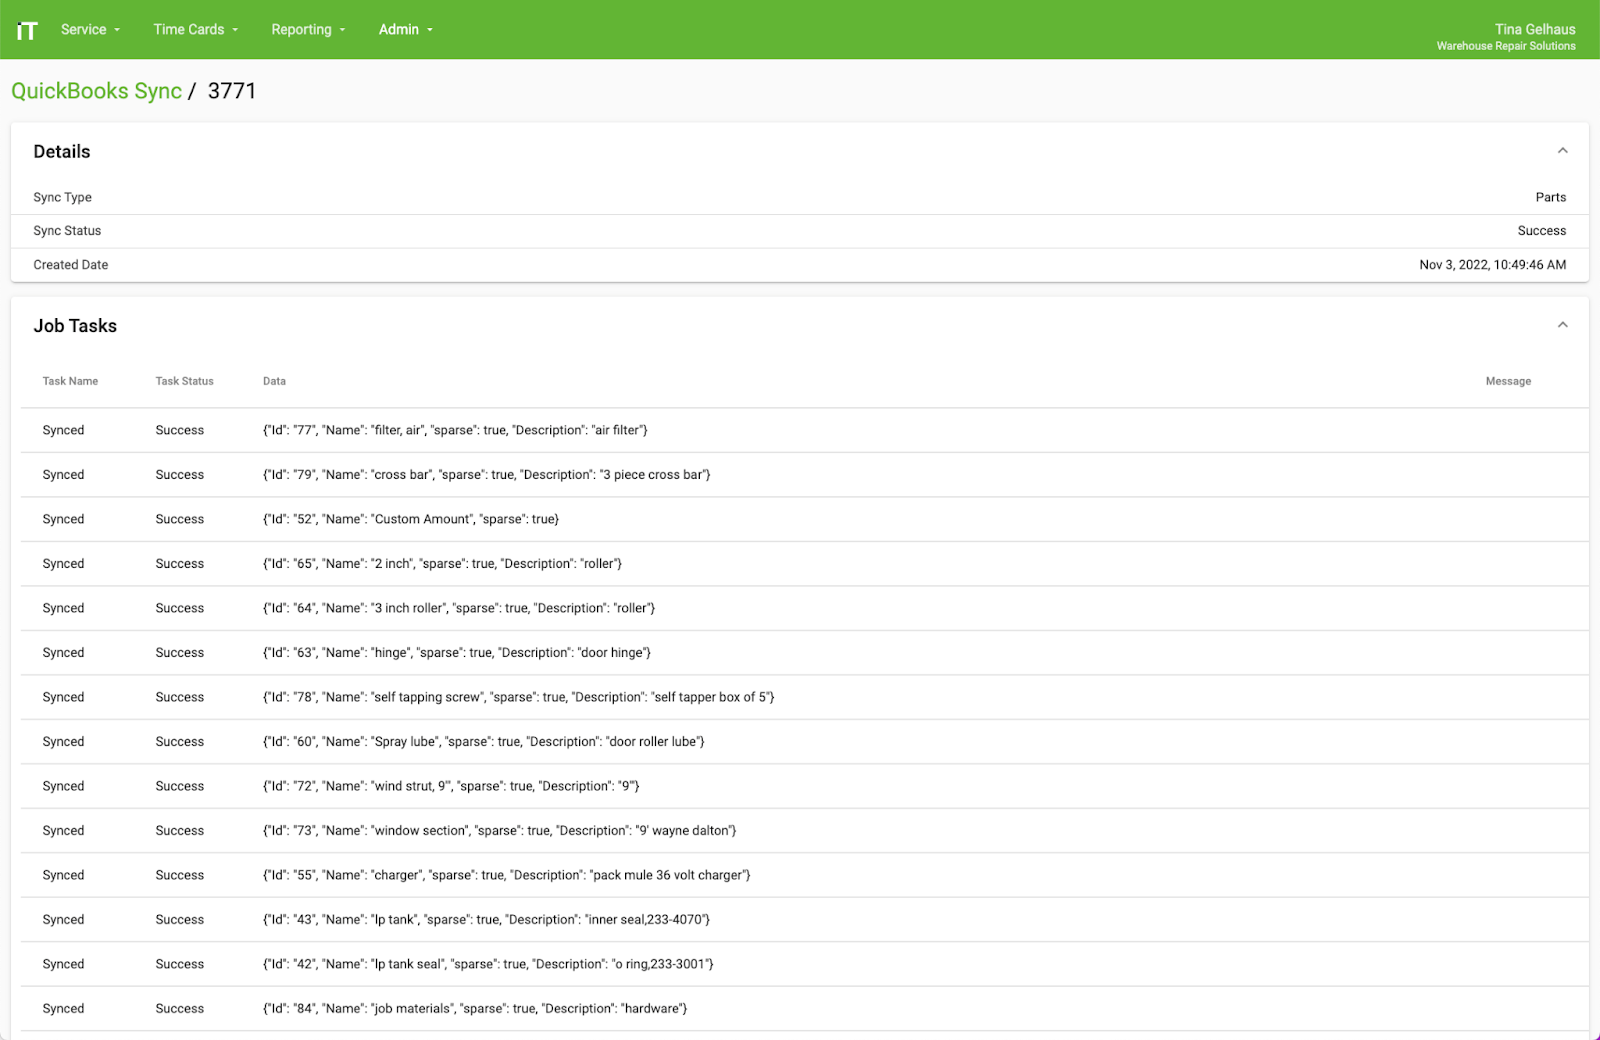
For any unsuccessful tasks, go into the details of the Sync. Click the three vertical dots, then click [Details].
-
You will need to find the tasks that were unsuccessful to determine why it couldn’t be uploaded into HQ (i.e the part doesn’t have a description). You will need to fix whatever it is in QB, remember QB is always the primary.
-
Once you have the fixes completed, you can re-run the part sync process.


QuickBooks Desktop
Part Locations/Parts
When a new part location (i.e., a new van location) is added in QuickBooks the part location must be manually created in HQ in Admin/Parts Locations before parts can be synchronized. IMPORTANT: The Company Reference field must match exactly what is in QB. Click here to learn more.
To sync parts, the QuickBooks Next Gen Agent should be installed on anyone’s computer that is involved in invoicing, creating new customer accounts in QuickBooks and/or those who create Parts in QuickBooks. To run the sync follow the below steps:
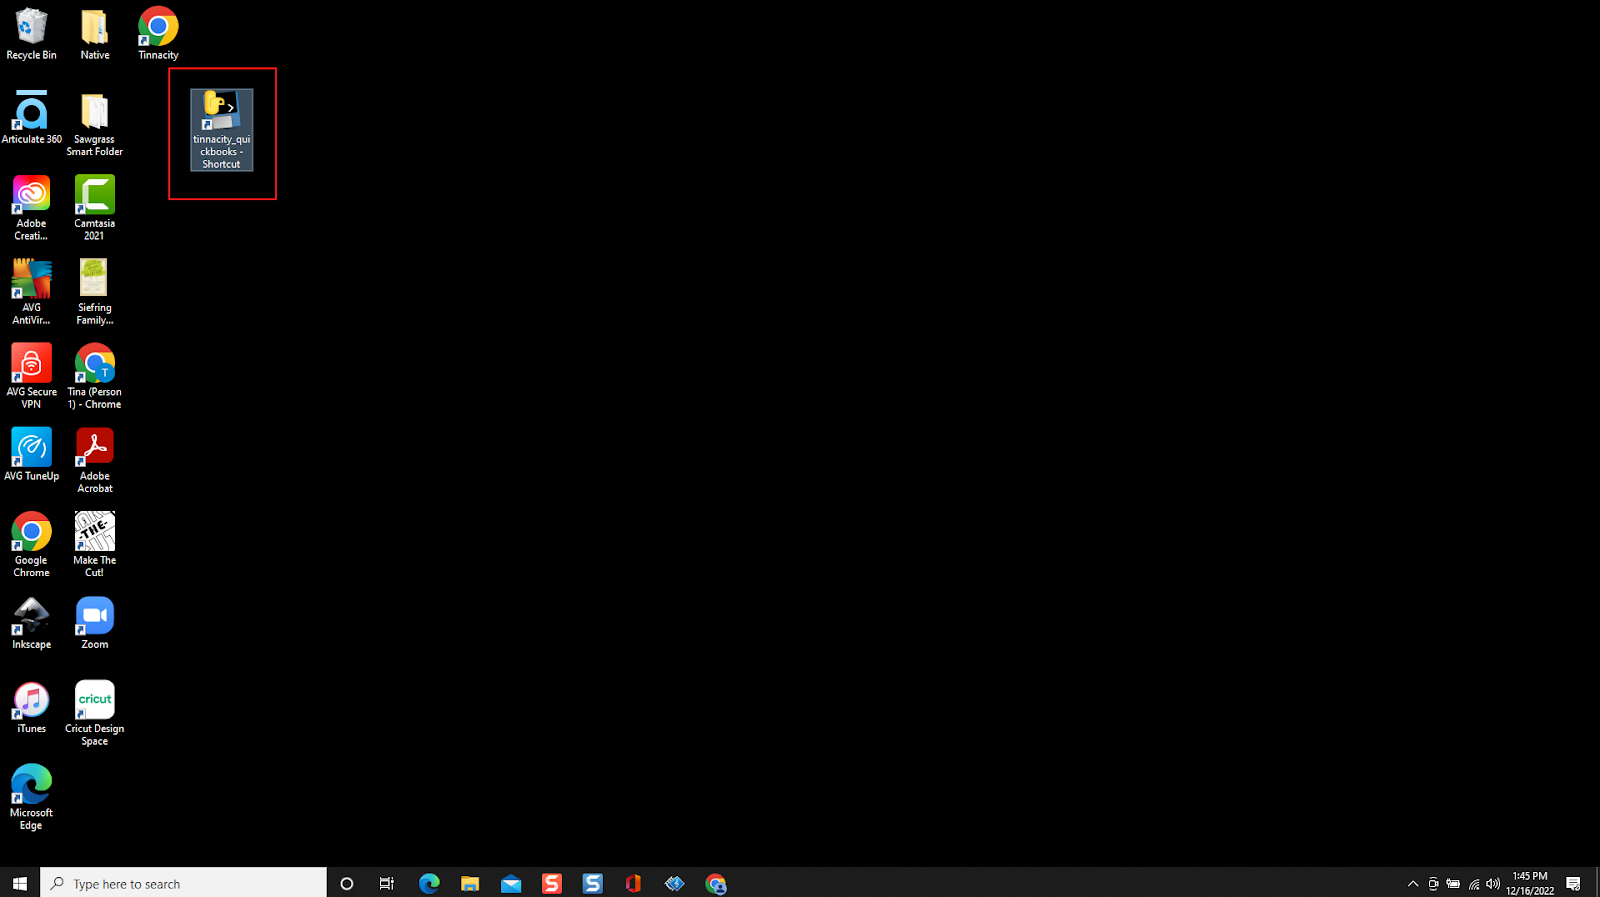
- On your desktop, locate and double-click the tinnacity_quickbooks agent shortcut.