Roles
Our new Custom Roles feature allows for granular control over access within Tinnacity's HQ, ensuring users only have permissions truly necessary for their duties. This upgrade eliminates the need to grant broad administrative access for specific tasks. For example, instead of requiring the full Admin role just to manage equipment, you can now create a custom role limited solely to the 'Equipment' option within the Admin menu. This precise control prevents unnecessary read, update, or create access, maintaining security and granting access only where essential.
With the new role successfully created, the final step is to assign it. Go to Admin > Users to select and apply this role to the appropriate staff members.
Note: Roles without 'View' permissions will automatically disable the applicable Tinnacity Green breadcrumbs.
IMPORTANT: Custom Roles is currently an opt-in feature that requires activation by Tinnacity. If you wish to enable this functionality for your account, please submit your request to help@tinnacity.
To create a custom role, follow the below steps:
-
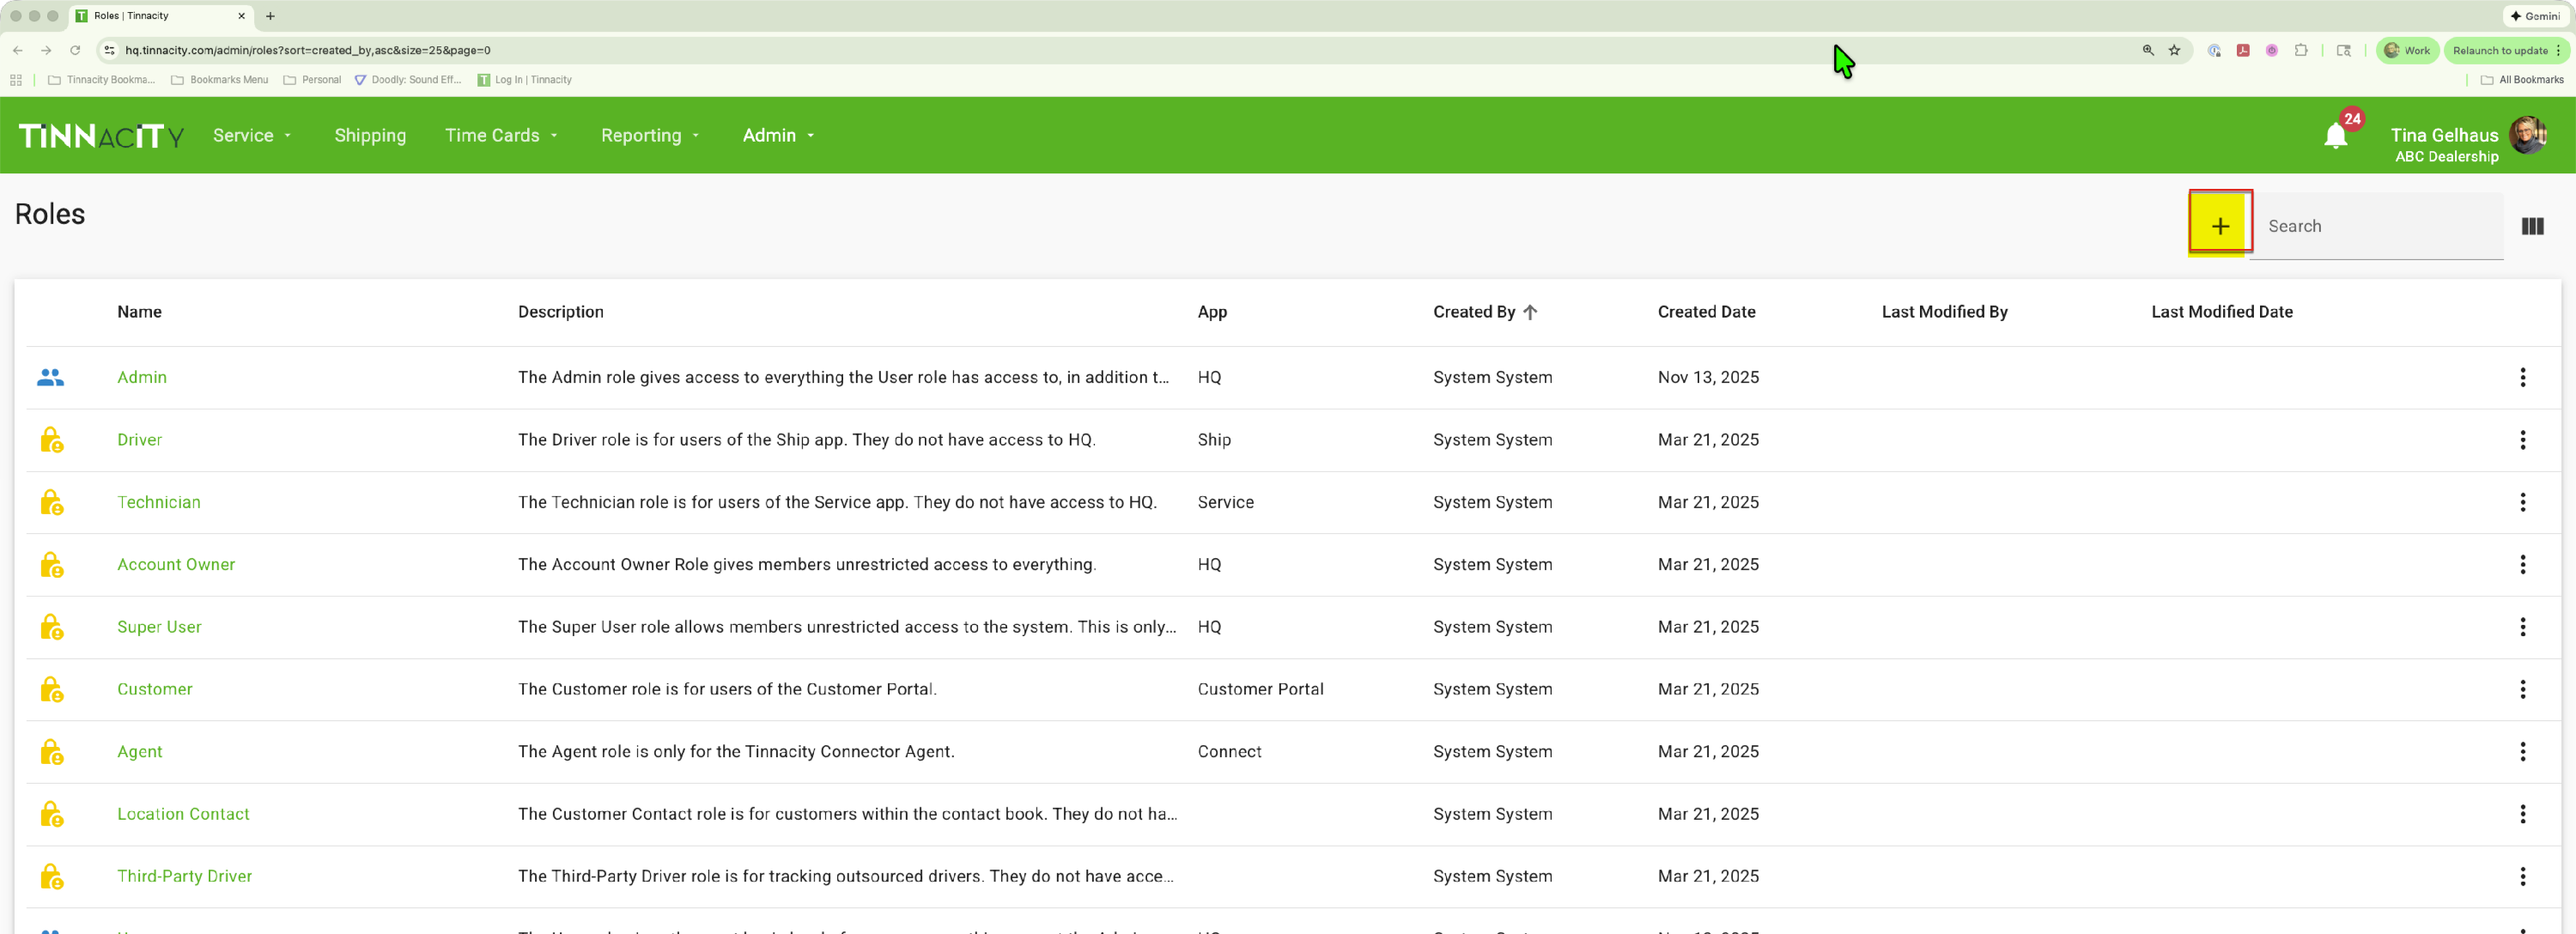
To begin creating a new role, navigate to HQ > Admin > Roles, and then click the ‘+’ icon."
-
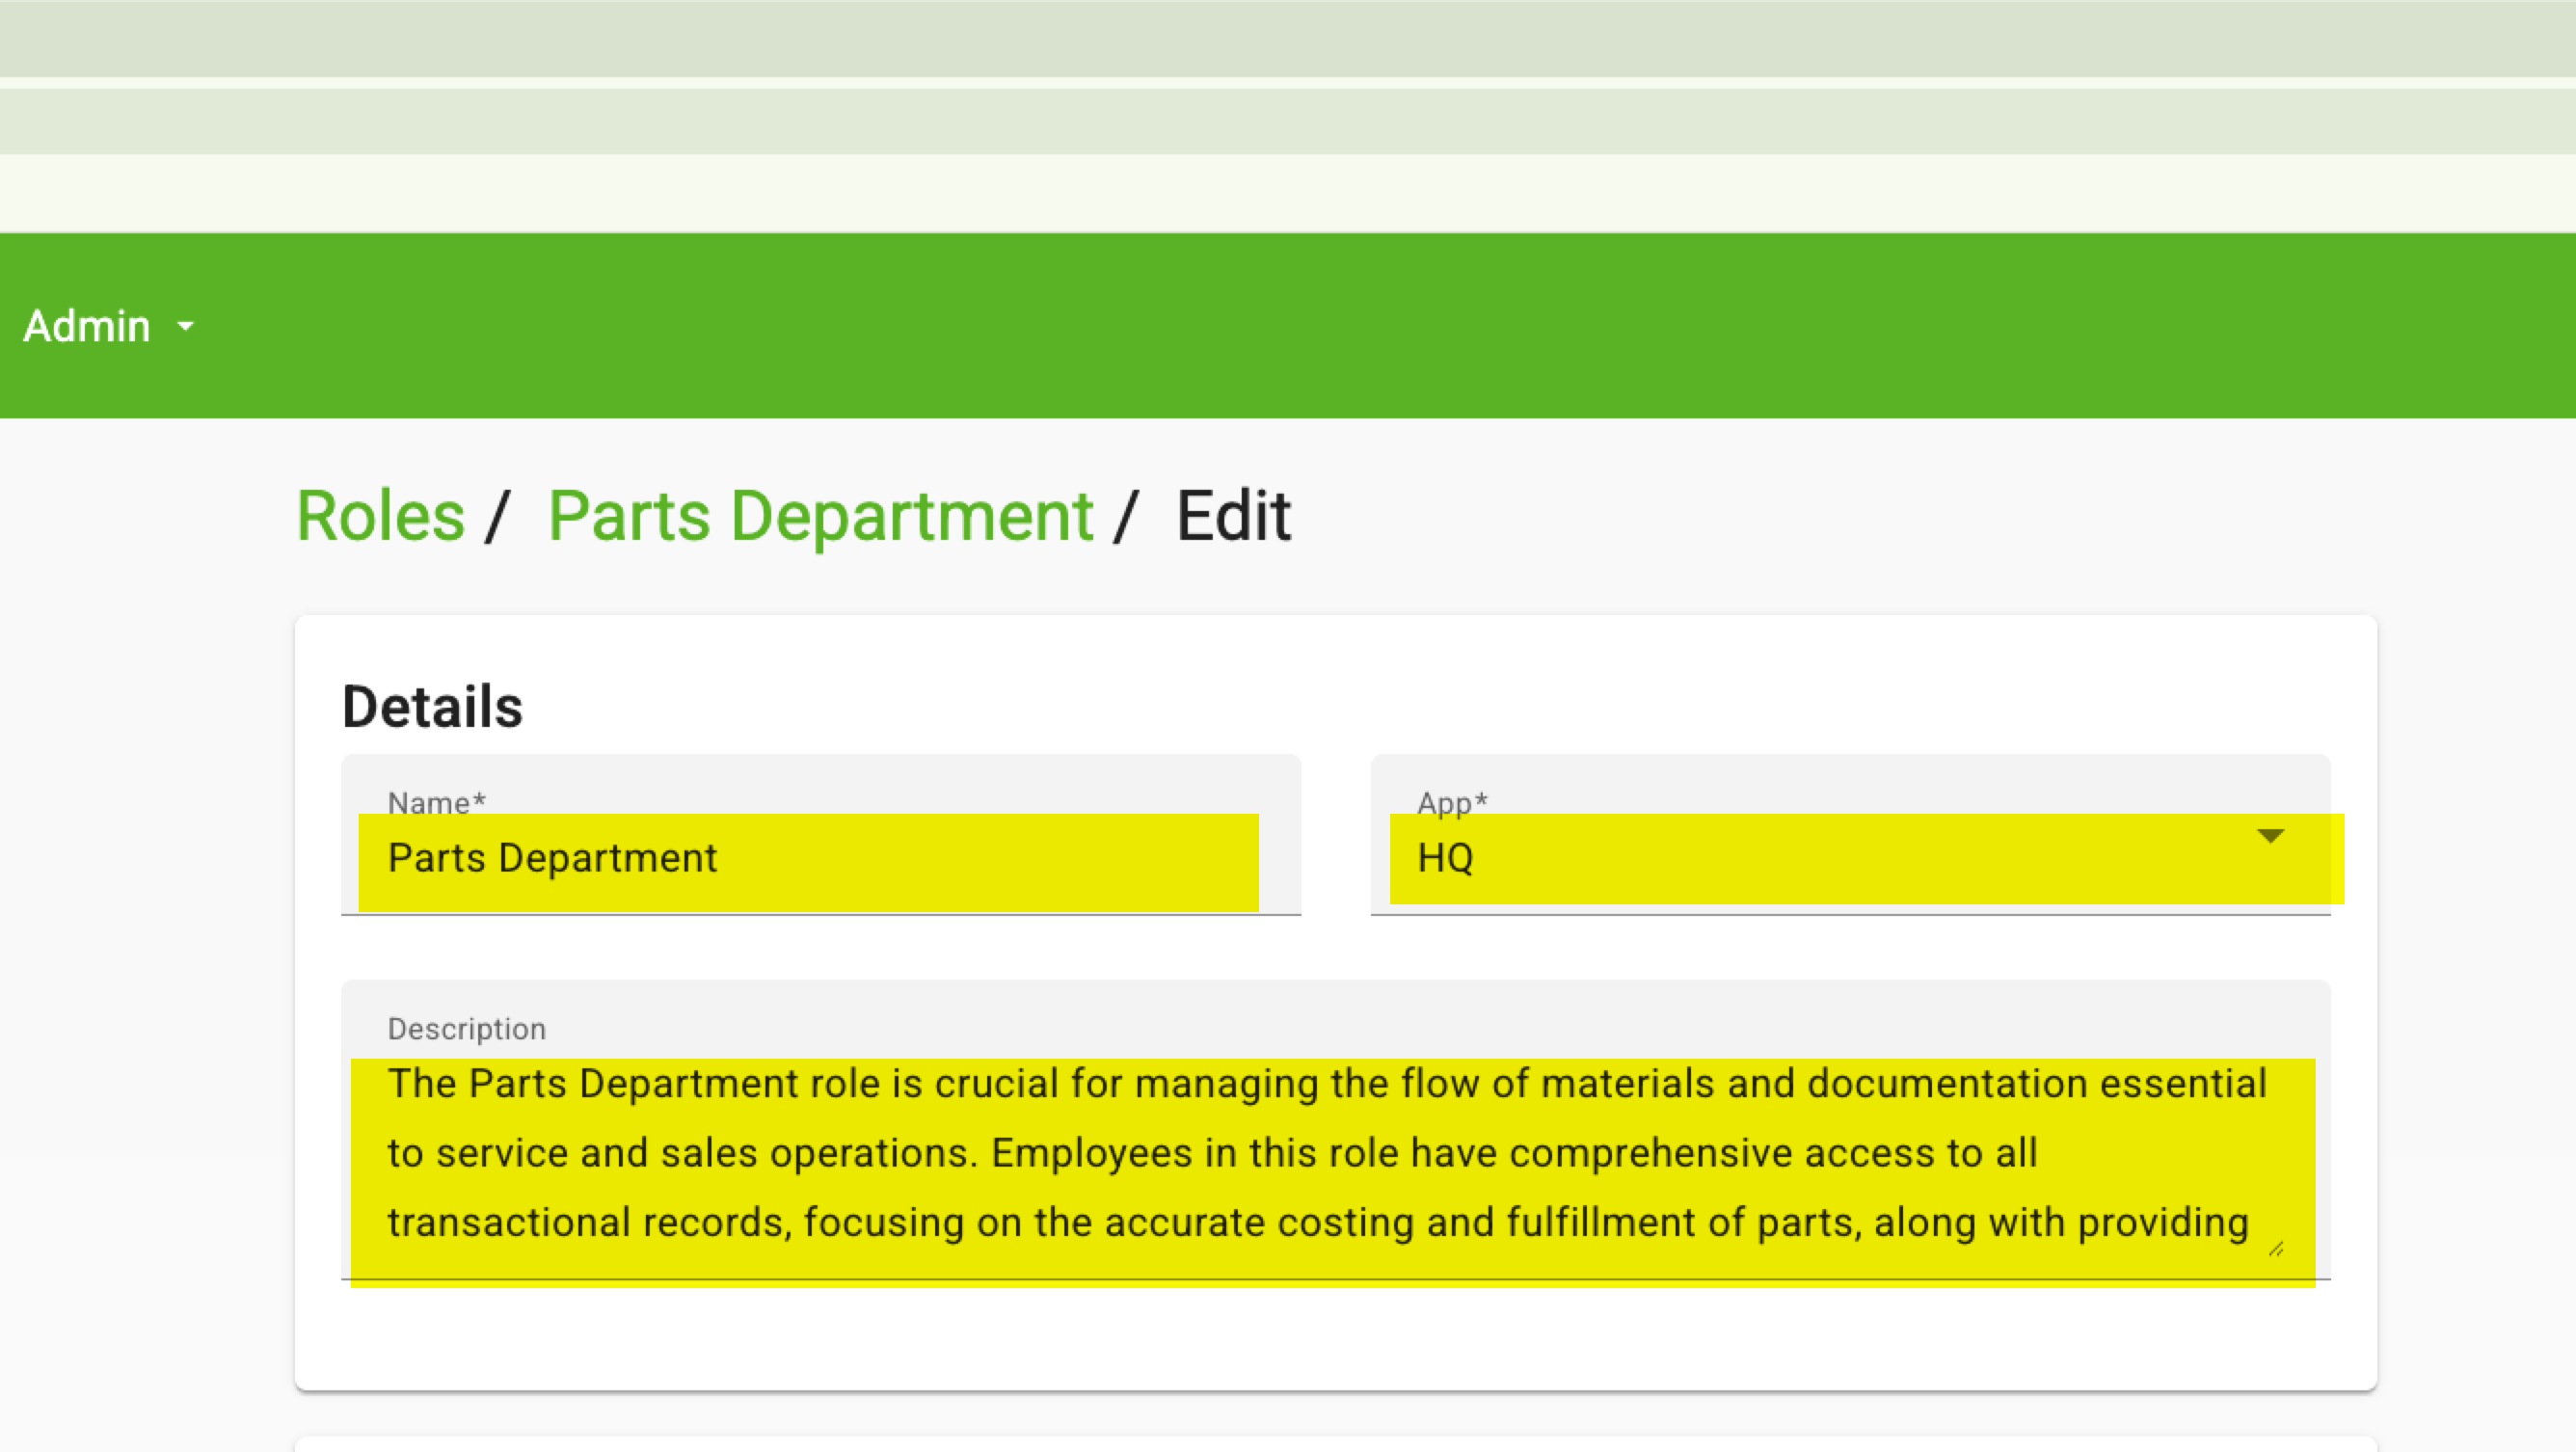
To begin, enter the Role Name, followed by a detailed Description. Being specific in the description is crucial for clearly defining who should be assigned this level of access. Note: The 'App' field currently applies only to HQ access.
-
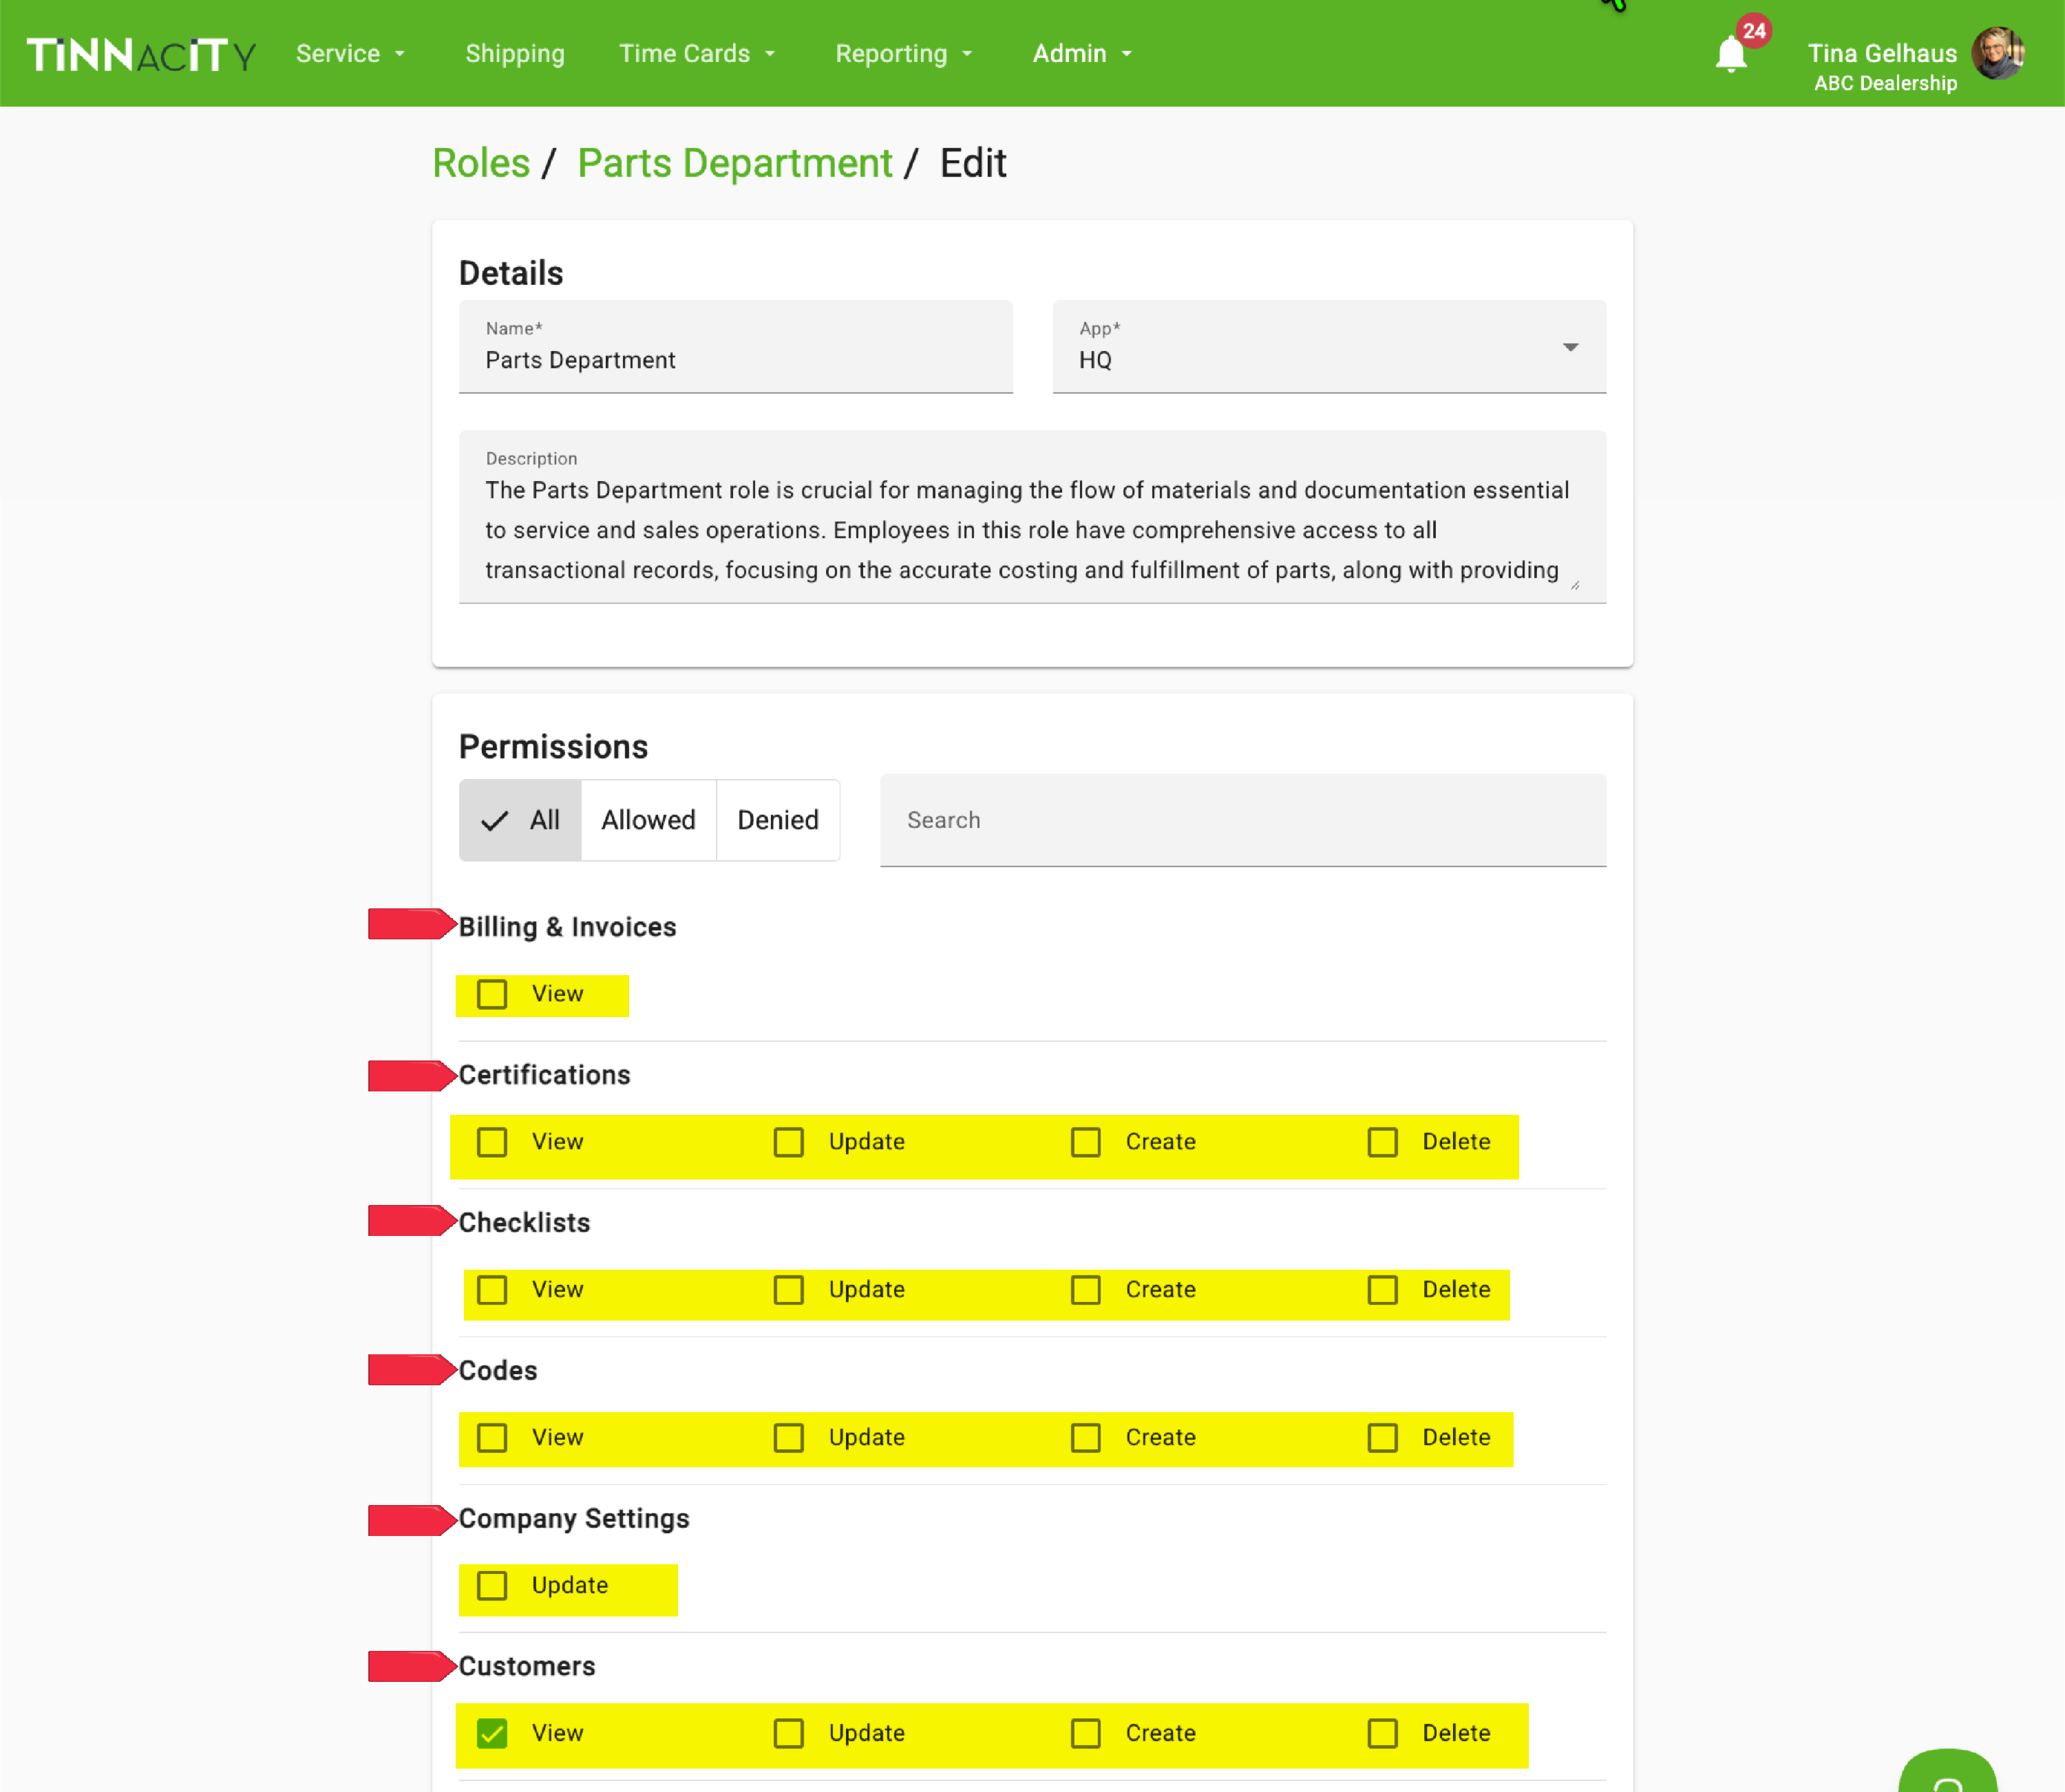
The Permissions section offers granular control by listing each menu option separately. For every option, you can precisely enable or disable View, Update, Create, and Delete permissions, defining exactly what actions this role can perform. Select the relevant permissions.
-
Scroll through the Permissions section to view the full list and set the appropriate permissions for each item, then click [Save].

- With the new role successfully created, the final step is to assign it. Go to Admin > Users to select and apply this role to the appropriate staff members.


