Checklist Answer Options
Custom Checklist Answer Options eliminates a "one-size-fits-all" approach to a more granular, data-driven method for inspections.
There are multiple checklist answer option types to assist with getting a more granular responses from your technicians. They are:
- Canned : Tinnacity's default responses
- Custom: Custom Checklist Answer Options
- Integer: Additional options to set Values below X will be Warning and Values below X will be Urgent.
- The icon that will appear:
- Warning: Orange (orange triangle with an exclamation point)
- Urgent: Red (red circle with an exclamation point)
- The icon that will appear:
- Decimal: Additional options to set Values below X will be Warning and Values below X will be Urgent.
- The icon that will appear:
- Warning: Orange (orange triangle with an exclamation point)
- Urgent: Red (red circle with an exclamation point)
- The icon that will appear:
Checklist Answer Options
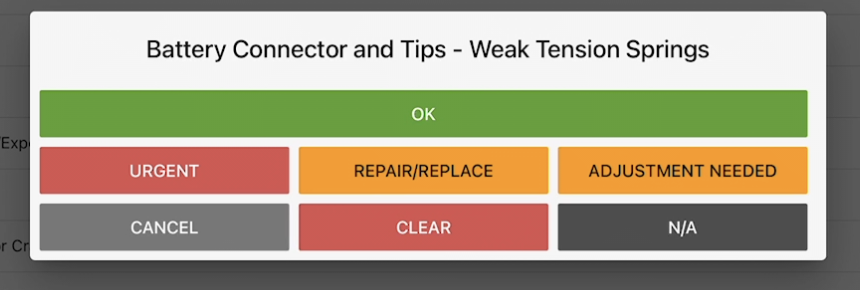
When building your checklist responses, input the text as you want it to appear on the button, then select an Option Level. This level automatically assigns the button's color and the icon that will appear once the question is answered
- OK: Green (no icon)
- Warning: Orange (orange triangle with an exclamation point)
- Urgent: Red (red circle with an exclamation point)
For example, our CANNED responses when a technician answers a checklist questions looks like this:
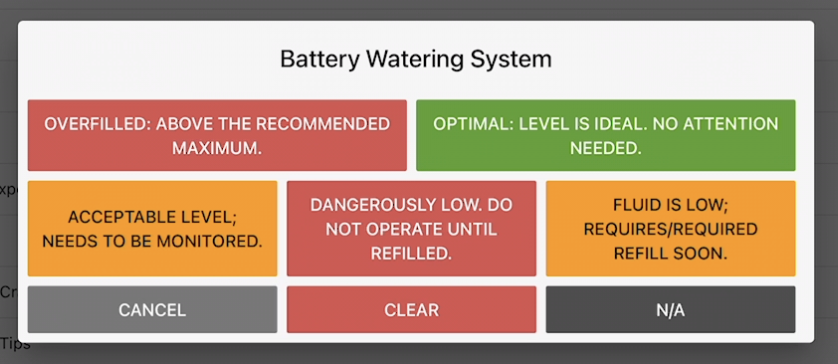
With custom checklist answer options, you can provide more granular checklist answer options. For example, the question is Battery Watering System. The custom checklist answer options can be these:
Define your custom answer sets first; you can then link them to specific checklist questions.
Create Checklist Answer Options
To create a checklist answer option follow the below steps:
-
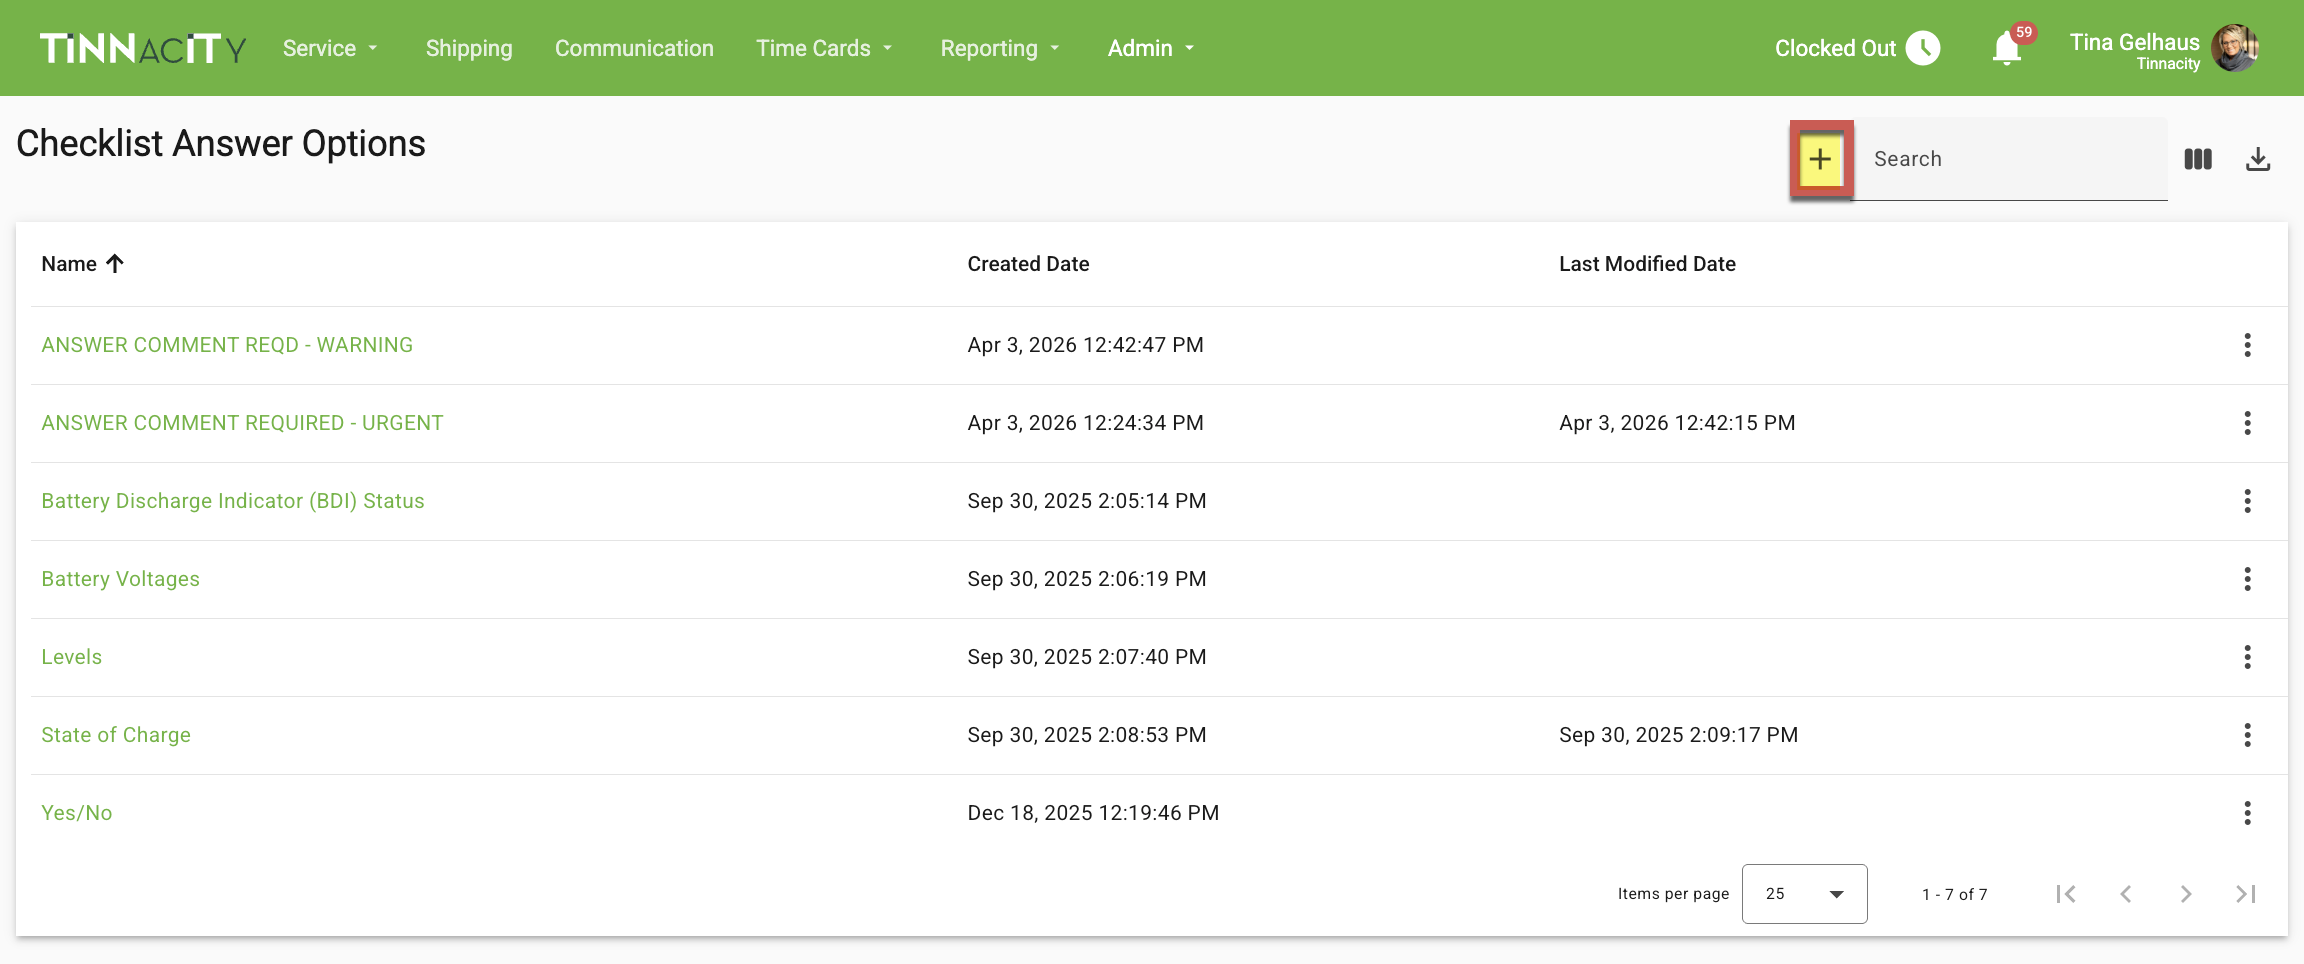
In HQ, go to Admin>Checklist Answer Options. Click the '+' to begin creating the set of options.
-
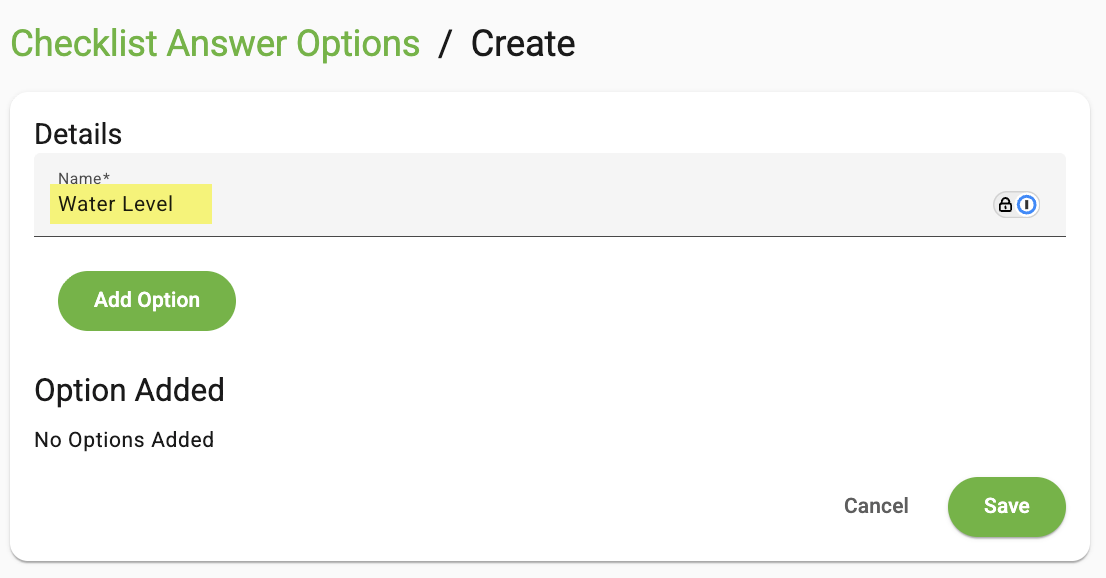
Enter a name for the checklist answer options (e.g., Water Level).
-
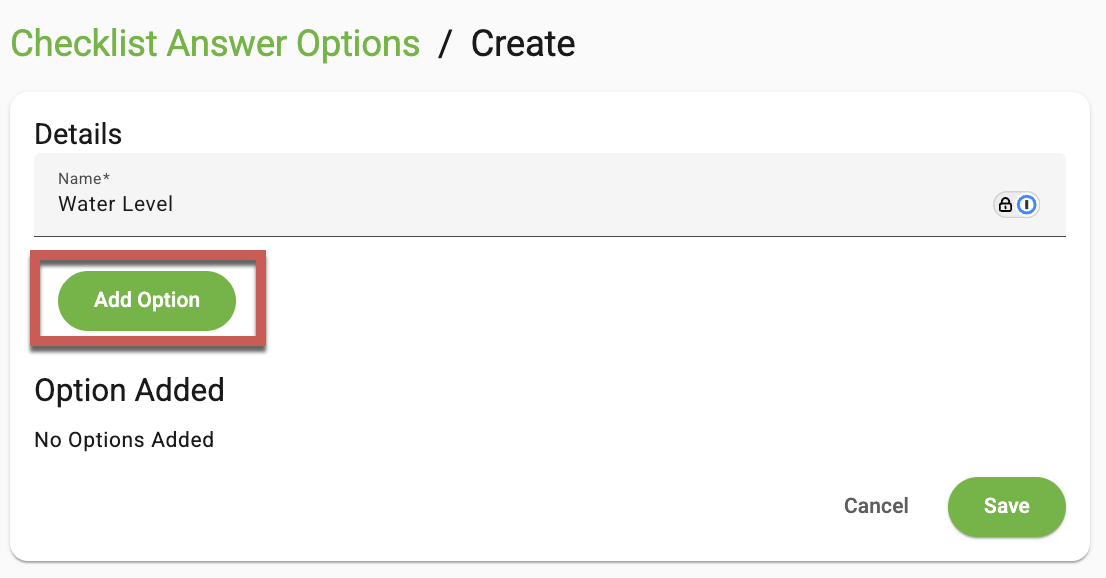
Next, click [Add Option].
-
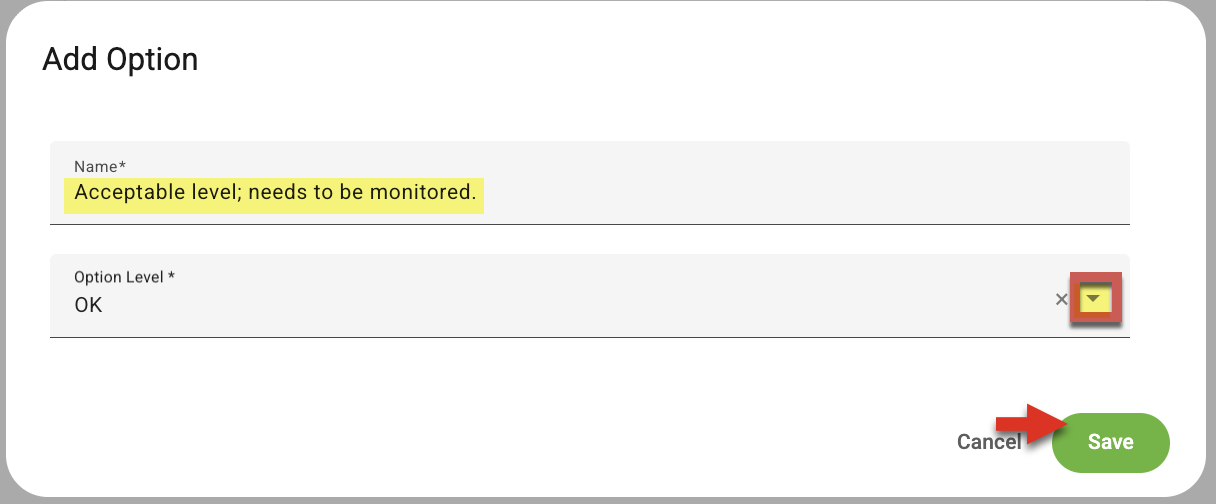
Enter the checklist answer option (e.g., Acceptable level; needs to be monitored). NOTE: This will display as a button option for the technician to select. Next, select the Option Level and click [Save].
-
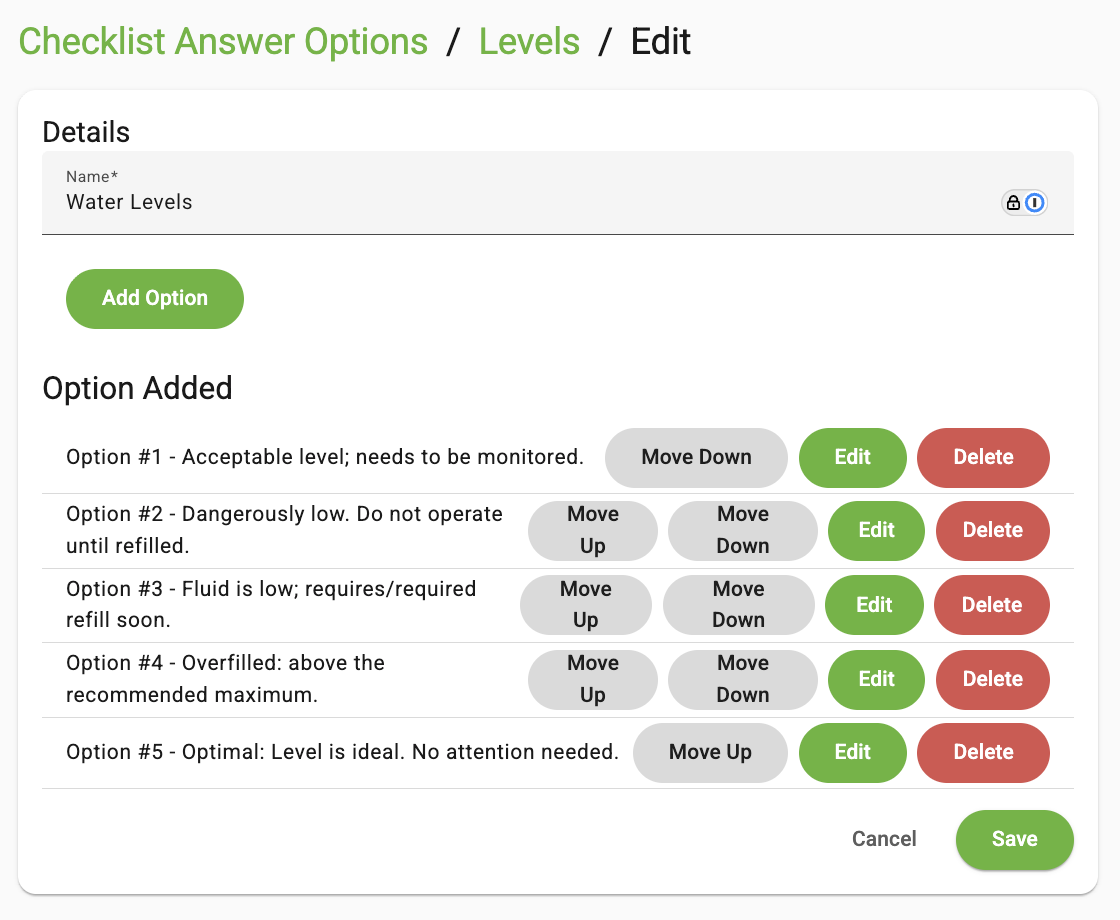
Repeat Steps 3-4 until all options are added. NOTE: The order they are listed is the order the button options will display to the technician.


Assign Checklist Answer Option to a Checklist Question
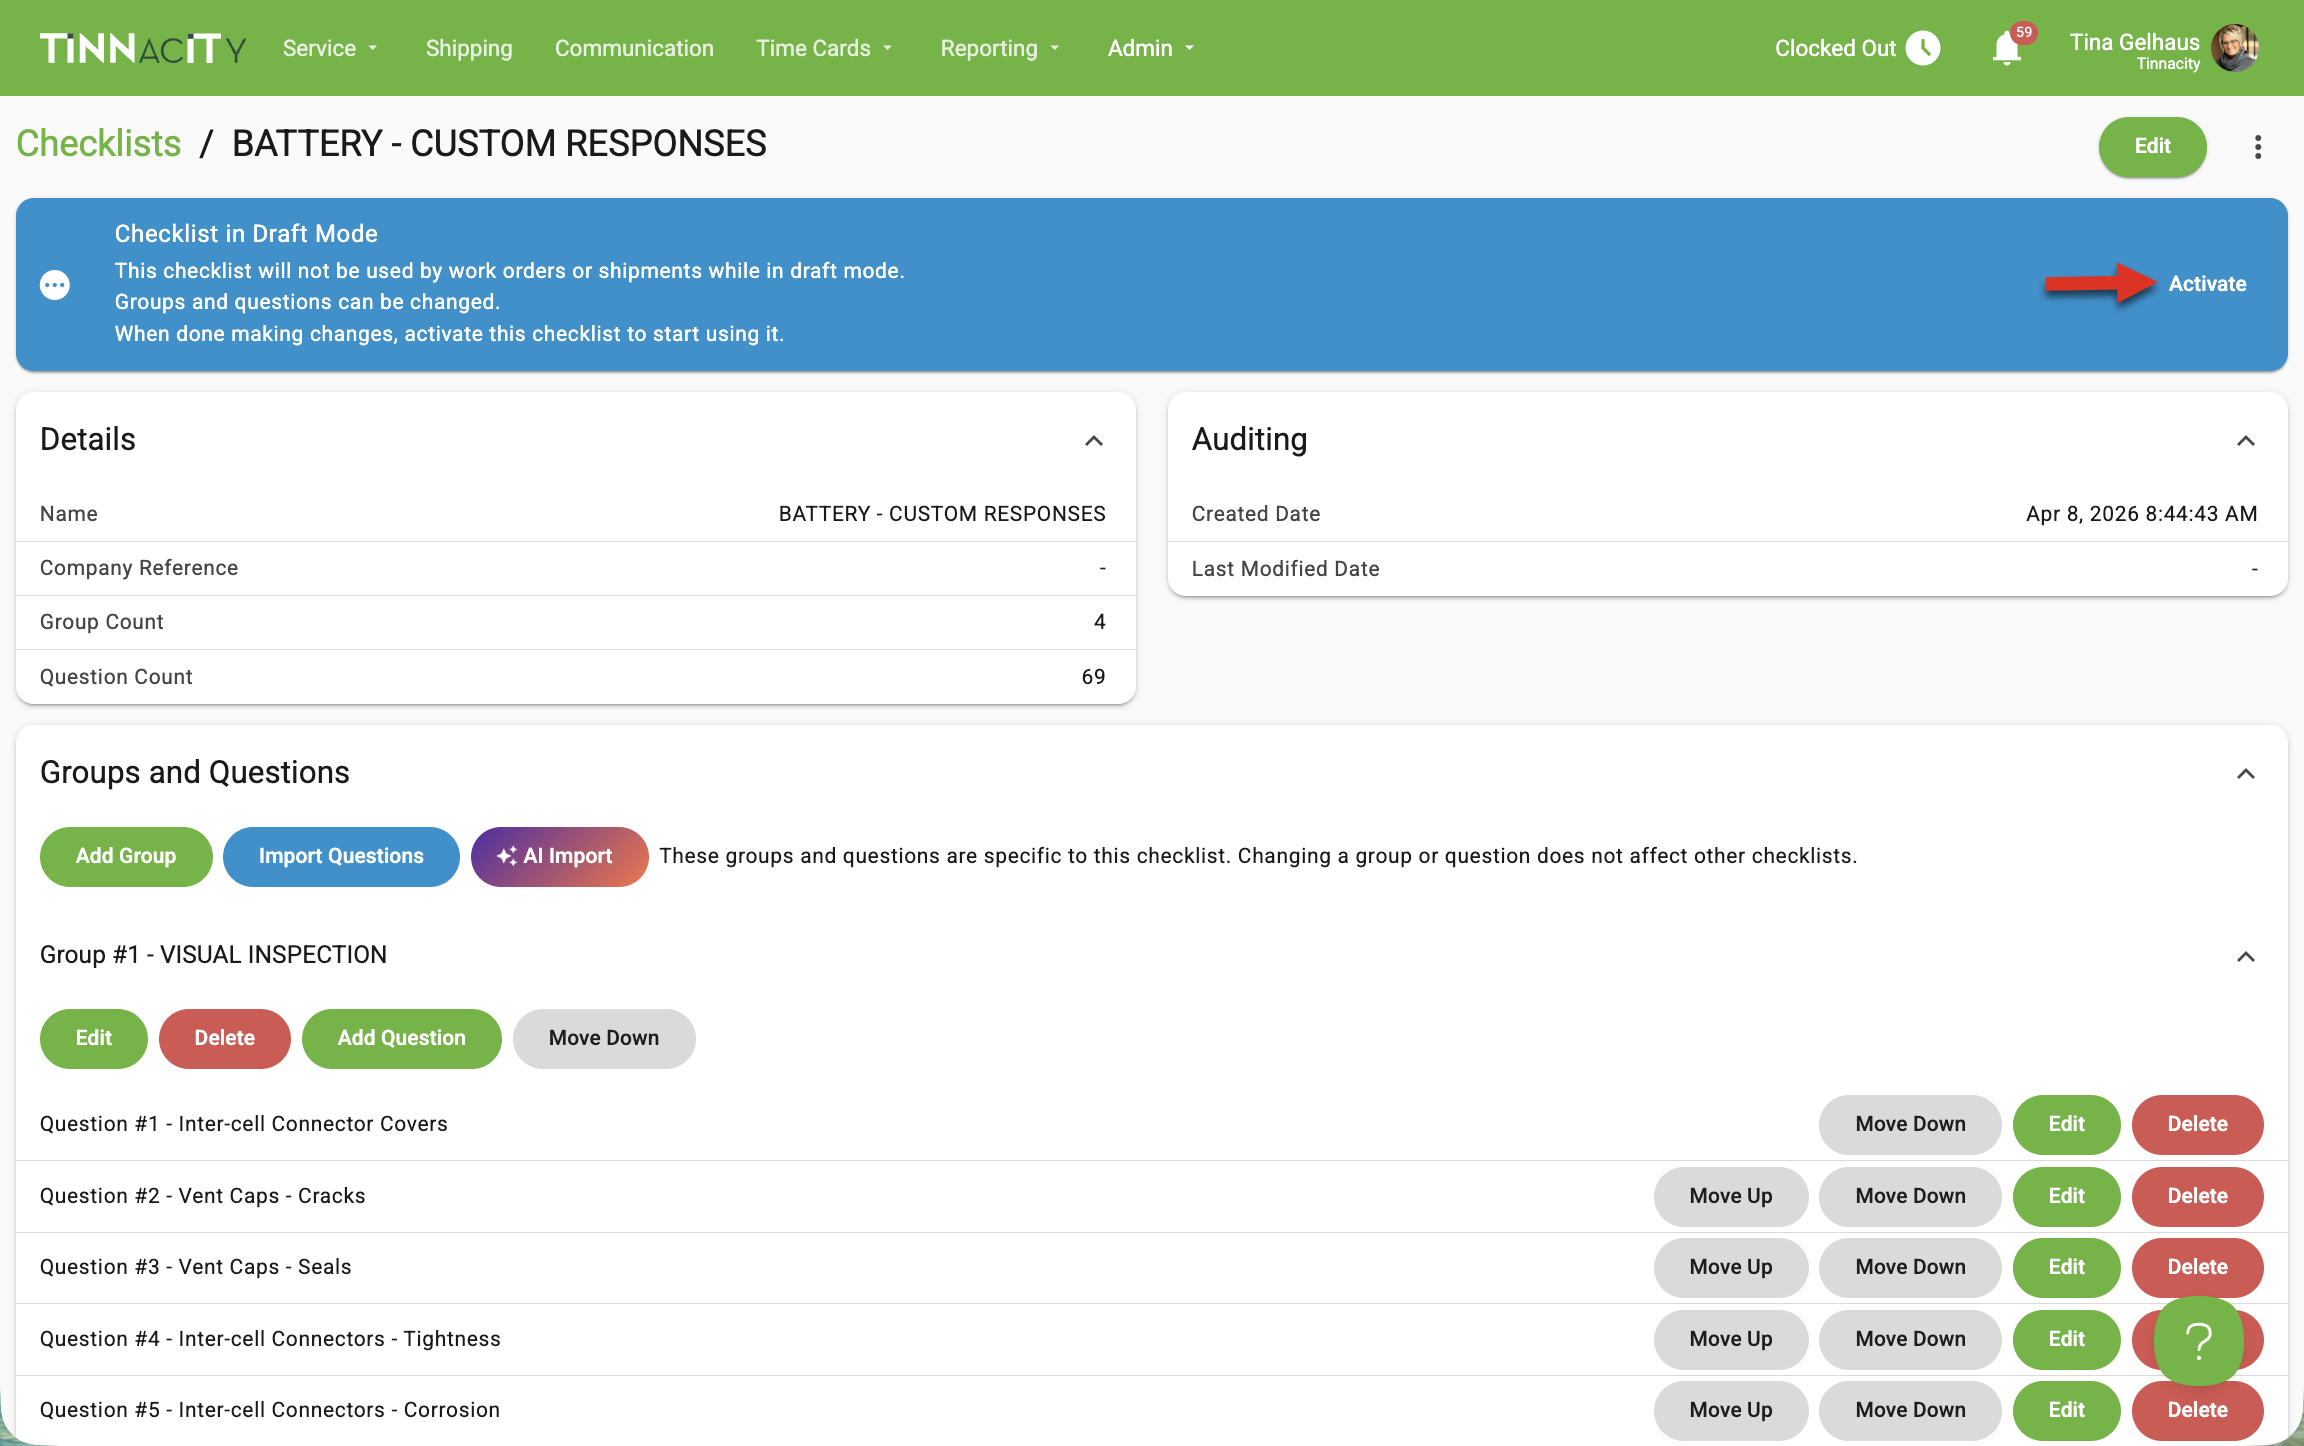
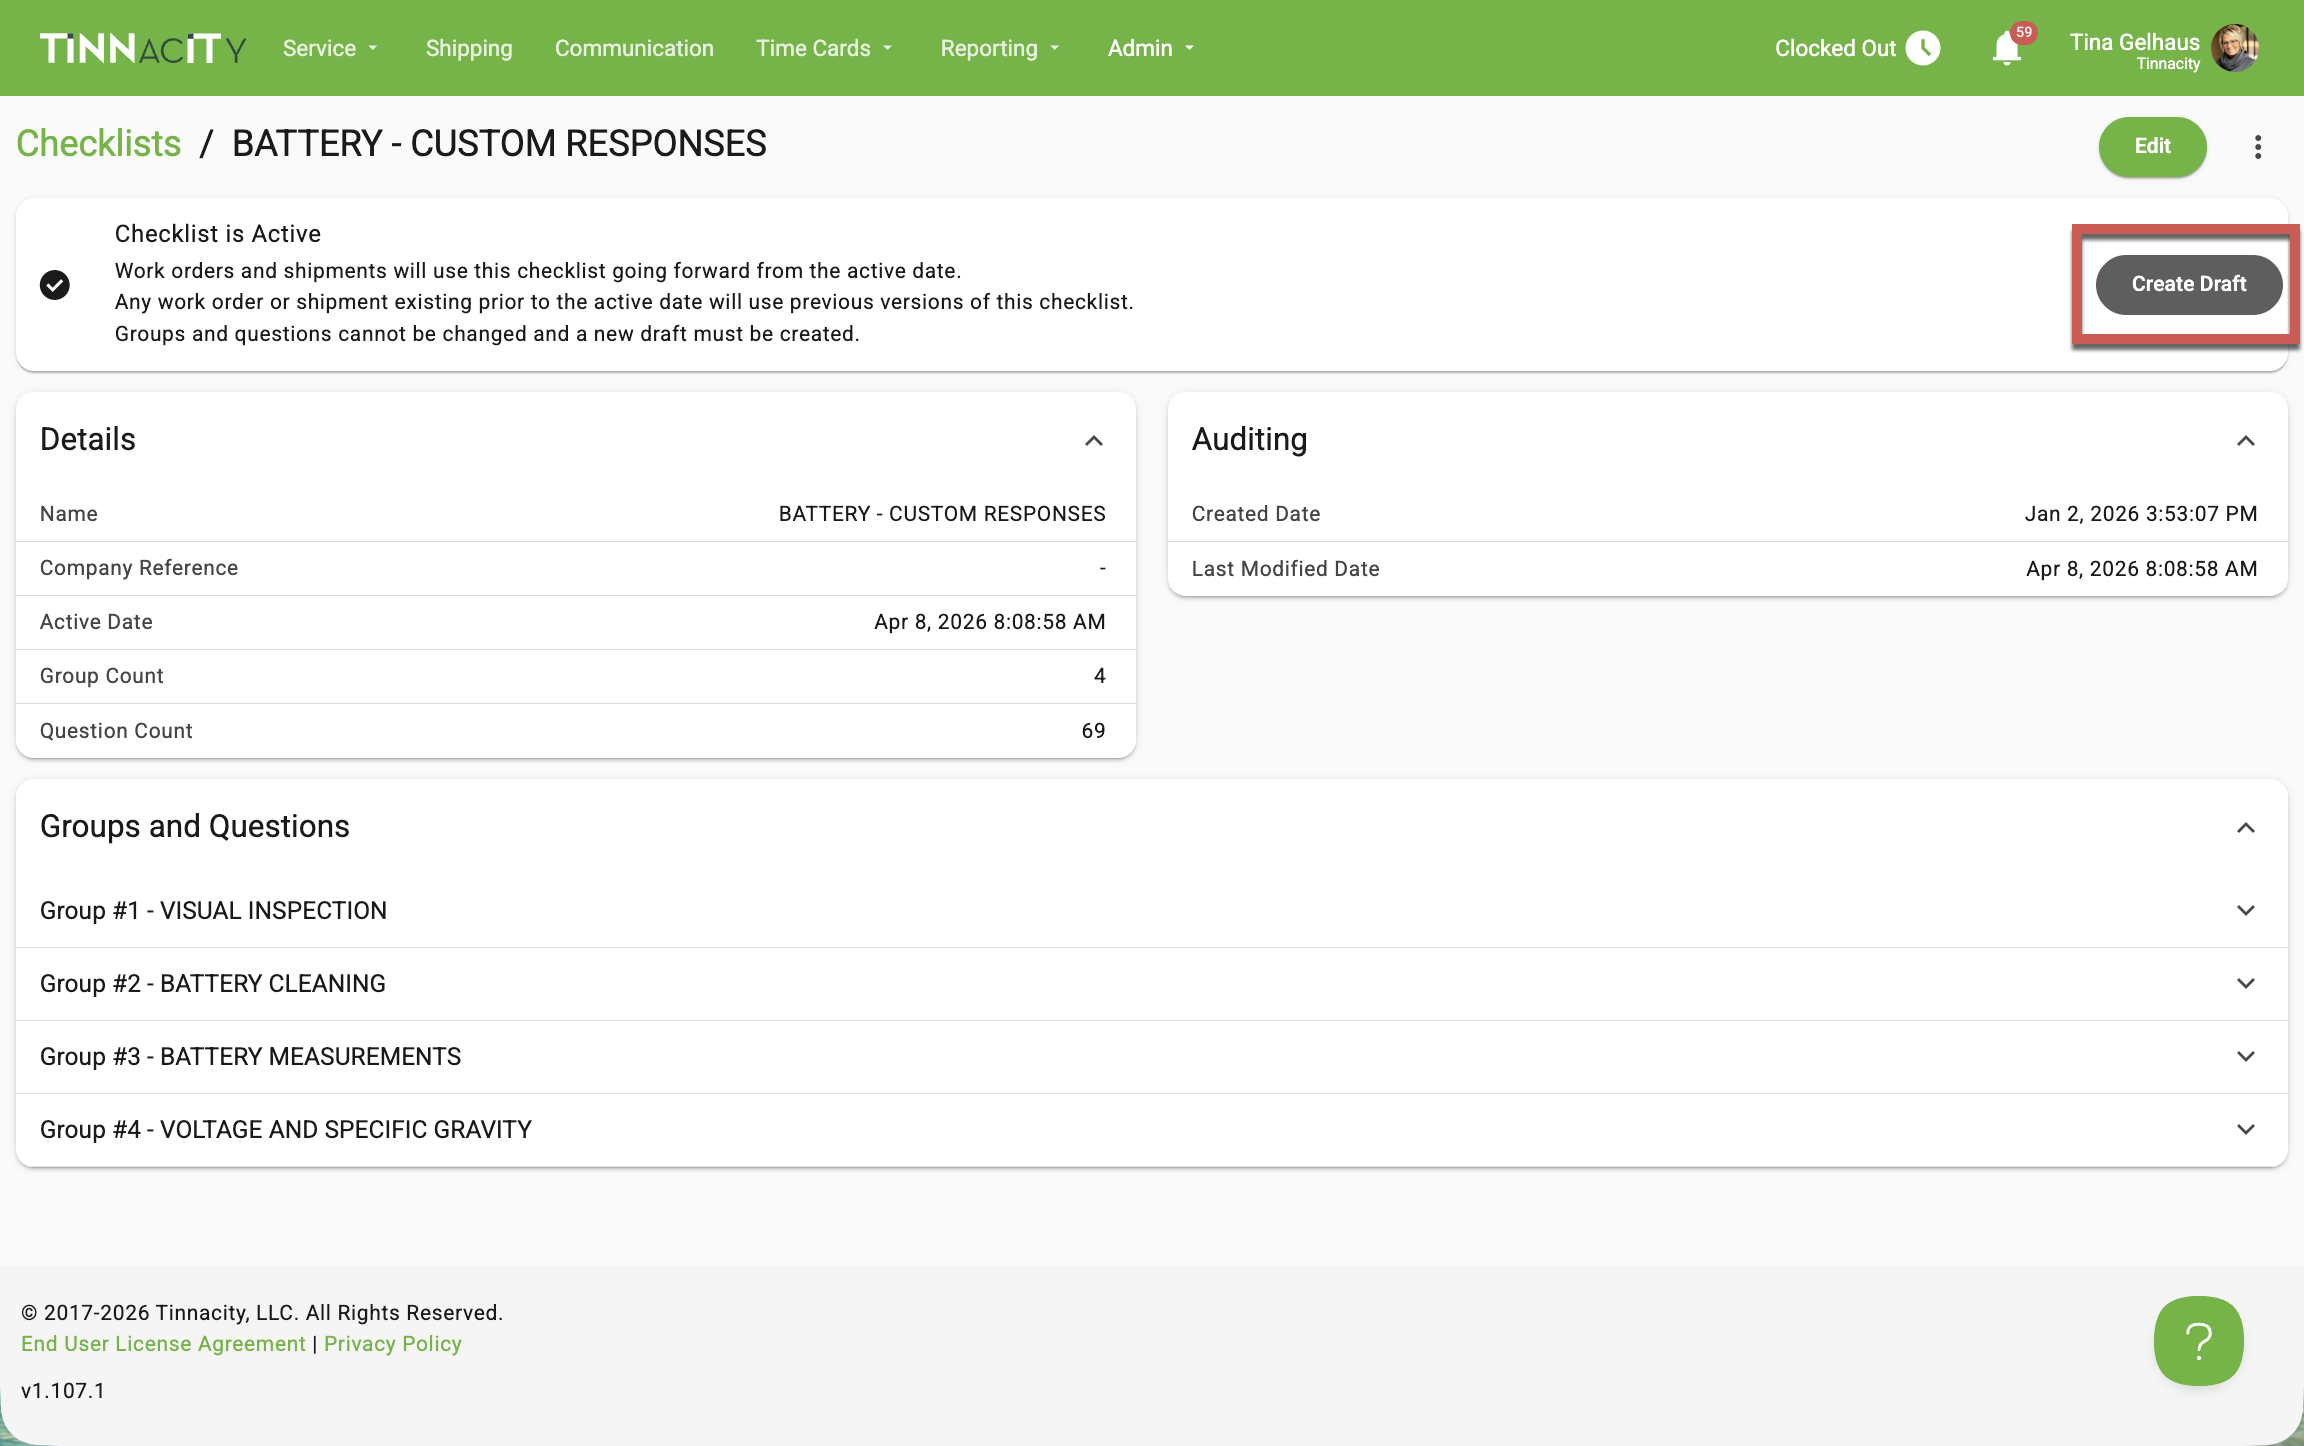
Now that the Checklist Answer Option has been created, assign it to the relevant checklist question(s). Before you can edit a checklist, the checklist must be in draft mode.
-
Click [Create Draft]. When prompted "Are you sure you want to create a new draft?", click [OK].
-
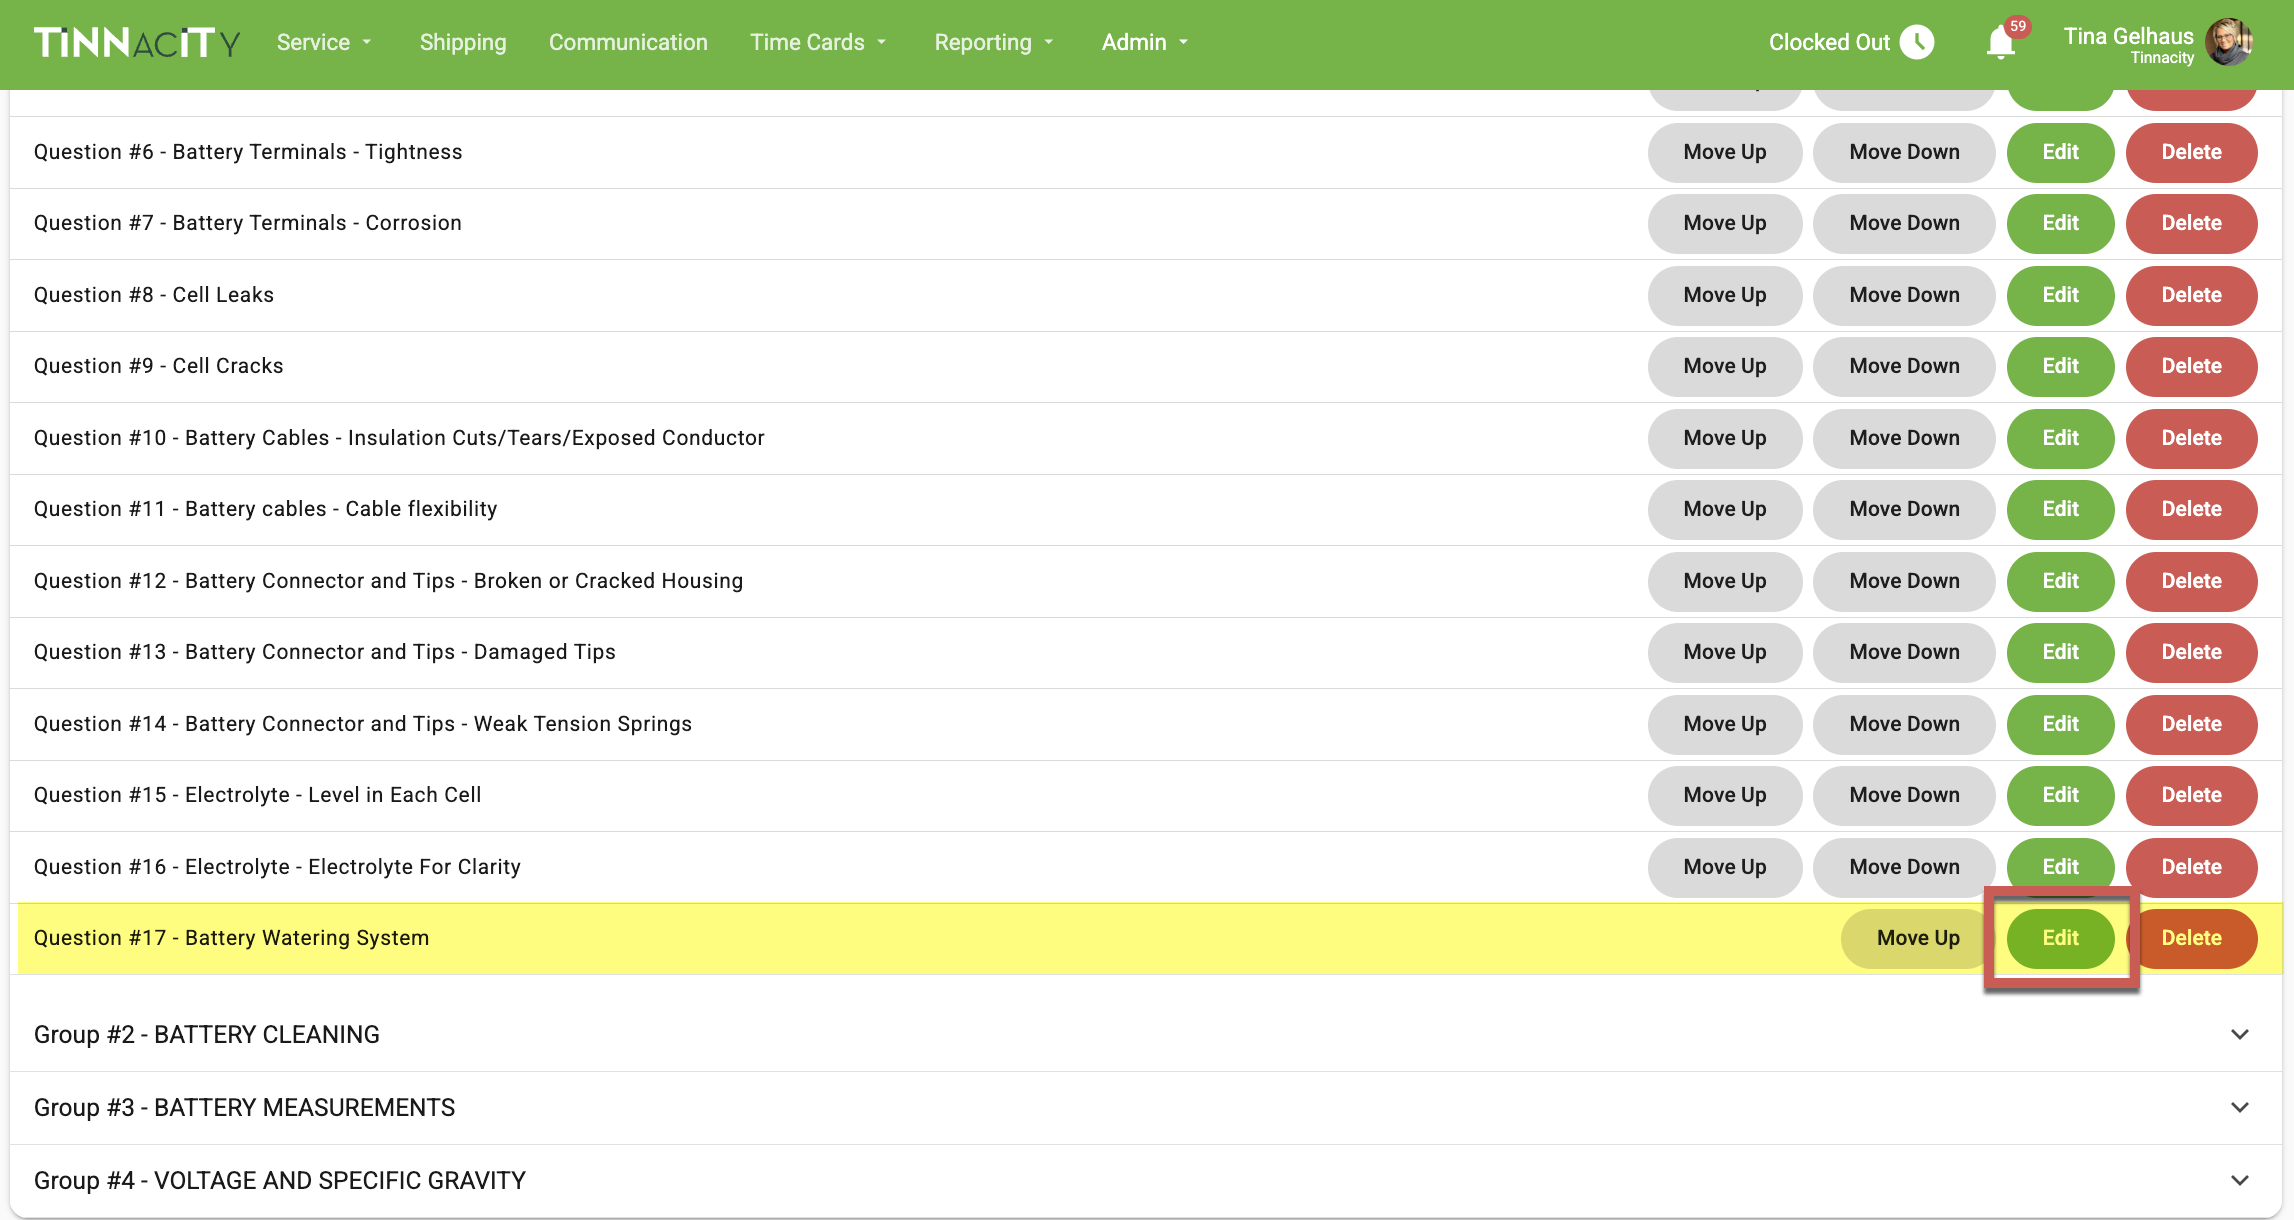
Locate the question to apply custom checklist answer option, then click [Edit].
-
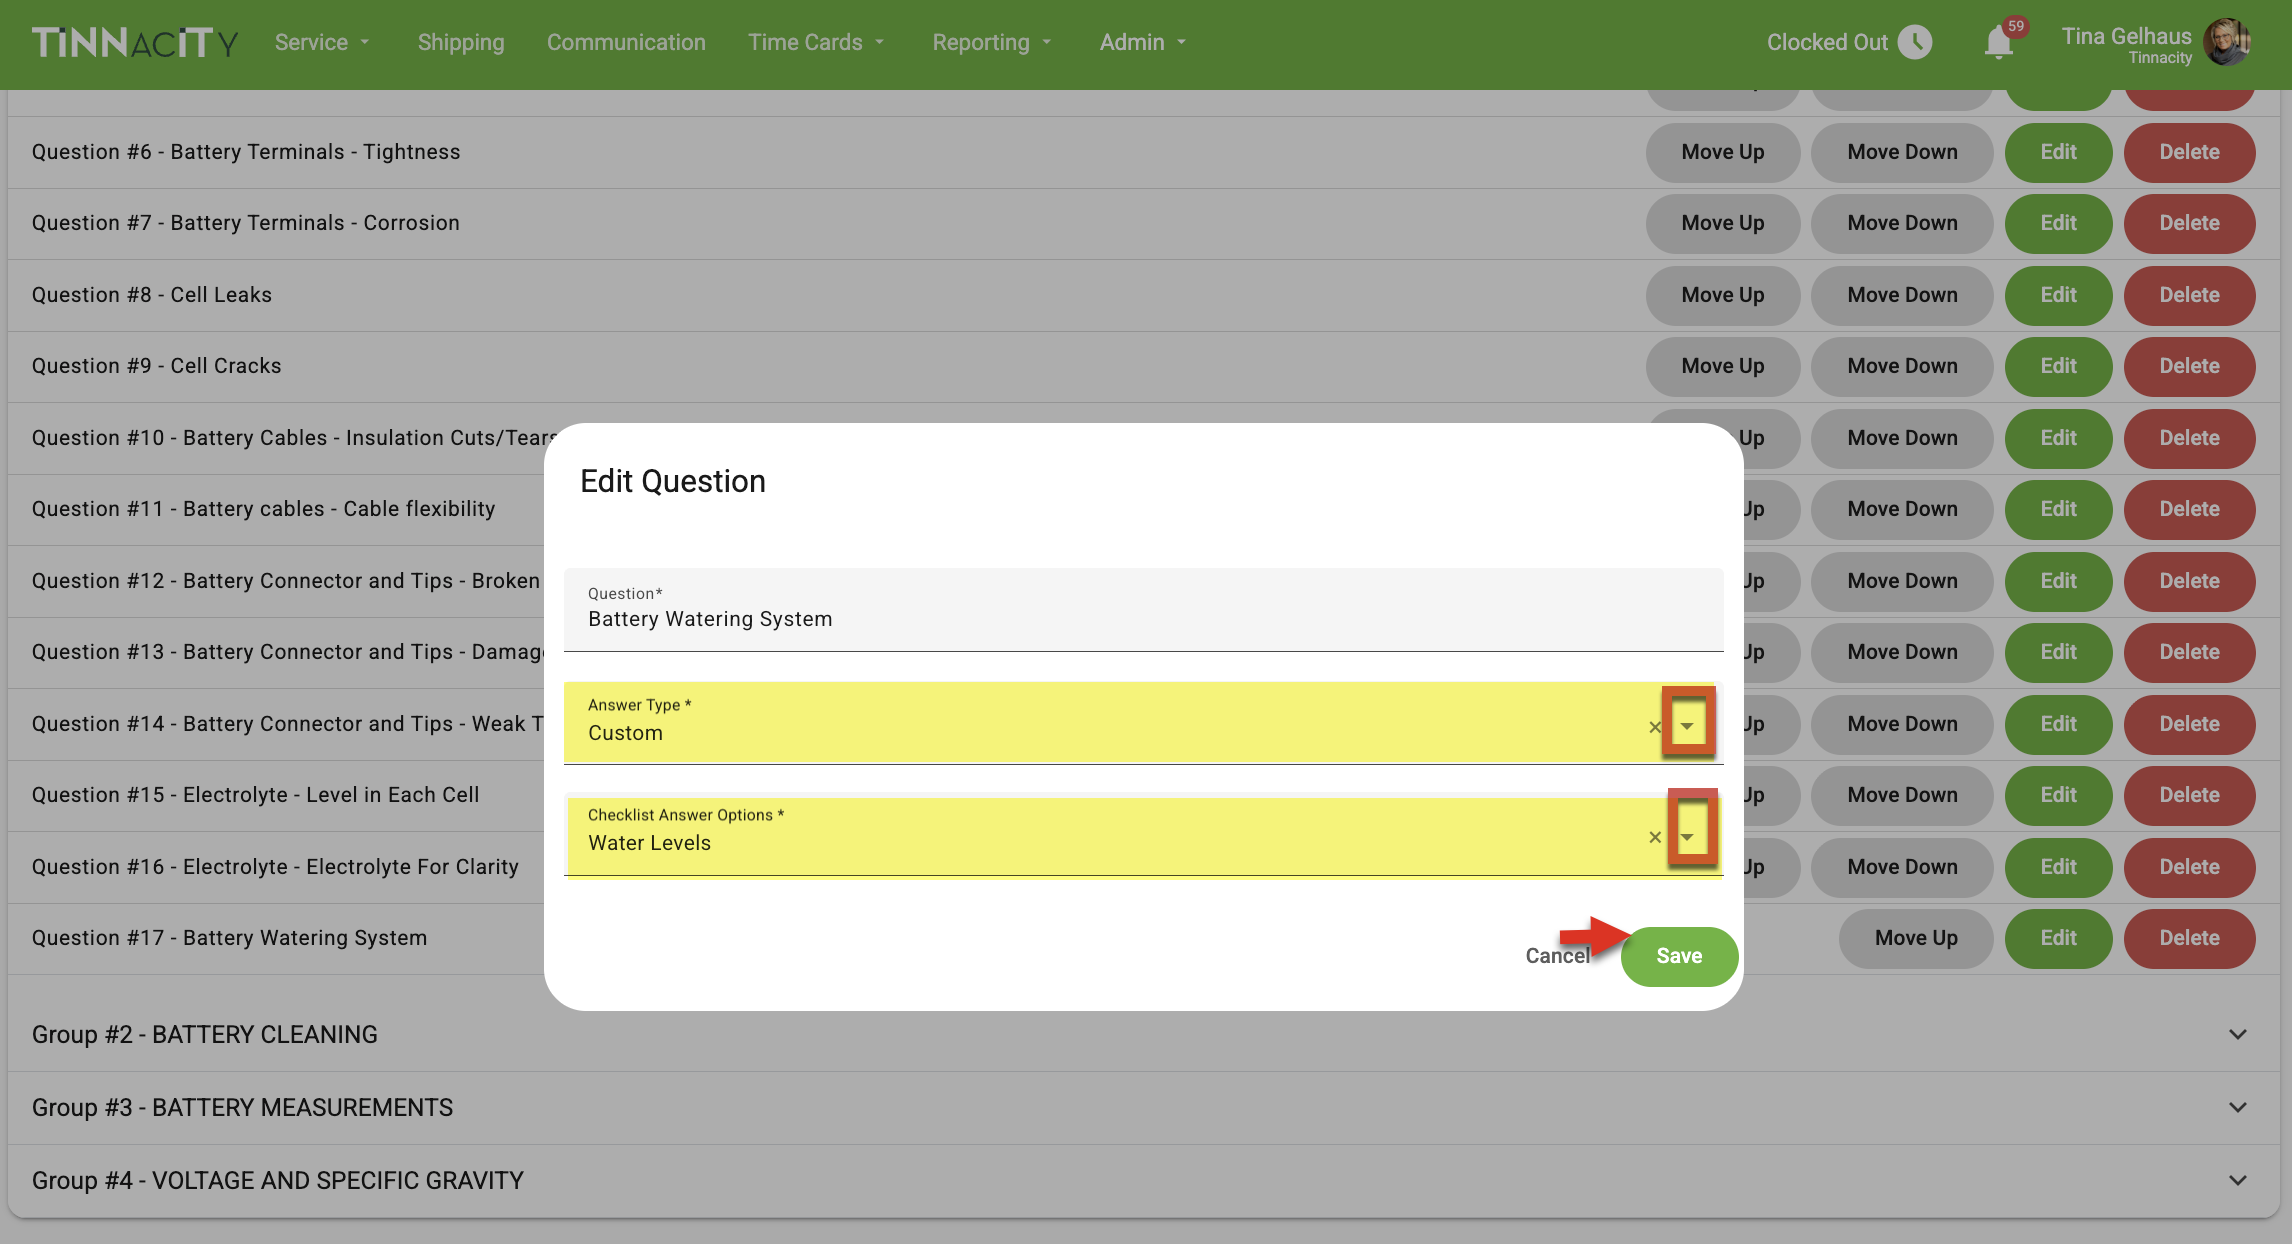
The 'Edit Question' screen is now on display. From the Answer Type dropdown, select Custom and from the Checklist Answer Options select the desired custom answer option (e.g., Water Levels). Click [Save].
-
Upon setting all checklist question's answer options, click [Activate]. NOTE: All open work orders will use the previous version checklist.