Company Settings-HQ
Configure global preferences under HQ > Company Settings. This section covers everything from Company Details and Branches to Integrations and Security.
Access Note: Management of these settings requires Account Owner permissions.
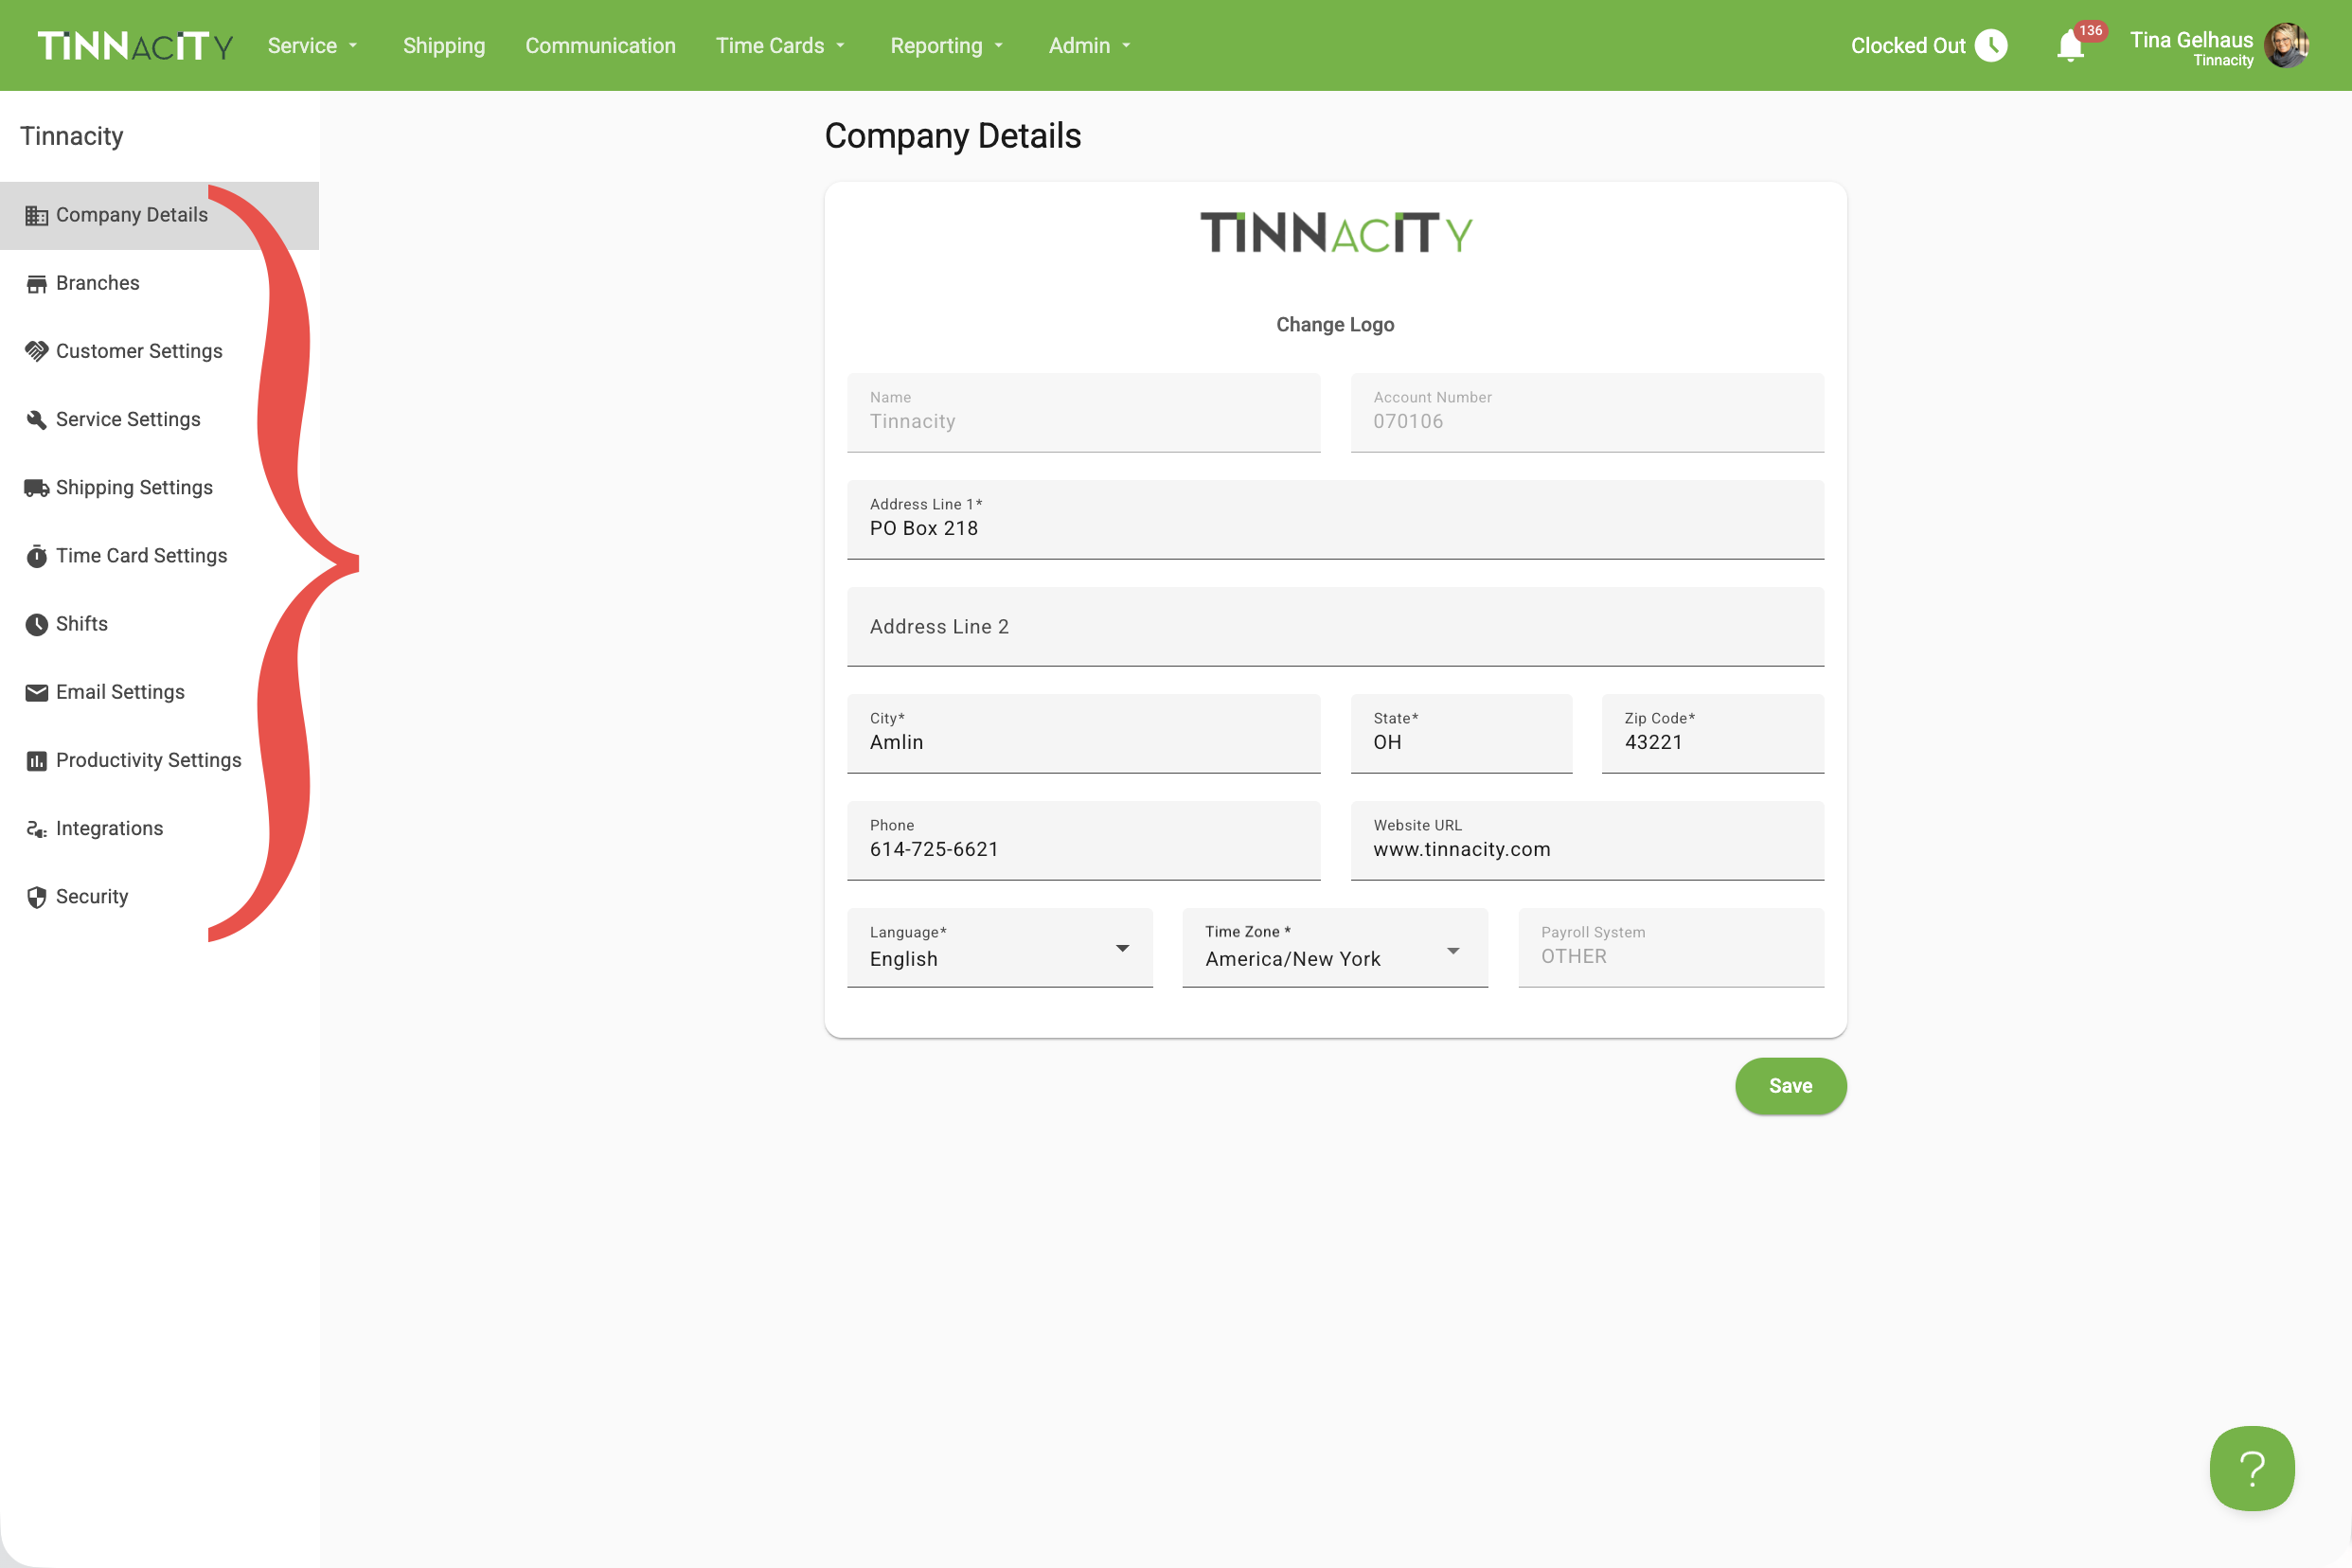
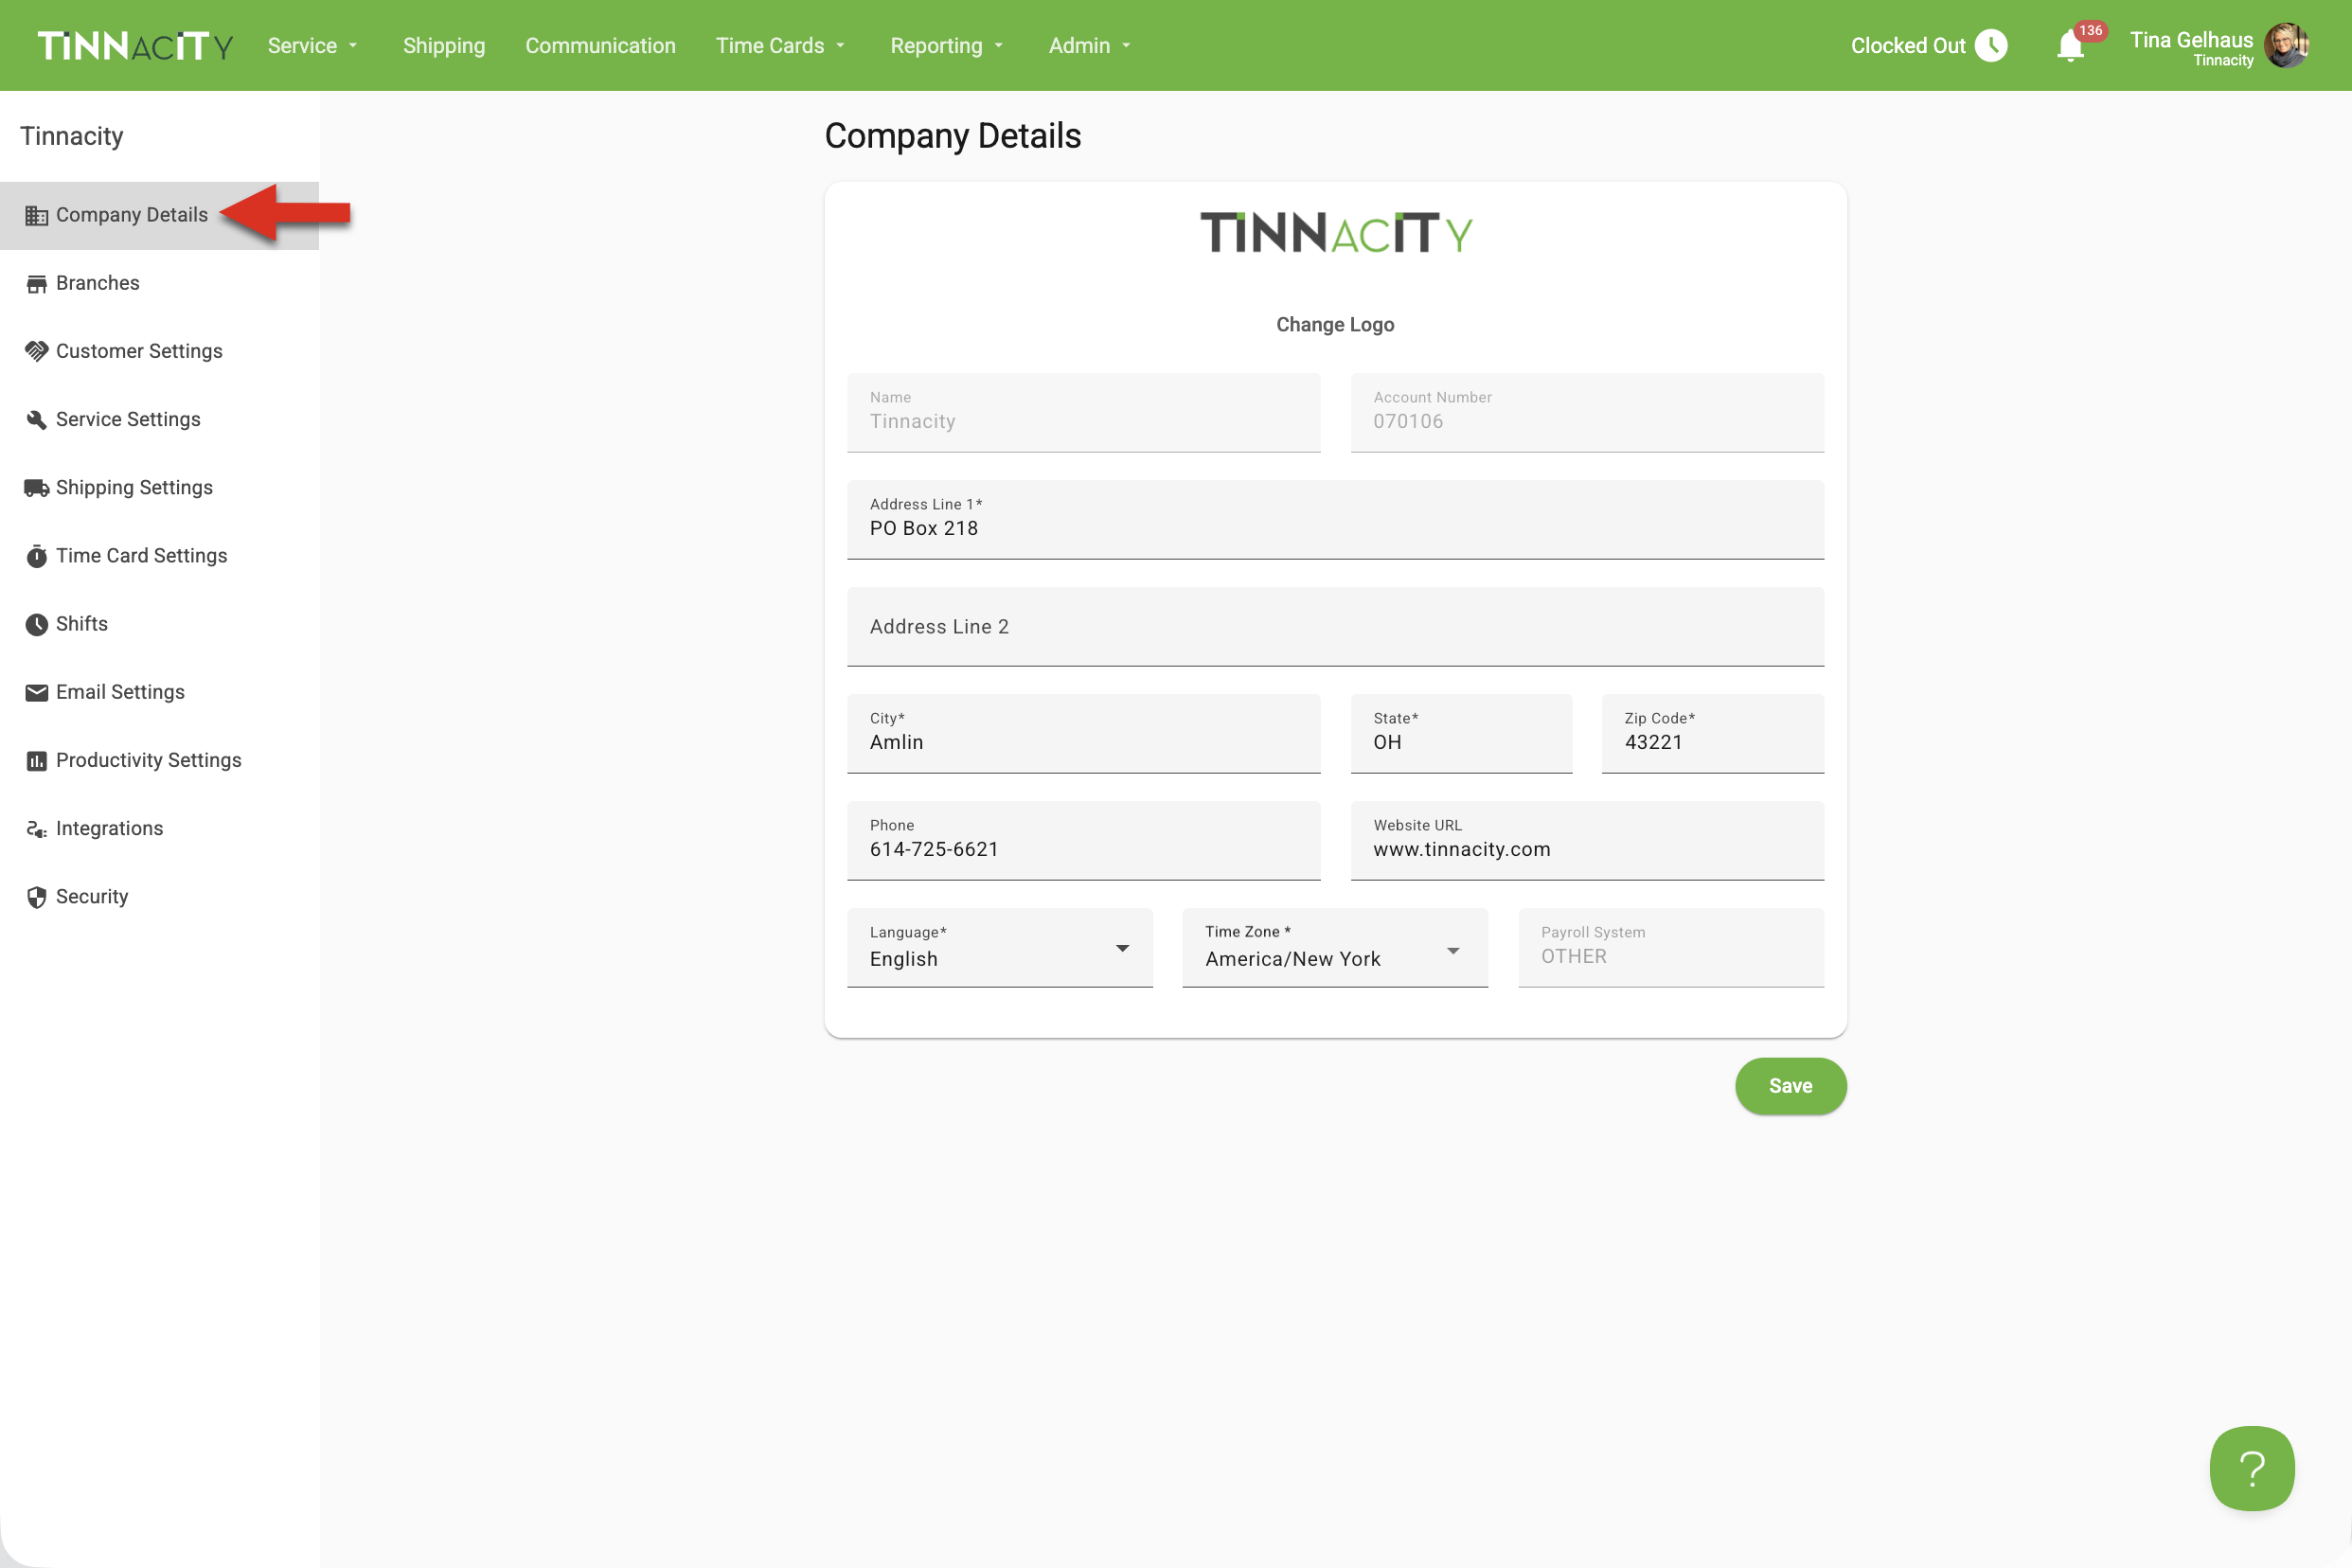
- Company Details: Manage your primary business information, including name, physical address, phone number, website and company logo.
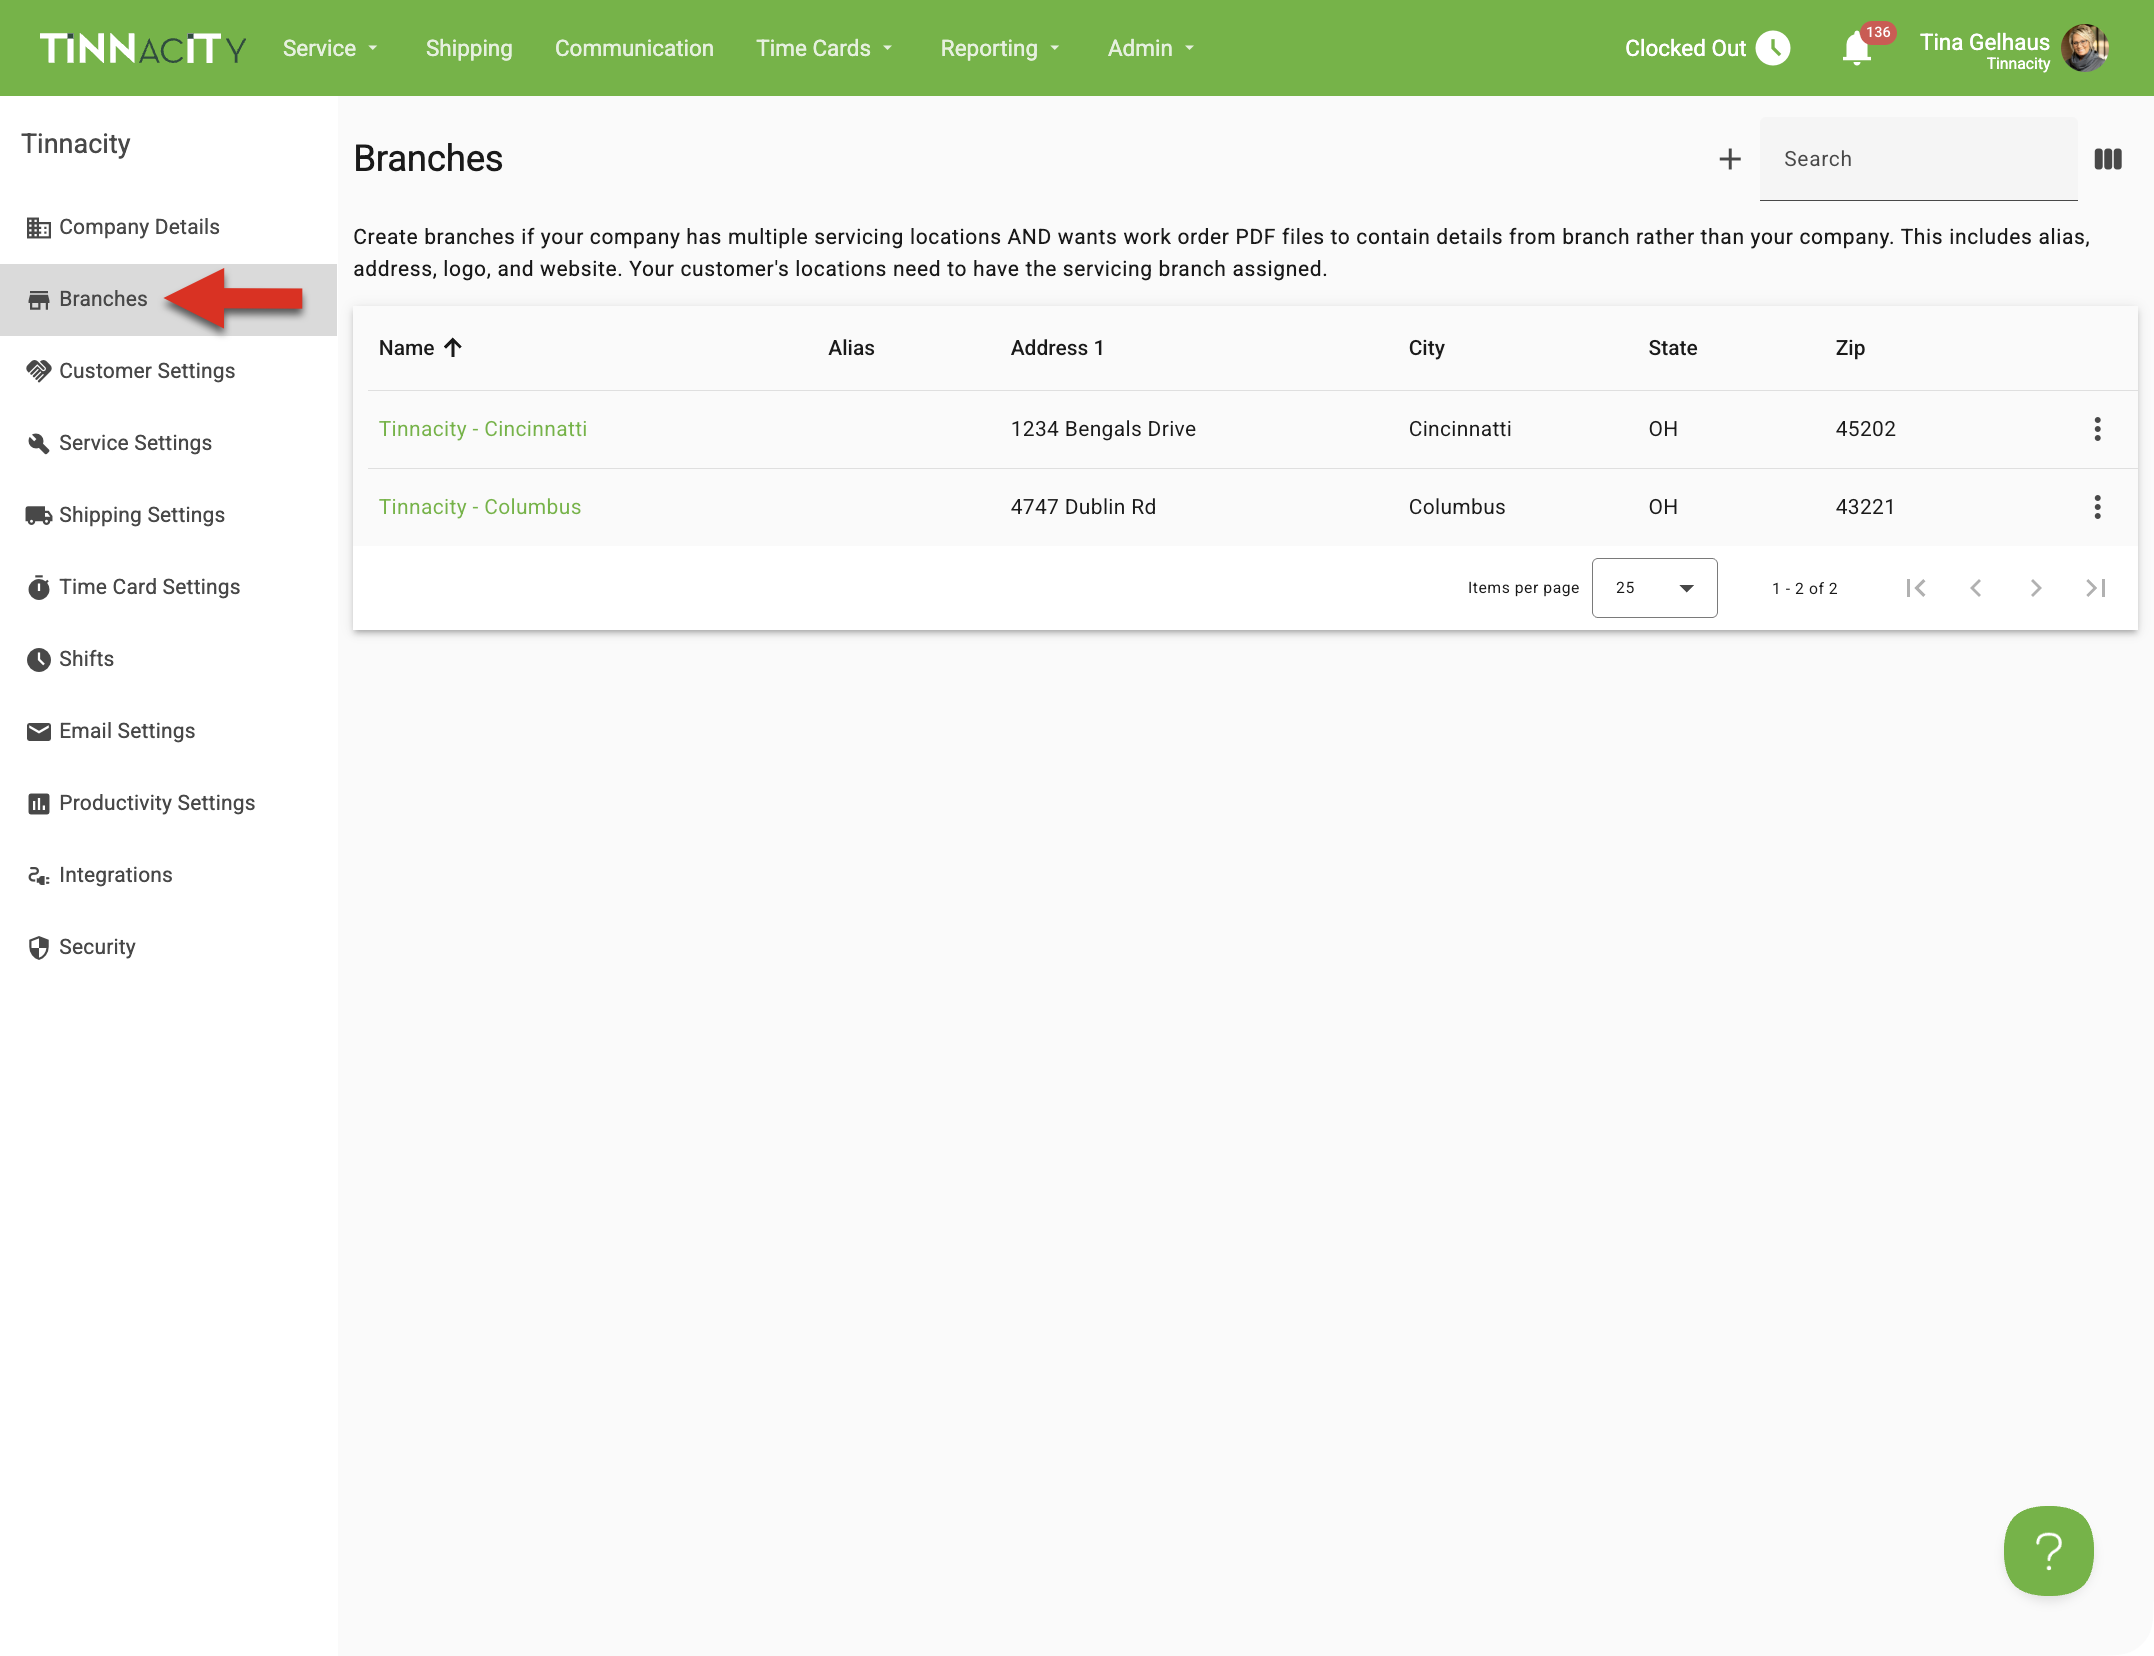
- Branches: Set up and manage multiple physical locations or regional hubs within your organization.
- Customer Settings: Define default permissions on what to included in the completed work order PDF, on the customer portal (if applicable), billing settings, and your brand. As well as compose a customer message that is included in the completed work order PDF email notification.
- Service Settings: Configure your service catalog, work order settings to require a contact, quote settings, part request picture count, and technician capabilities. As well as configure the Service app to use your brand and include an app message to the technicians and after hours settings.
- Shipping Settings (if applicable): Set up a message to display to your drivers.
- Time Card Settings: Enable time card requirements such as requiring a comment for standby entries, allow Geo Position tracking, start of week, commute give, and time card submit terms.
- Shifts: Create and manage recurring work shifts to properly split technicians working across midnight.
- Email Settings: Confirm that you worked with Tinnacity to ensure the email used to send completed work order PDF and internal notifications from Tinnacity have been verified.
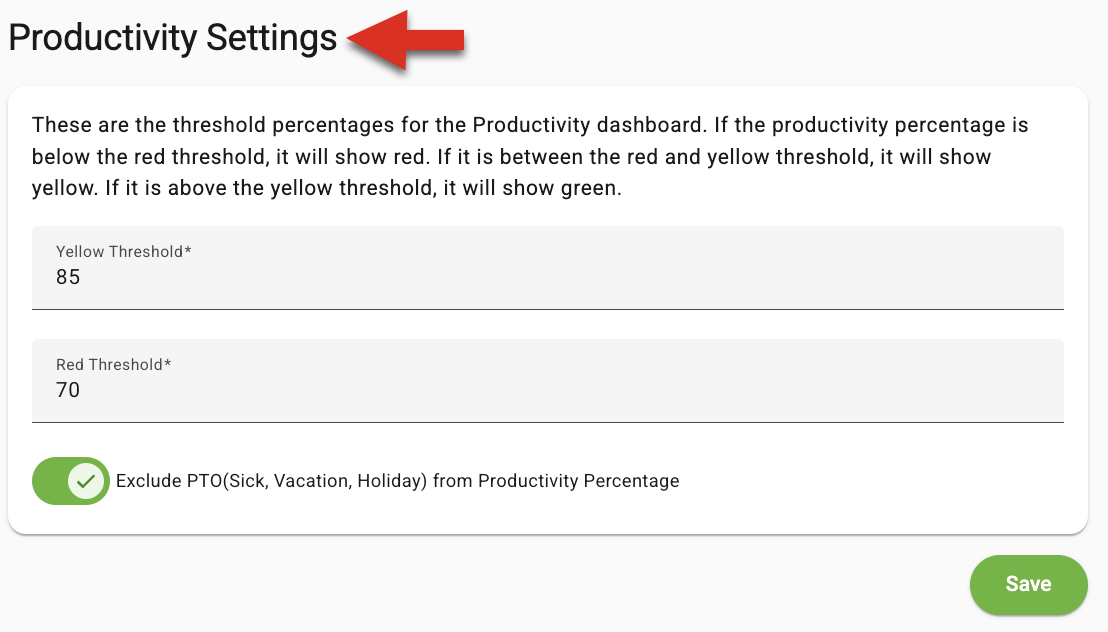
- Productivity Settings: Define threshold percentages for the Productivity dashboard and option to exclude PTO (Sick, Vacation, and Holiday).
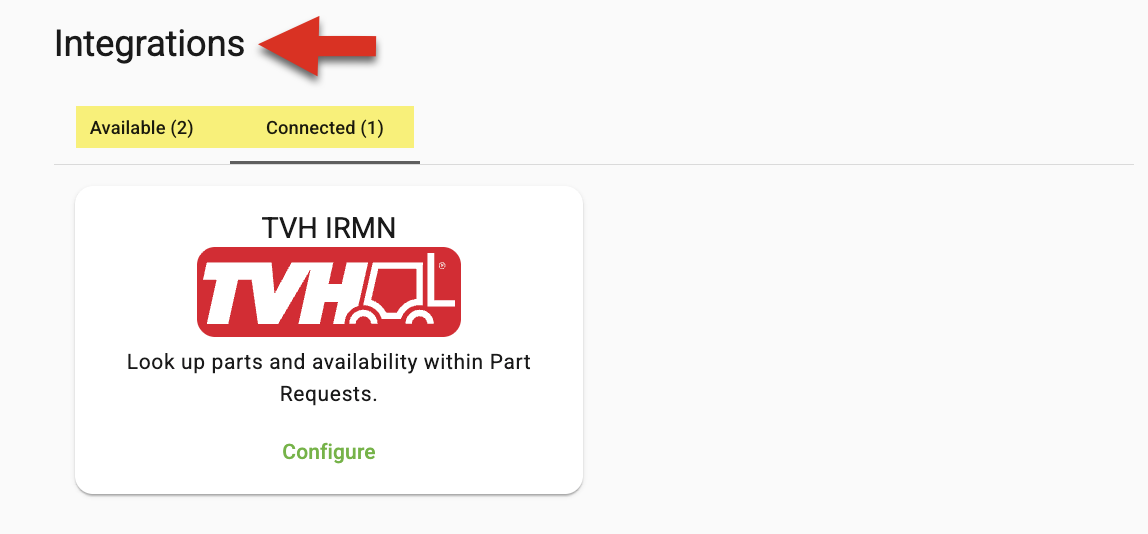
- Integrations: Connect and manage third-party software (e.g., GemOne Onyx, TVH) to sync data across platforms.
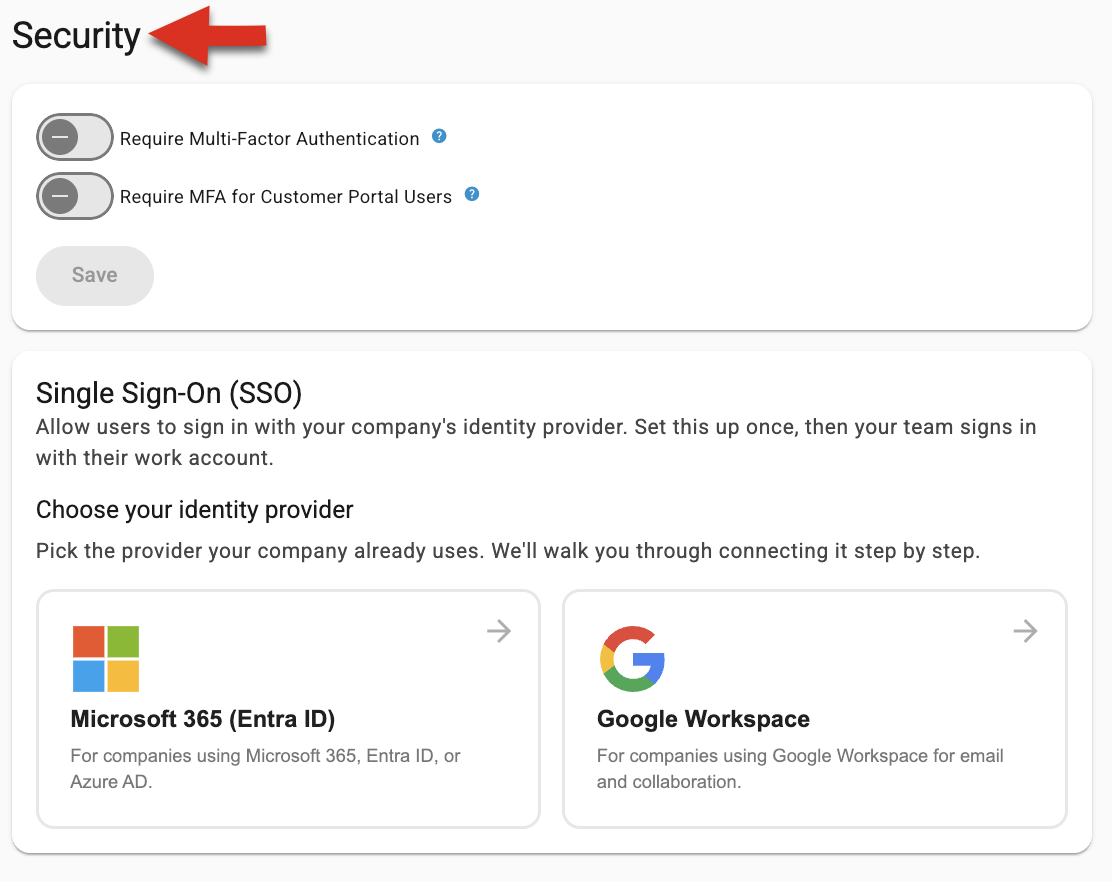
- Security: Manage global security protocols, such as Two-Factor Authentication (2FA) requirements, require MFA for Customer Portal Users (if applicable), and manage Single Sign-On (SSO).
To access Company Settings, click on your name in the upper right corner, then select 'Company Settings'.

Once within the Company Settings screen, there are different settings to choose from via the left side menu. Select the one you want to view/edit to see all options within that setting's screen. NOTE: If any edits/changes are made in a respective screen, you must select Save at the bottom of each screen in order to save any changes.
Company Details & Branches
A. Company Details screen: View/manage basic details of your company like address, phone, website URL or company logo.
B. Branches: If your company has Branch locations, within the Branches screen you can create Branch locations. To create a Branch select the Create button, add all information and select Save. TIP: Once a branch is created you can view details or edit by selecting the 3 dots to the right of the branch. NOTE: Create branches if your company has multiple servicing locations AND wants work order PDF files to contain details from branch rather than your company. This includes alias, address, logo, and website. Your customer's locations need to have the servicing branch assigned.
Customer Settings
Within this screen, you can manage (Toggle ON or Off) things like Billing Settings: Customer Terms & Payment Terms, Permissions of what your customers can or can not see on a completed work order pdf. NOTE: Some of the Permissions setting will only work if you utilize Tinnacity's Customer Portal.
You can add a Customer Message-For emails that get sent to your customers, for example, work order complete, the customer marketing message will be added to the email. Once done, select Save. Click here to learn more about Payment Terms. TIP: Hover over the blue question marks, where available, to see a brief description of what the setting means.

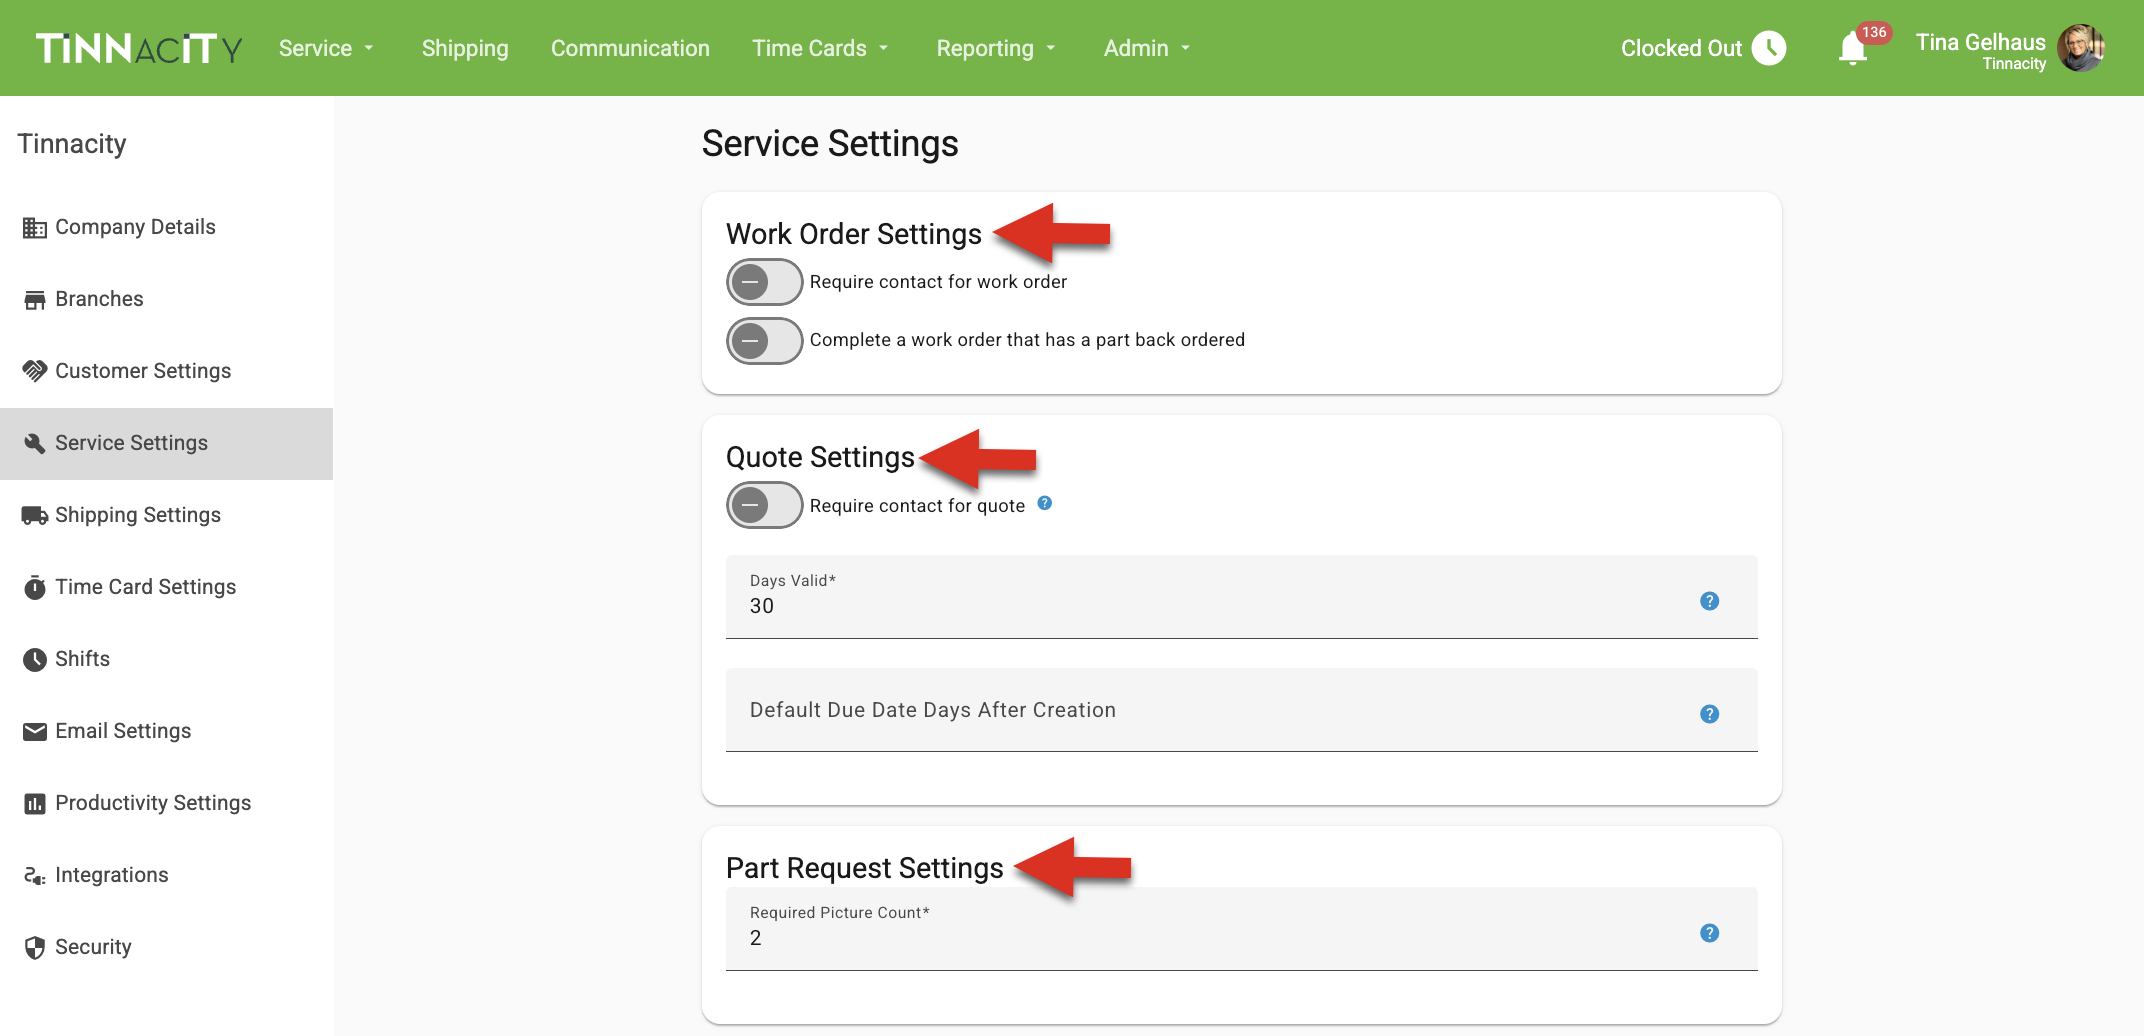
Service Settings
Within this screen, you can manage the following settings that apply to the Service app:
A. Work Order settings: Whether to require a contact for a work order or complete a work order that has a part back ordered part on it .
B. Quote Settings: Whether to require a contact for a quote & set how many days valid a quote should be.
C. Part Request Settings: Set this value to require technicians to include a minimum number of photos when submitting a Part Request (e.g., the data plate, or the part needing replacement, if accessible).
D. Technician Capability: There are several different settings here to choose from you can allow or not allow a technician the ability to perform within the Service app:
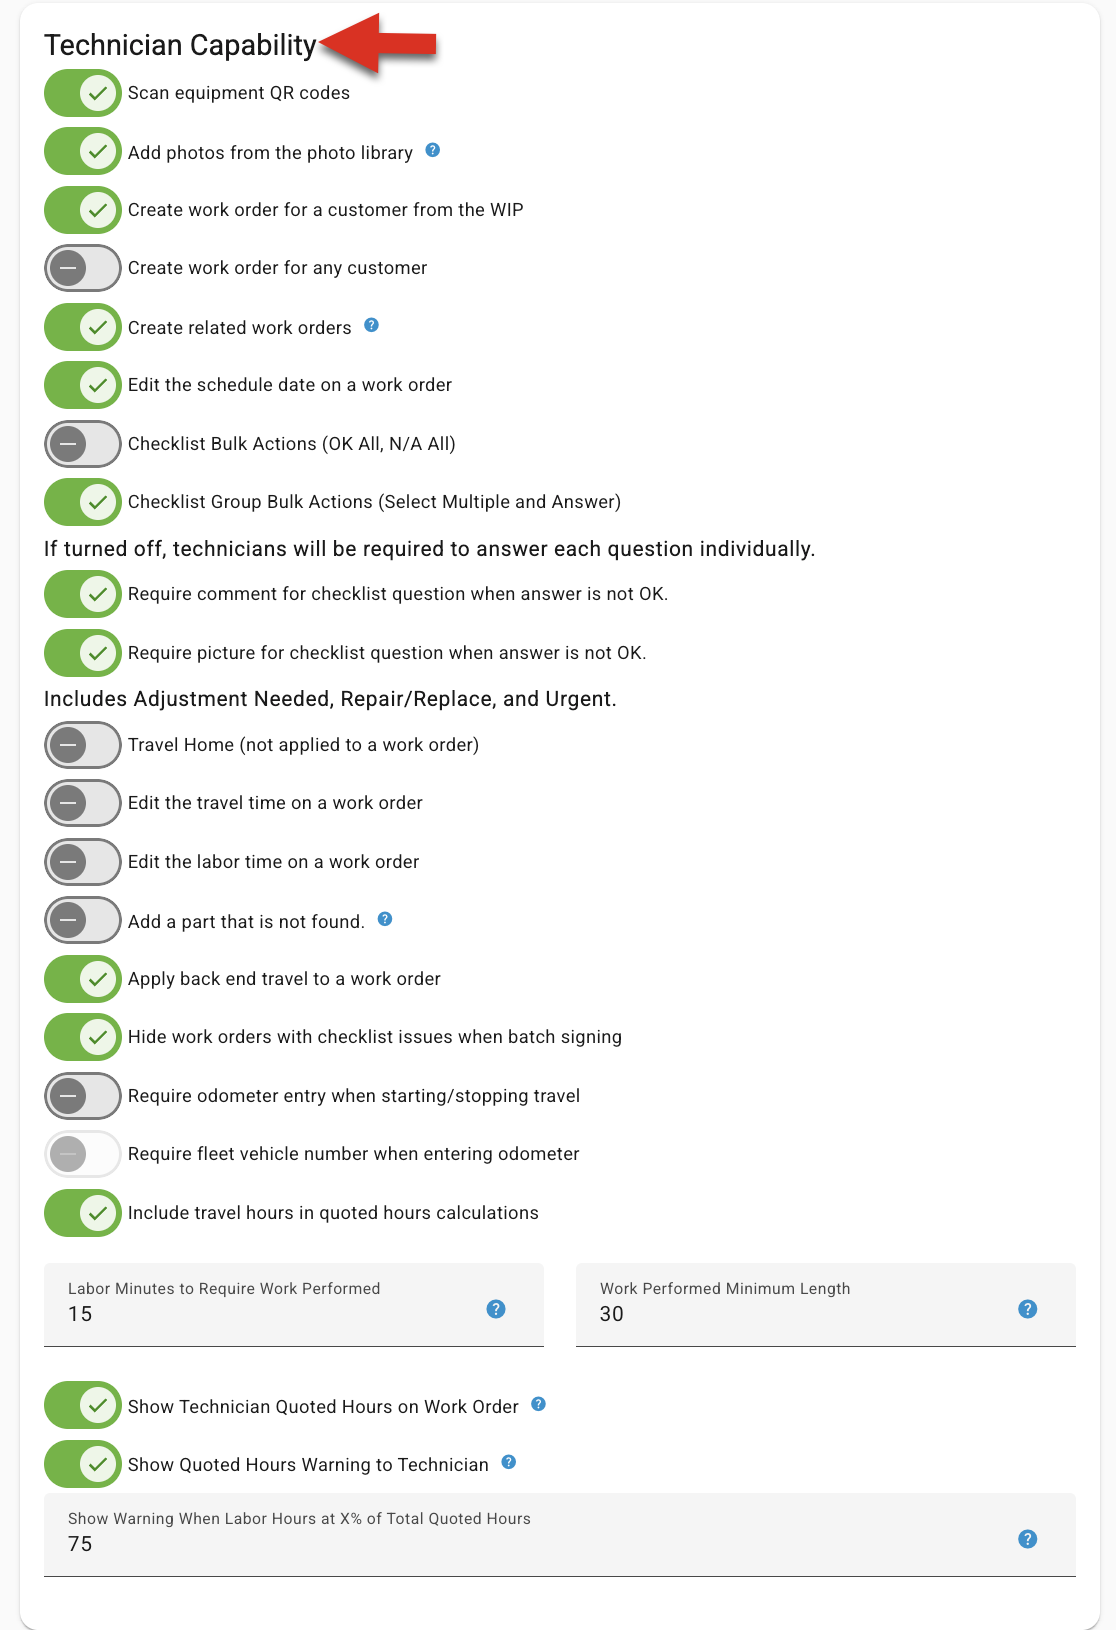
- Scan equipment QR codes: If QR codes are utilized, this setting can be enabled to allow the Technicians the ability to scan equipment that has a QR code.
- Add photos from the photo library: To save storage space by preventing technicians from saving photos to their photo library, disable this feature. This will require technicians to capture photos directly within the work order attachments.
- Create work order for a customer from the WIP: Whether or not to allow a Technician the ability to create work orders themselves from the WIP.
- Create work order for any customer Whether or not to allow a Technician the ability to create for any customer .
- Create related work orders: If your business system is integrated and supports multiple segments - this being enabled allows your technicians to create multiple segments.
- Edit the schedule date on a work order: Whether or not a Technician is allowed to modify the scheduled date on a work order..
- Checklist Bulk Actions (OK, All, N/A ALL): Whether to allow a technician to bulk answer all questions in every group within the Checklist with a simple click [Actions] and selecting one answer for every question.
- Checklist Group Bulk Actions (Select Multiple and Answer): Whether or not to require a technician to answer each checklist question individually. NOTE: Only if toggled OFF & requires Service App version: 2.70 or newer.
- Require comments on Checklist questions when answer is not OK: If toggled ON, the technician will not be able to move onto Technician Review if the comment(s) haven't been entered.
- Require picture for checklist questions when answer is not OK: If toggled ON, when the technician answers a question unfavorably (i.e., Urgent, Repair Replace, etc.) they will be required to add a picture the question.
- Travel Home (not applied to a work order): If toggled ON, the technician can enable 'Travel Home', which will not apply the travel time to the work order.
- Edit travel time on a work order: If toggled ON, technicians can modify their travel time applied to work orders.
- Edit labor time on a work order: If toggled ON, technicians can modify their labor time applied to work orders.
- Add a part that is not found: If toggled ON, this allows the Technician to select "Part Not Found" when adding parts to a work order. They will then enter all part information manually.
- Apply back end travel to a work order: If toggled on, this allows the Technician to apply back end travel to the work order they just completed, this typically is only used when it is the last work order of the day and you want to charge the relevant customer for the technician's travel time to their final destination (i.e., home or shop).
- Hide work orders with checklist issues when batch signing: When this setting is toggled ON, technicians will be unable to select work orders with identified issues for batch signing in the Customer Review section of the Service app. Instead, they must review and sign these work orders individually with the customer. Enabling this feature encourages a thorough review of issues, potentially aiding in upselling services as technicians discuss their findings before obtaining a signature. Click here to learn more about Batch Signing.
- Require odometer entry when starting/stopping travel: When this setting is enabled, technicians will be prompted to enter their starting odometer reading when they begin travel in the Service app, and their ending odometer reading when they stop travel or indicate they have started working. NOTE: The Odometer Reading entries can be found within the work order details, Activity tab.
- Require fleet vehicle number when entering odometer: When this setting is enabled, technicians will be prompted to enter the fleet vehicle number they are driving or as a passenger when they begin travel in the Service app.
- Labor Minutes to Require Work Performed: This is the minimum number of labor minutes (per day) required to enter in work performed comments on a work order. This will not allow the technician to start anything else until they put in the work performed comment. Set to blank to not require. Recommendation to set is 15 minutes. NOTE: Requires Service app version 2.66.1 or higher.
-
When switching between work orders in the Service app, if no Work Performed Notes have been recorded for the current day and is within the specified timeframe, technicians must enter their notes before they can start working on or travel to the next work order. If a minimum character count is required, technicians will also need to meet that minimum.

- Include travel hours in quoted hours calculations: When both the 'Include travel hours in quoted hours calculations' and 'Show Technician Quoted Hours on Work Order' settings are enabled, the Total Labor Hours displayed to the technician will be the sum of both the Labor hours and the Travel hours.
- Work Performed Minimum Length: Enter the minimum number of characters technicians must type for work performed notes.
- Show Technician Quoted Hours on Work Order: If this is enabled and a work order has a configured "Quoted Hours', the hours quoted will display to the technician within the work order details.
- Show Quoted Hours Warning to Technician: If this is enabled and a work order has a configured "Quoted Hours", when the labor hours equals the Show Warning When Labor Hours at X% of Total Quoted Hours is met, this "Quoted Hours" field within the work order details will be highlighted in yellow. If the hours applied exceed the quoted hours, details will be highlighted in red. NOTE: The Quoted Hours Warning will not update until another segment of travel or labor is added to the work order.
- TIP: If you only want to show the warning and not the quoted hours, do not enable "Show Technician Quoted Hours on Work Order".

E. App Settings
The App Settings allows you to configure Tinnacity's Service app to use your dealership's branding instead of Tinnacity's.

F. App Message:
If set, this will appear at the top of the Service app Home Screen. TIP: Use the available formatting options to enhance your message!


G. After Hour Settings
If toggled ON, this will track After Hours for Work Order and Time Card Tracking. Enter the mins/max/rounding rules for both labor and travel.

NOTE: When technician's receive an after hours call, in the Service app they will clock in using [After Hours].

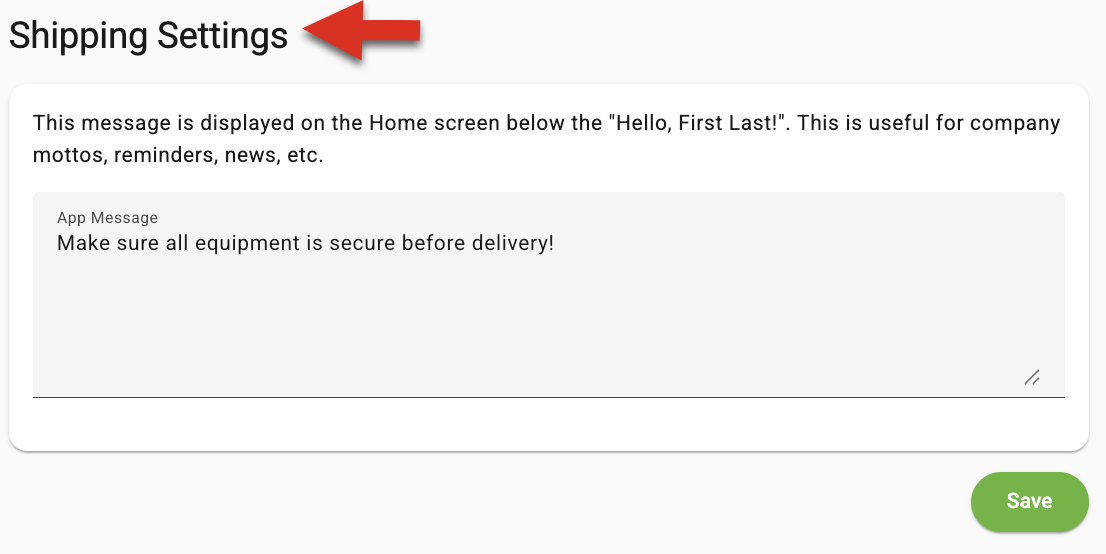
Shipping Settings
When enabled, Shipping Settings allows you to configure a message that is displayed to your drivers on the Home screen within the Ship app.
Time Card Settings
Within this screen, you can manage various Time Card settings:

- Time card tracking for HQ Users: Activate this option to enable your back office to utilize Tinnacity's HQ as their timecard software.
- Require comment when submitting a timecard with standby time: If enabled, any technician timecard containing a standby time entry will require a mandatory comment detailing the activity performed during that standby period.
- Require Signature on Time Card Submit: Activate this option to require technicians to sign their timecard in the Service app before submitting their daily timecard.
- Require Comment when editing a time card: When enabled, the system will require a comment from the back-office user documenting all timecard edits before the changes can be saved.
- Track time card changes with Geo Position (GPS): Activate this option to allow Tinnacity to capture the technician's GPS coordinates when they clock in and out of work orders.
- Start of Week: Set the start of the week to match the beginning of your pay period.
- Commute GIVE Time (Minutes): Enter the Commute give Time in minutes. This represents the number of one-way minutes that an employee is expected to contribute to the company (unpaid) before the company begins to compensate for their commute time.
- GPS Stamping Interval: In addition to time card updates, this feature will capture geo-positioning stamps every X minutes, enhancing smarter dispatching capabilities. Please note that this feature will only function if the technician is logged into the app. Be aware that it may impact the tablet's battery life and the app's performance.
-
Time Card Submit Terms: These terms will be displayed above the signature box in the Technician's time card review and submit process.


Time Card Shifts
Time card shifts allow for users to be assigned to a specific working shift. At this time, this feature is to allow for viewing/grouping of time cards for technicians working the over night shift (i.e. across midnight). Click here to learn more about Time Card Shifts.

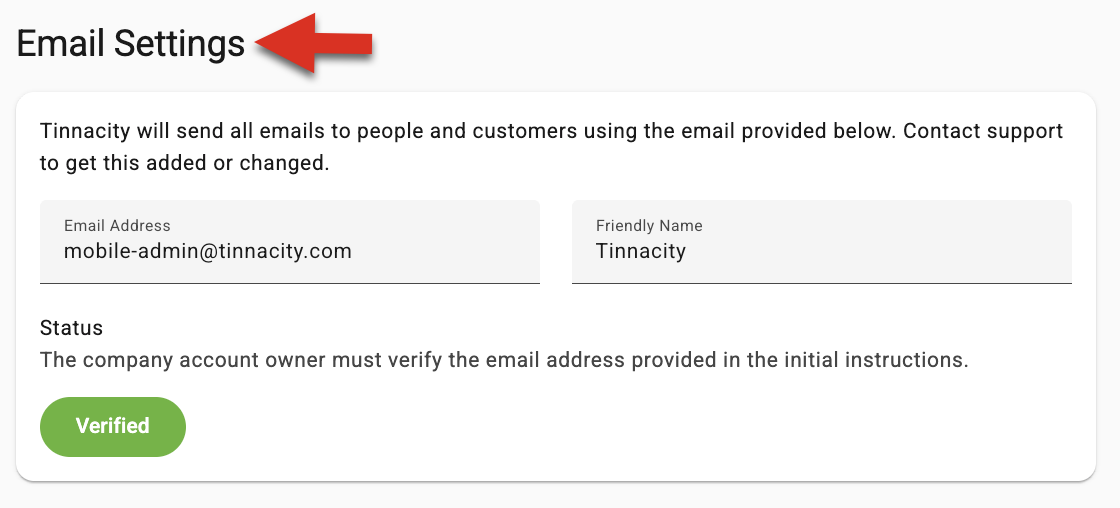
Email Settings
Tinnacity uses Postmark to send emails on your dealership's behalf from Tinnacity to your customers (i.e., completed work order PDF) and to your internal people (i.e., notifications they sign up to receive) . Email verification lets Postmark send emails from Tinnacity on your behalf ensuring effective delivery and higher domain reputation (prevents emails from Tinnacity going into the user's spam folder). If your email settings are not verified, please contact help@tinnacity.com.
-
Productivity Settings
Configure Productivity threshold percentages you wish to use to set the 'Yellow' and 'Red' thresholds in the Productivity dashboard. Click here to learn about Productivity Buckets.


Integrations (3rd Party)
Tinnacity allows you to configure third party integrations with TVH and GemOne Onyx. Click here to learn more about TVH Parts Price & Availability Lookup.
Security
The Security section allows you to require MFA for HQ and Customer Portal Users (if applicable). As well as to allow users to use Single Sign-On.