Individual Time Card
What are the sections within the timecard?
How do I add a vacation, holiday, and a sick time entry?
Time Card Overview
As technicians log time throughout the day in the Service app or HQ Users log time throughout the day in HQ (if enabled), the time cards will update and display what they've worked on and/or are actively working on.
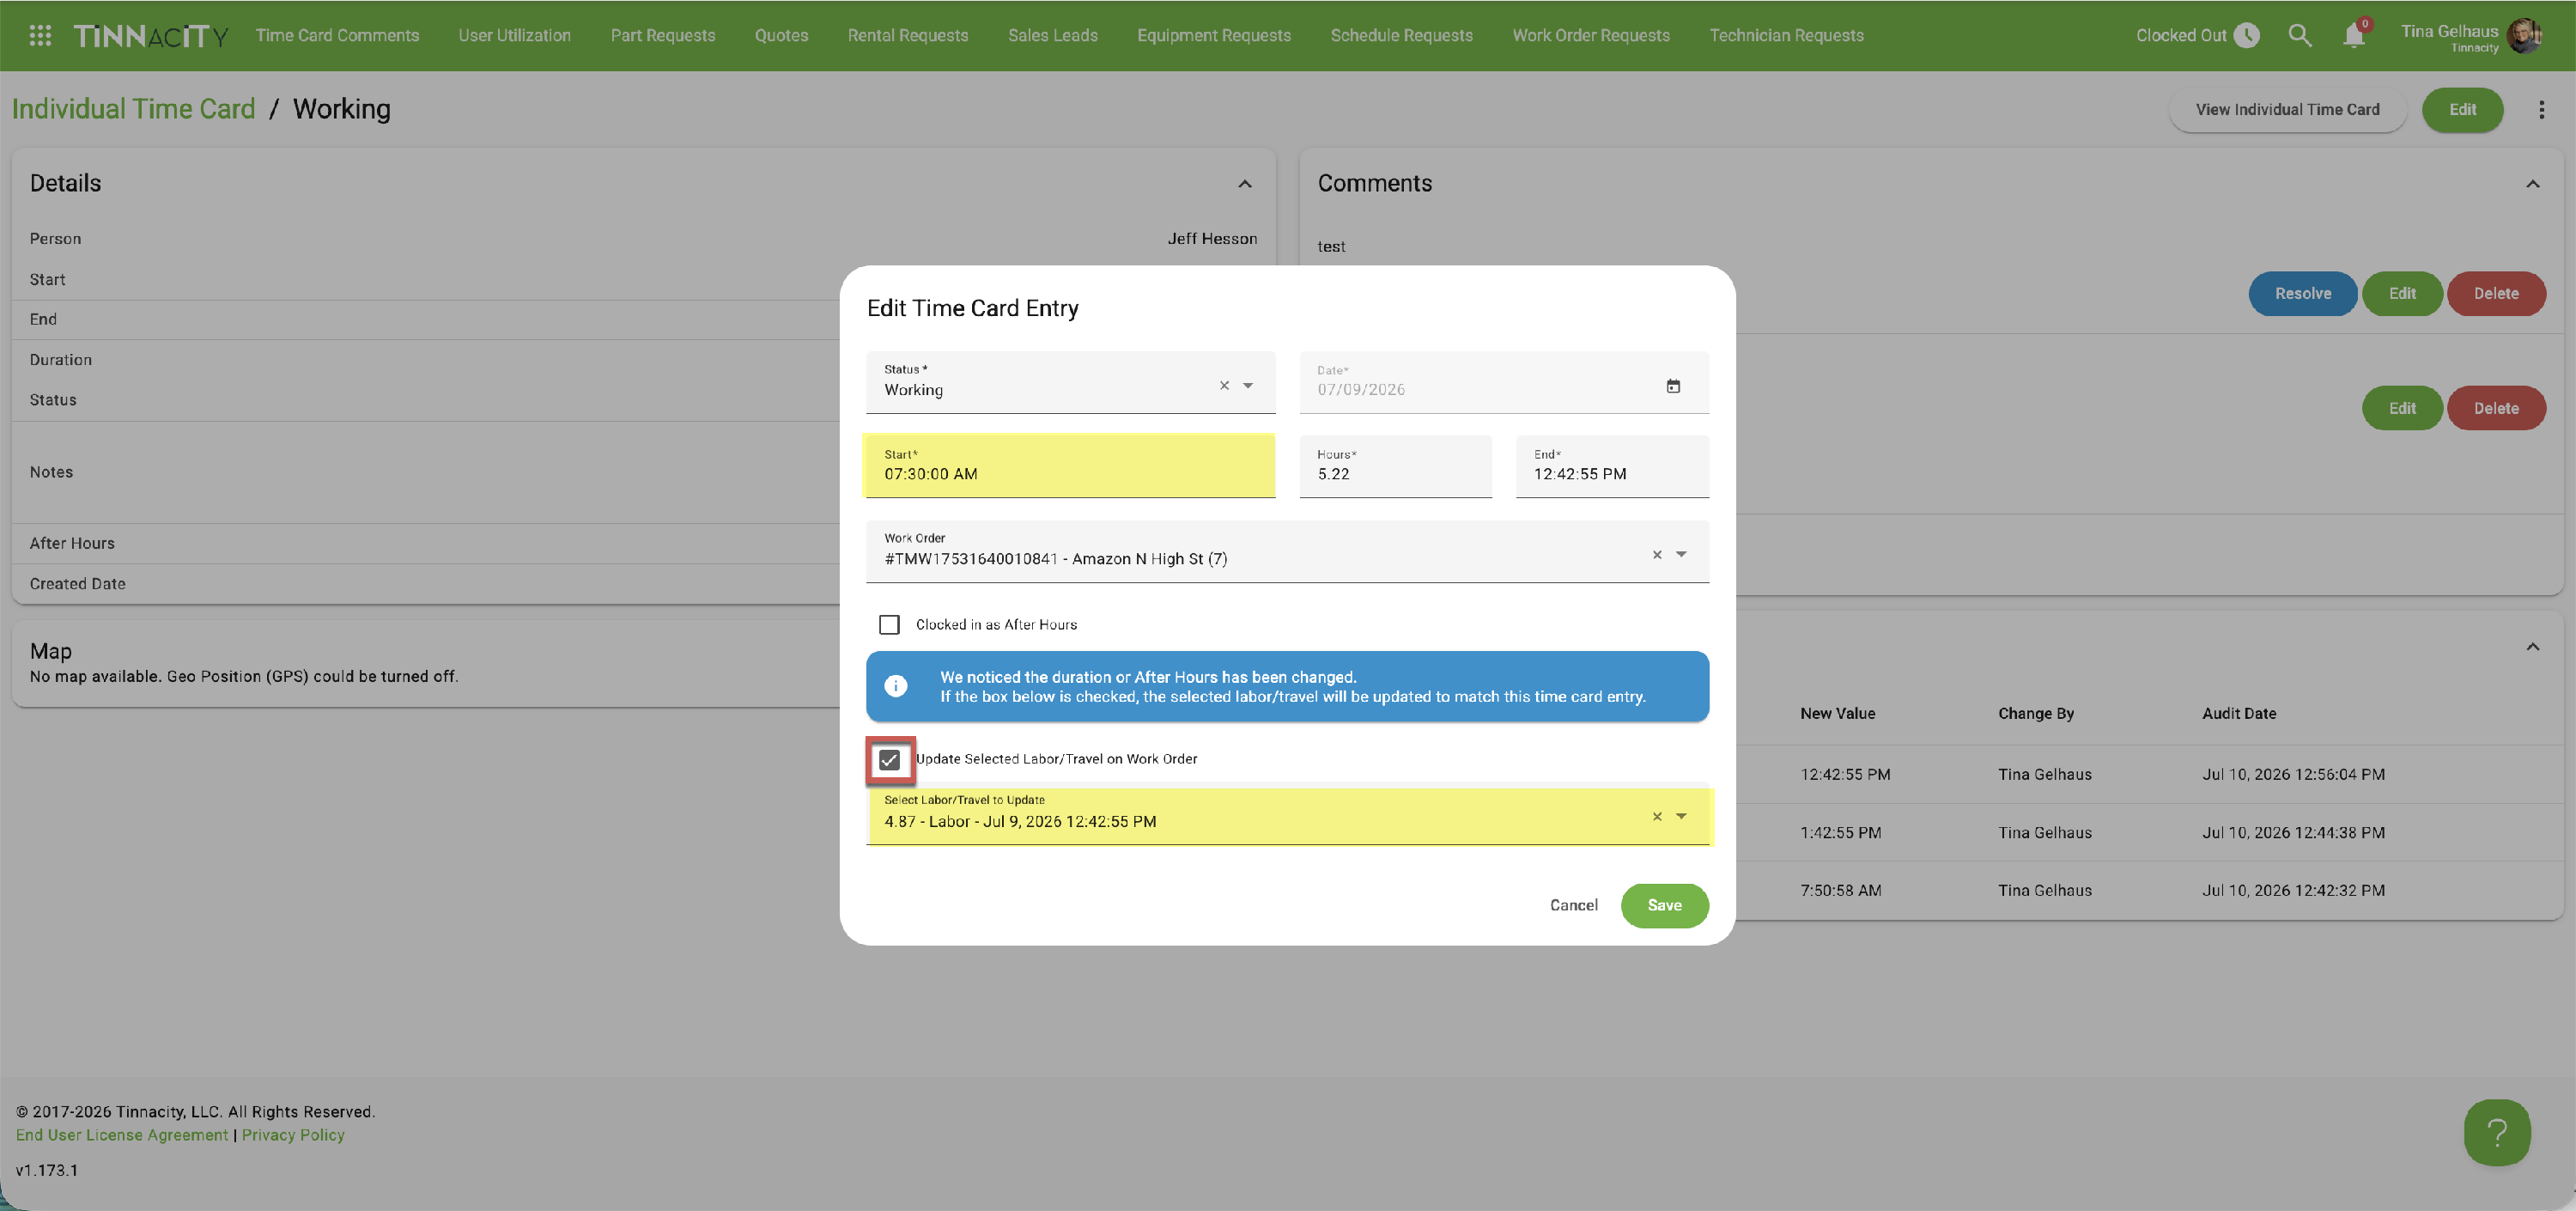
To look at a time card, go into Individual Time Card. Select the person's name in the 'Person' filter down and select the desired date in the 'Date' filter.

The Individual time card includes:
- Filters (A): Use the Person and Date filters to find the desired timecard.
- Modifications/Deletions (B): If a timecard has been modified, it will be labeled as 'Time card has been modified'. If a timecard entry was deleted, it will be labeled 'View Deleted Time Card'.
- Flag Rules (B): If a Flag Rule has been met, the met flag will be displayed. Flag Rules are customizable in User Utilization>Flag Rules. Click here to learn more about Flag Rules.
- Hours (C): The Hours section display the following:
- CLOCK: This is ALL of the time tracked throughout the day. The summation of all the time from CLOCK IN until CLOCK OUT.
- This time can also be achieved by summing the times of: Work + Travel + Standby (and if applicable: Holiday, Vacation, and Sick).
- COMMUTE GIVE: The total amount of time that the Service mobile user is "giving" to the company. This is set in the HQ > Company Settings > Time Card Settings> Commute GIVE Time field. NOTE: Only a role of Account Owner can manage this setting.
- Commute Give Time = First Commute + Last Commute
- First Commute - the total travel before the first labor of the day. If the total is greater than Commute Give Time setting, then this is set to the Commute Give Time setting
- Last Commute - the total travel when traveling home or the last travel directly before clock out. If the total is greater than Commute Give Time setting, then this is set to the Commute Give Time setting.
- Example
- The HQ > Company Settings> Time Card Settings> Commute GIVE Time is set to 30 minutes.
- The first commute was 45 minutes so only 30 minutes goes towards the Commute Give Time.
- The last commute was 35 minutes so only 30 minutes goes towards the Commute Give Time.
- Therefore 30 min + 30 min equals the hour of Commute Give Time.
- Commute Give Time = First Commute + Last Commute
- WORK: Work time (i.e..."wrench time") recorded throughout the day on work orders.
- TRAVEL: Travel time recorded throughout the day on work orders.
- STANDBY: Time that is recorded throughout the day that was not Work or Travel and was not recorded to a work order
- This is also commonly referred to as "Non-billable Time" or "Lost Time"
- LABOR: The difference between “CLOCK” minus “COMMUTE GIVE”= “Total Labor Time”.
- This can be considered as the payable time for the user.
- HOLIDAY: The amount of time indicated as holiday payable time.
- SICK: The amount of time indicated as sick payable time.
- VACATION: The amount of time indicated as vacation/PTO payable time.
- LUNCH: The amount of time indicated taken for lunch.
- AFTER HOURS: The total amount of time the user has clocked in earmarked as "After Hours" ONLY.
- Of the total clock time, this is the total amount time clocked in as "After Hours"
The timecard entries are listed with the first timecard entry being displayed at the bottom and the most recent entries at the top. Each timecard entry has a Start, End, Duration, Status, and Note.
- Start: The time the technician started the task.
- End: The time the technician clocked out of the task.
- Duration: The total duration the technician was clocked into the task.
- Status: The available statuses are Clocked In, Traveling, Working, Standby, Vacation, Sick, Holiday, and Clocked Out.
- Notes: The Notes include the work order type, the Location the equipment resides at, the work order number, and the equipment information.
IMPORTANT: The labor/travel entries for work orders can be different than the captured labor and/or travel tabs within the work order details screen. The time card is recording the actual time while the work order is applying minimums, maximums, and rounding rules.
Modify a Timecard Entry
When a timecard is modified it is important to make all the necessary adjustments to the current entry and the previous or next entry — there should not be a gap between the end time and the next entry's start time. If there is, the timeline will display a gap.

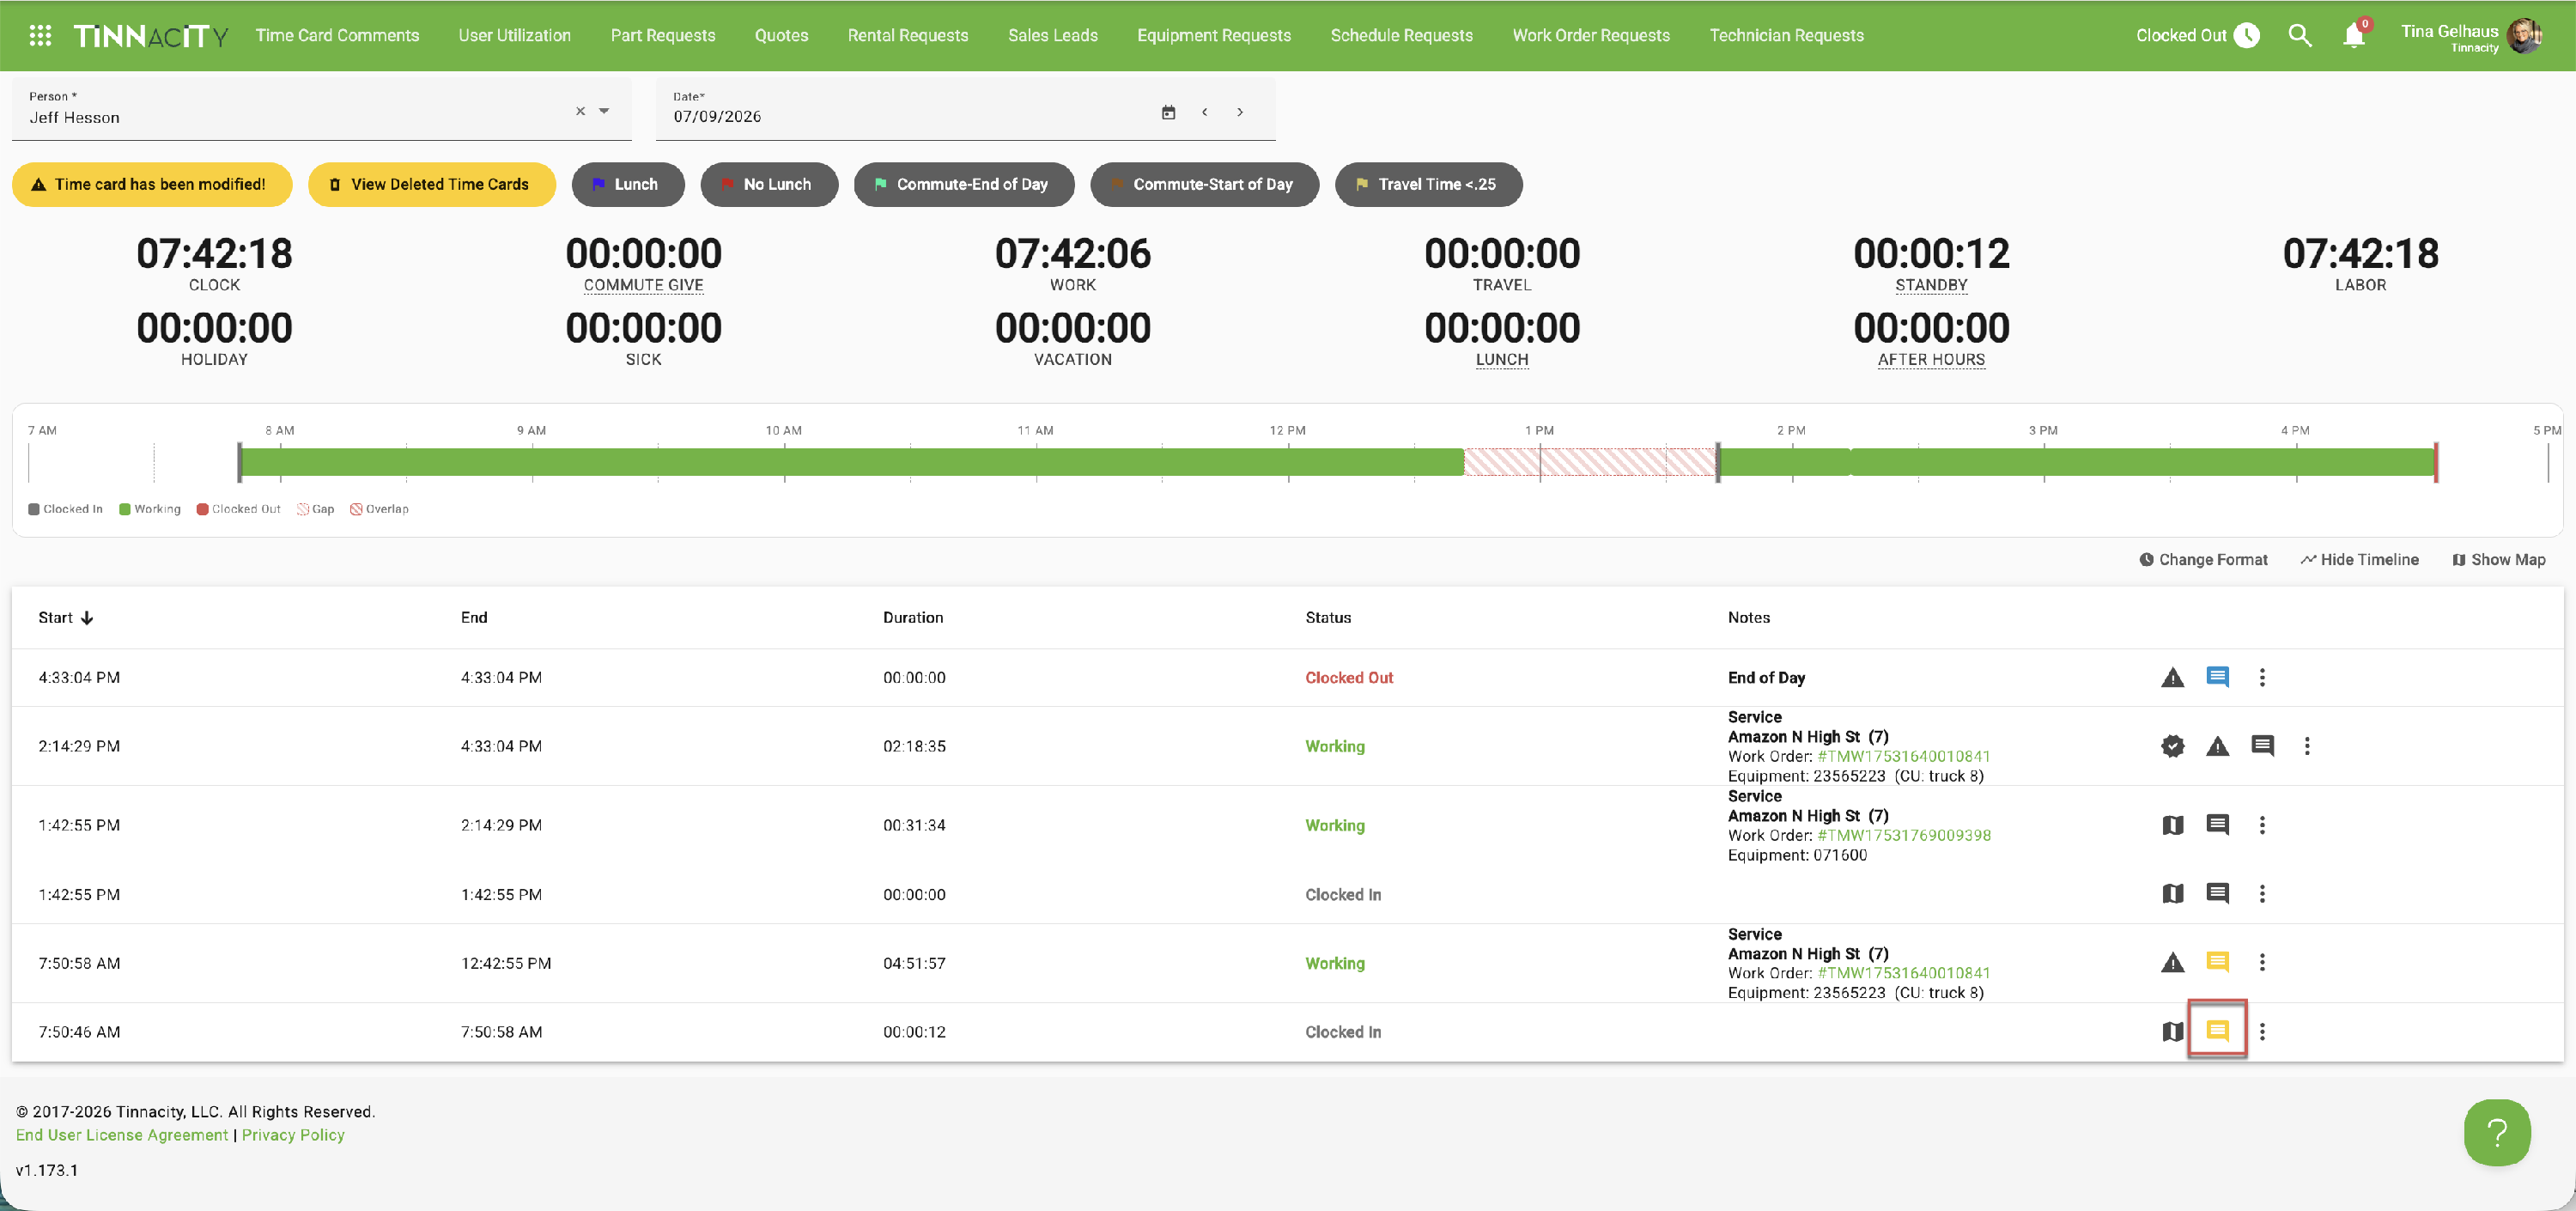
If a comment is added to an entry, the best practice is to go into the comment and make the adjustments there. Otherwise, click the three dots, then 'Edit'.
To edit a timecard entry with a comment, follow these steps:
-
Click the yellow Comment icon.
-
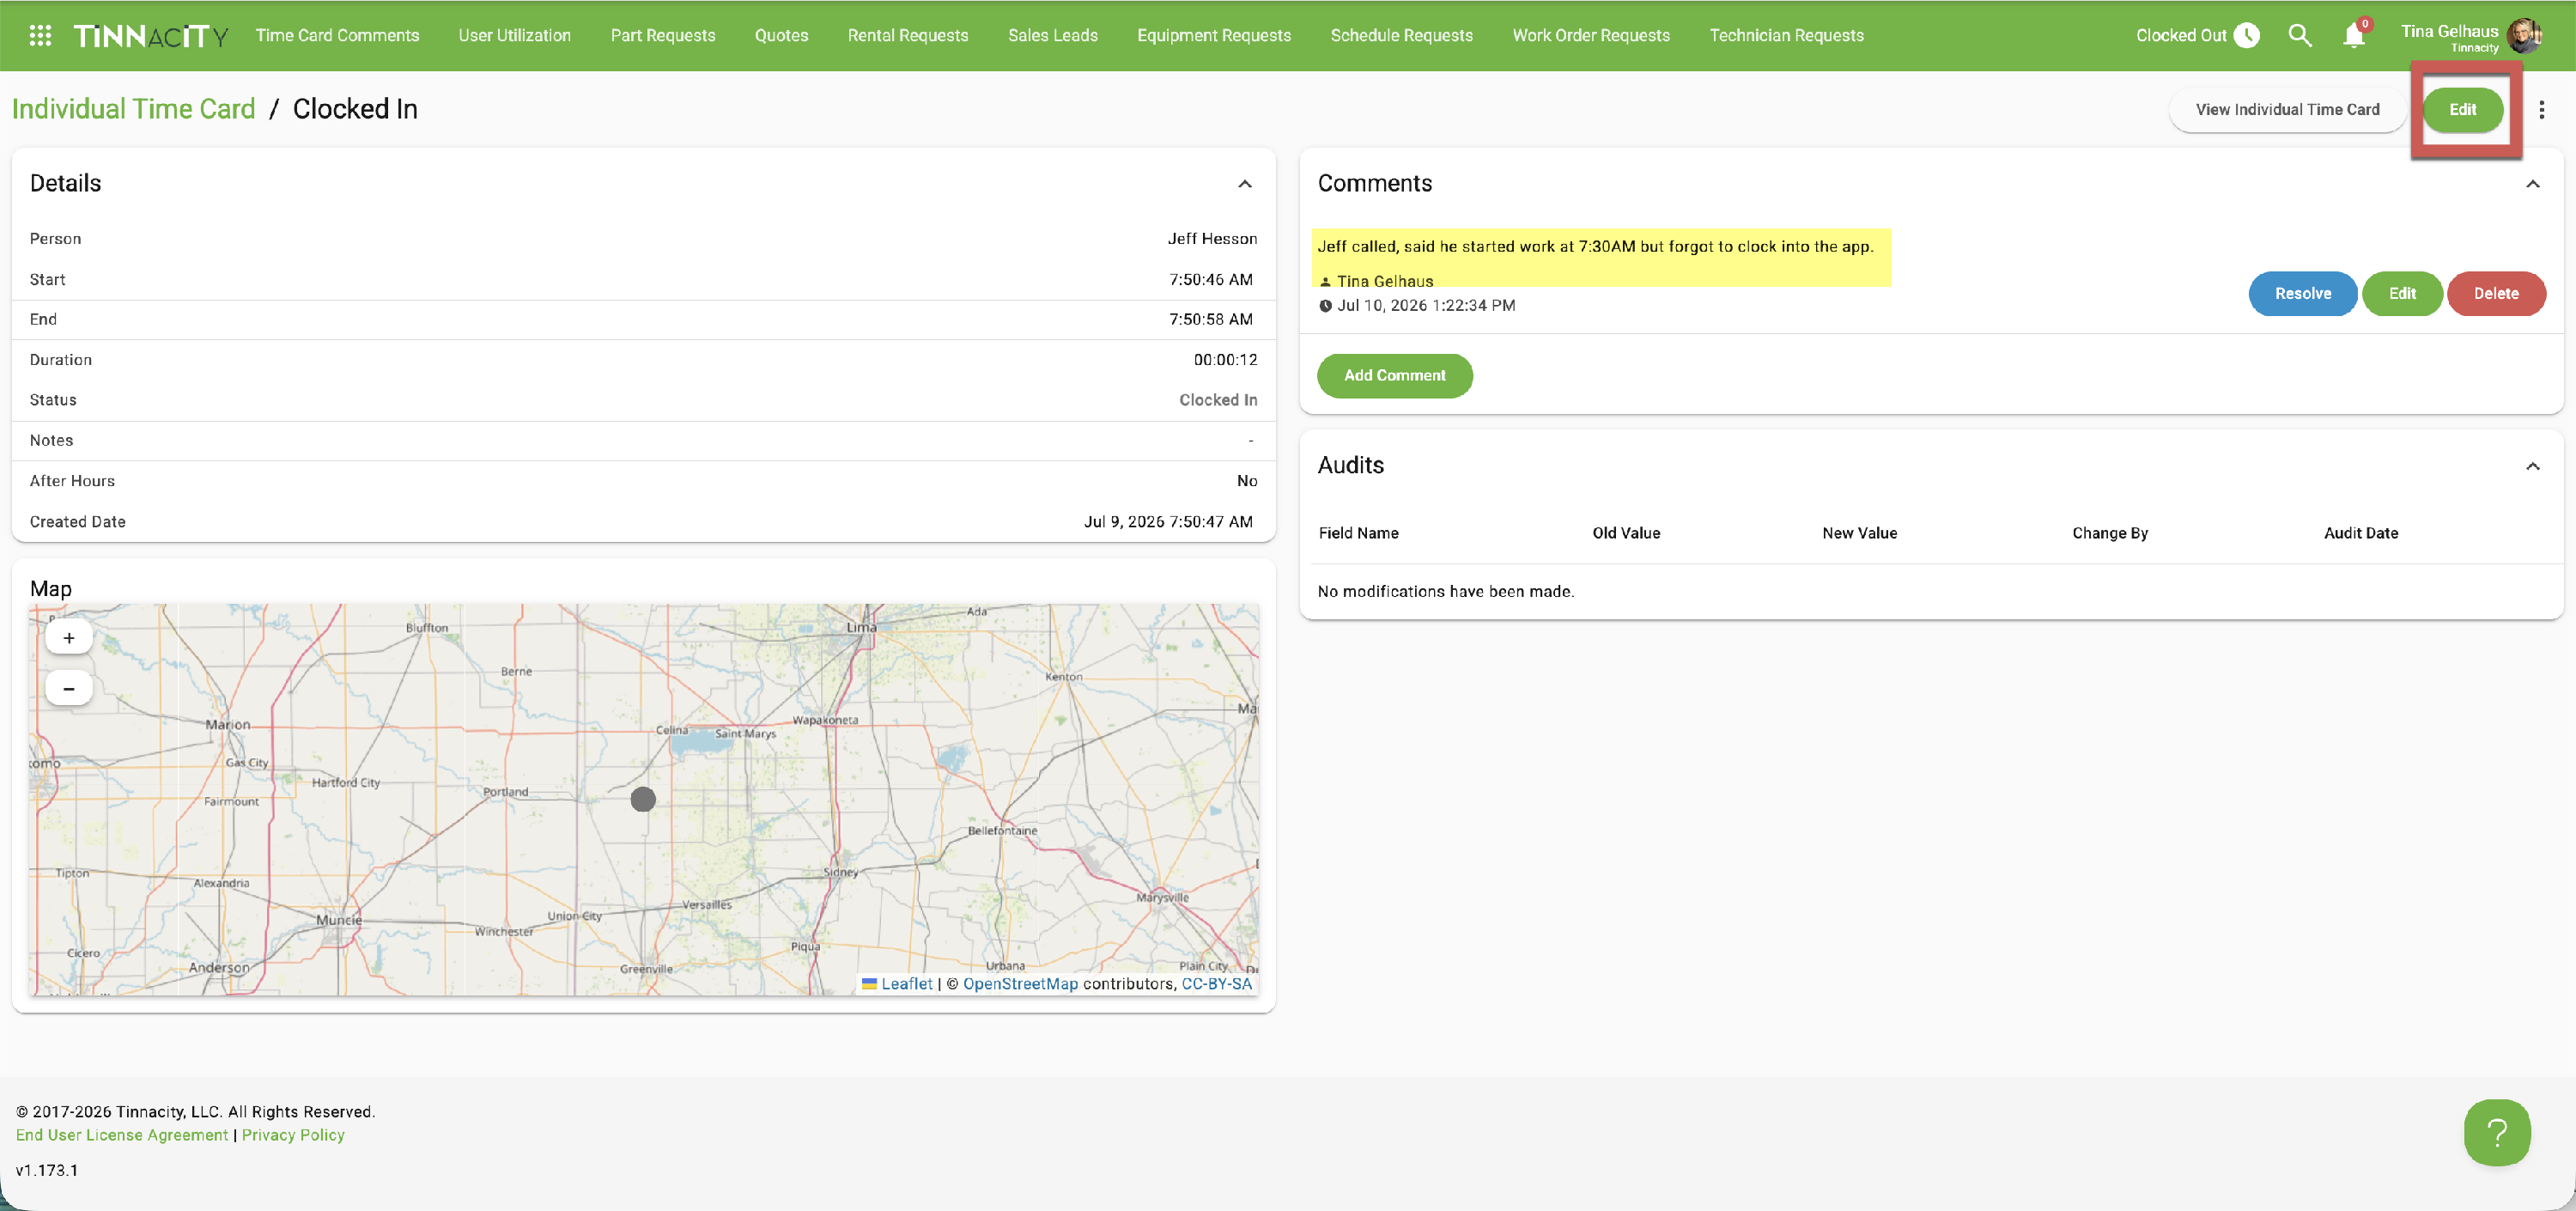
Read the comment, then click [Edit]. For this example, the comment reads "Jeff called said he clocked in at 7;30AM but forgot to clock into the app."
-
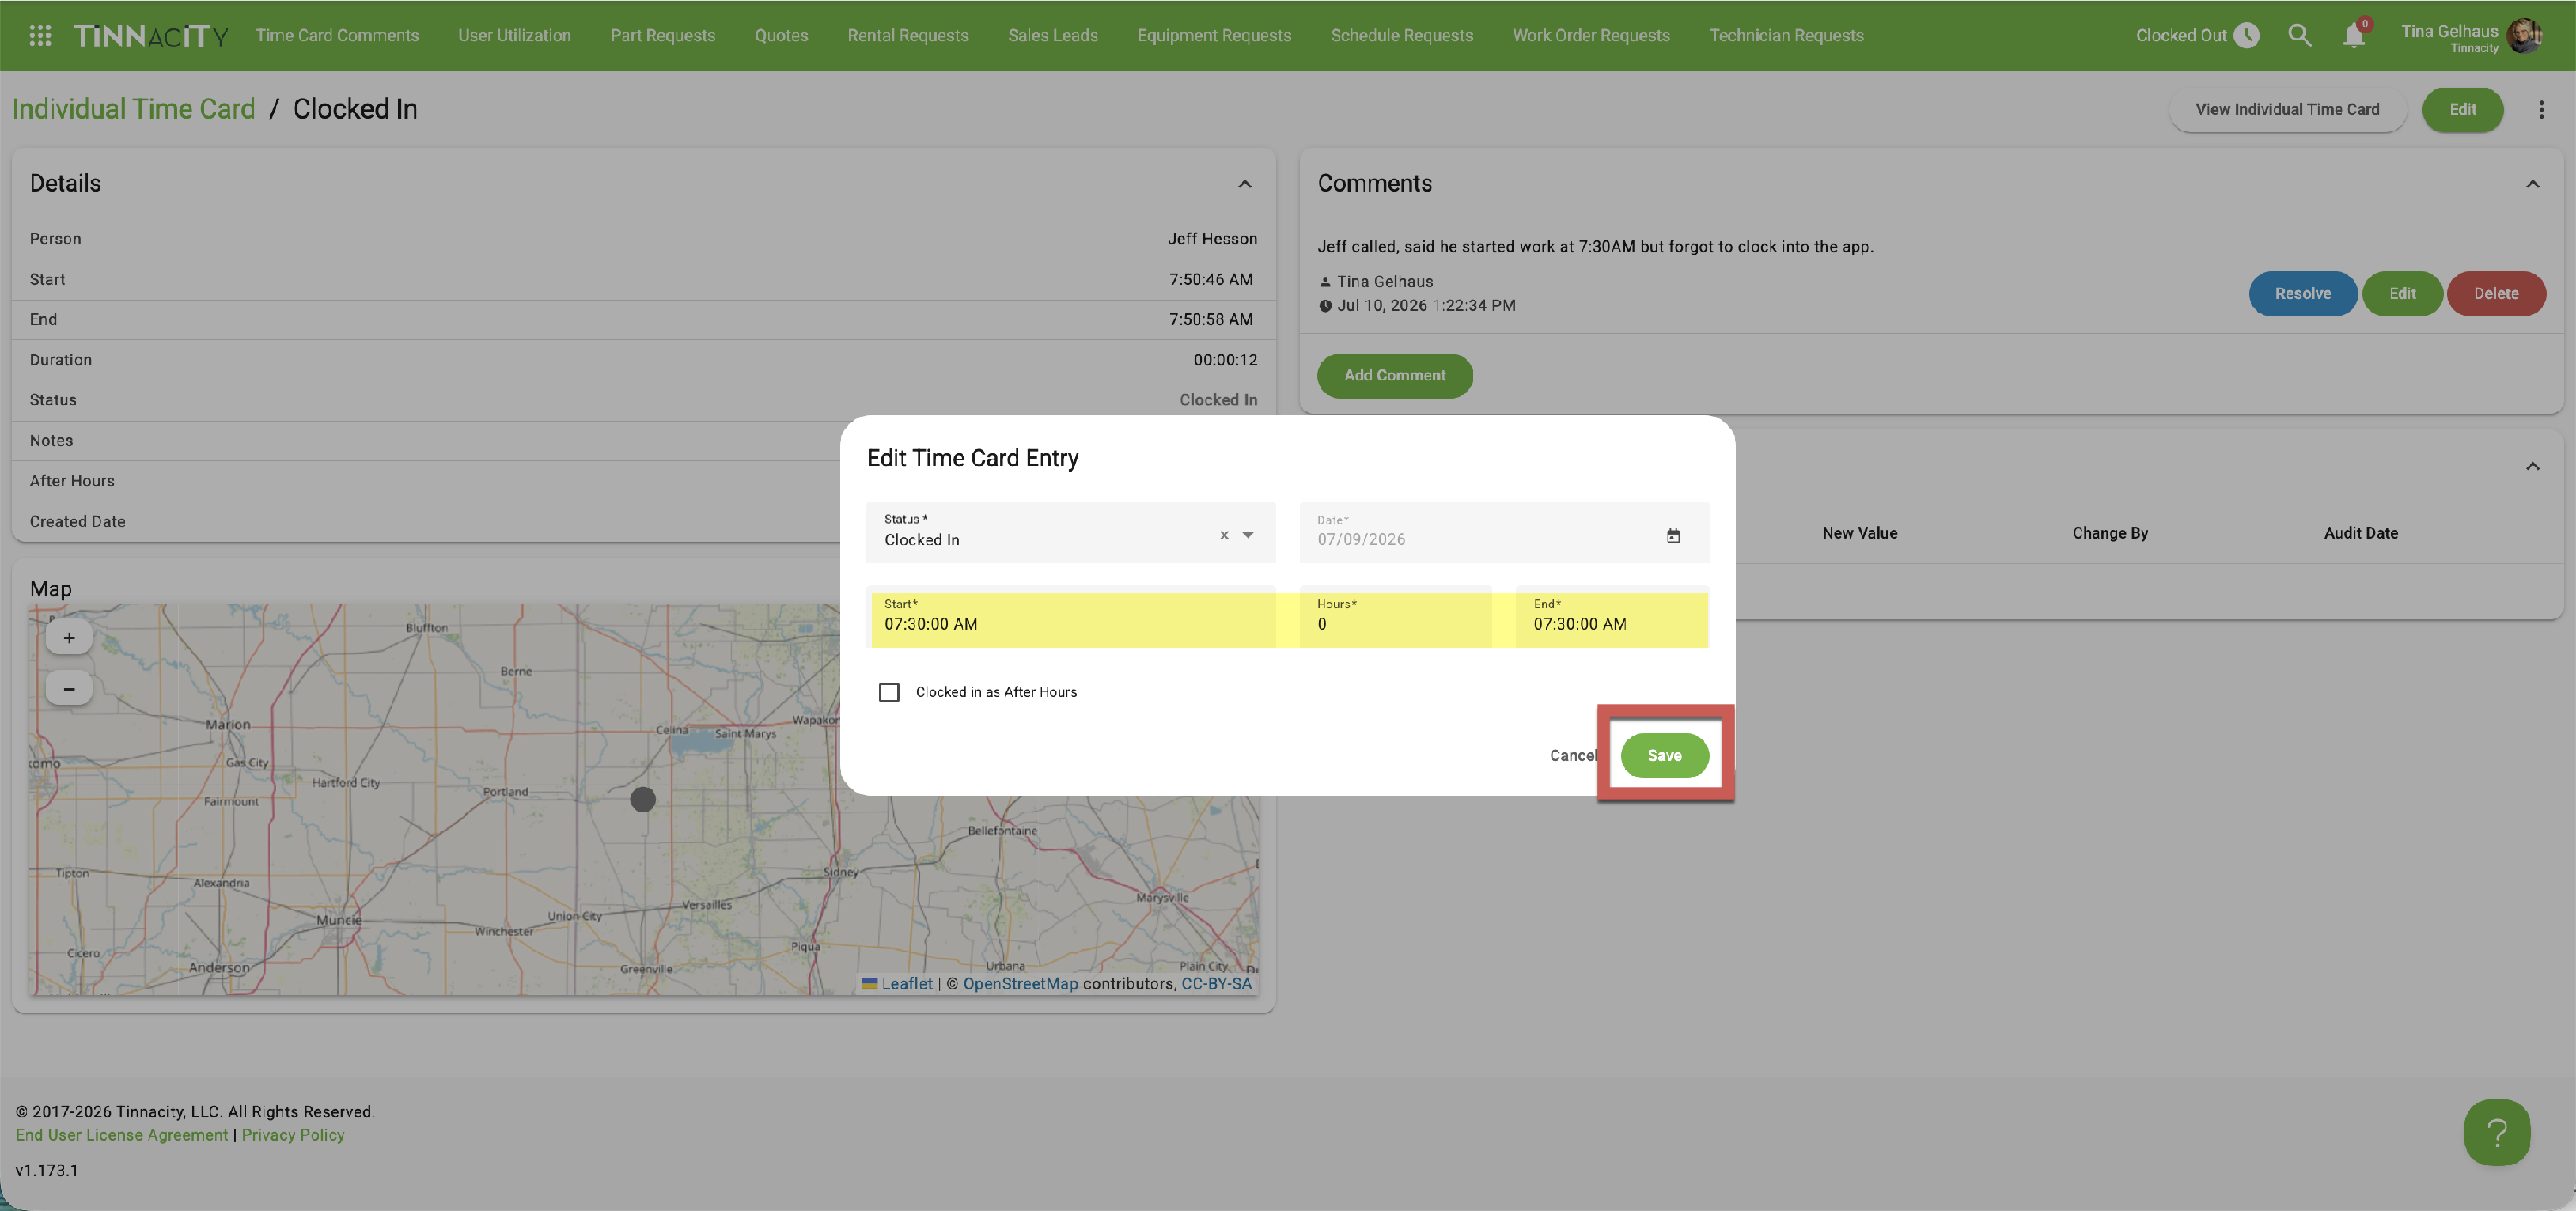
Make the adjustments, ensuring you make the required changes for the Start and/or End time and click [Save].
-
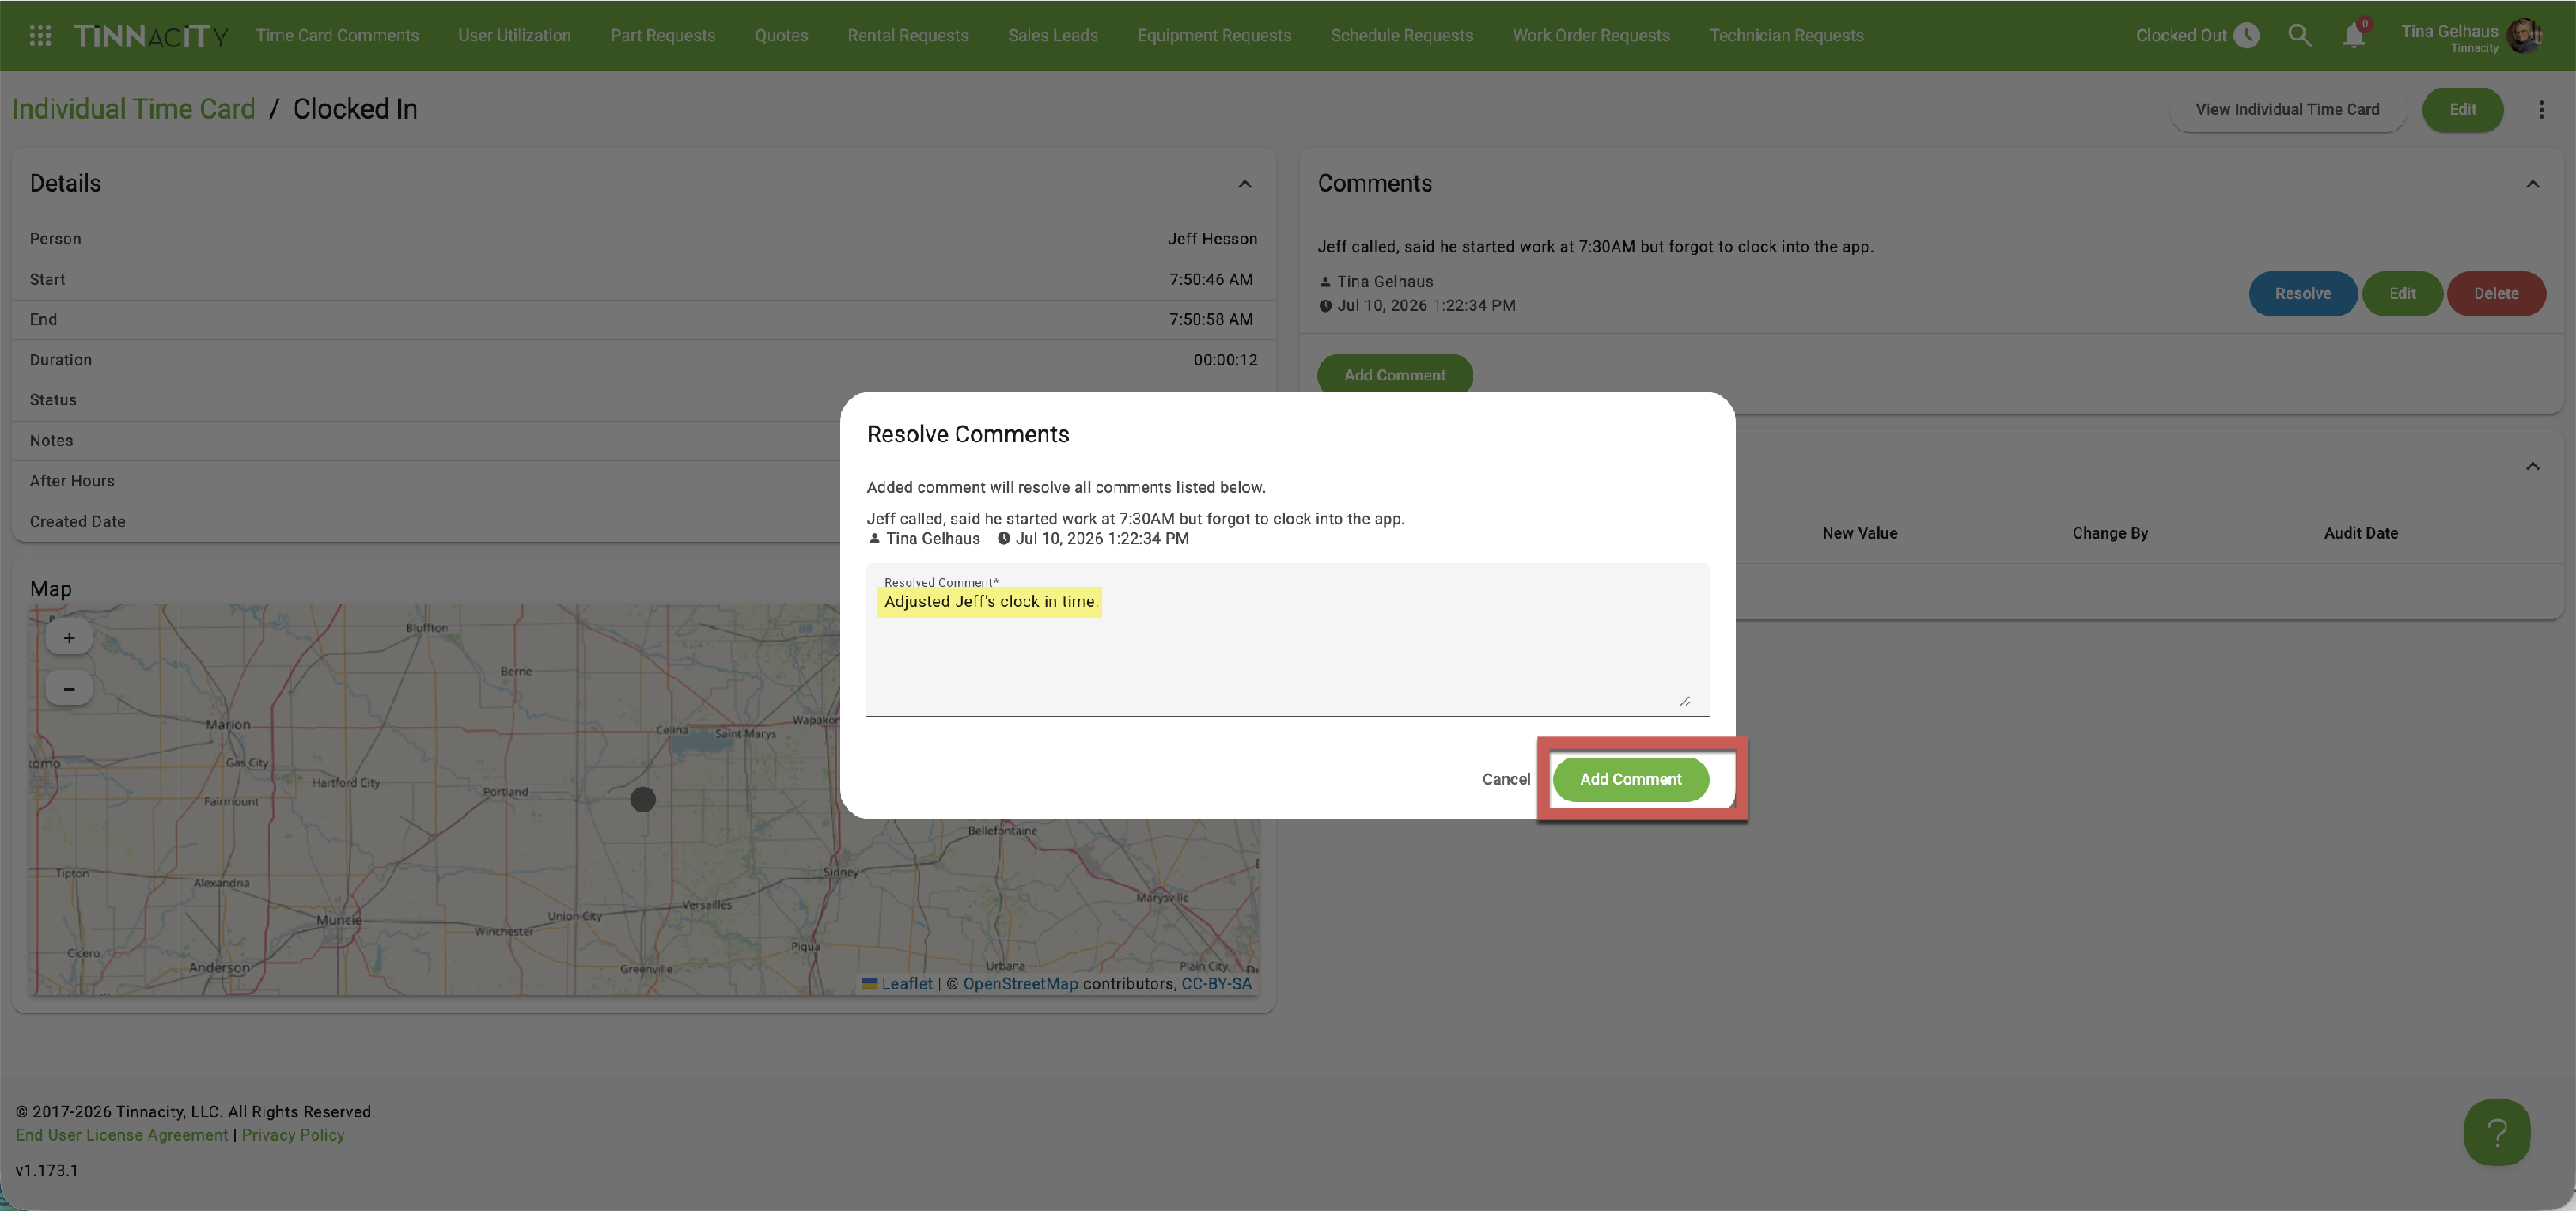
Add the 'Resolve Comment and click [Add Comment], this is will resolve the comment and change the Comment icon from yellow to blue.
-
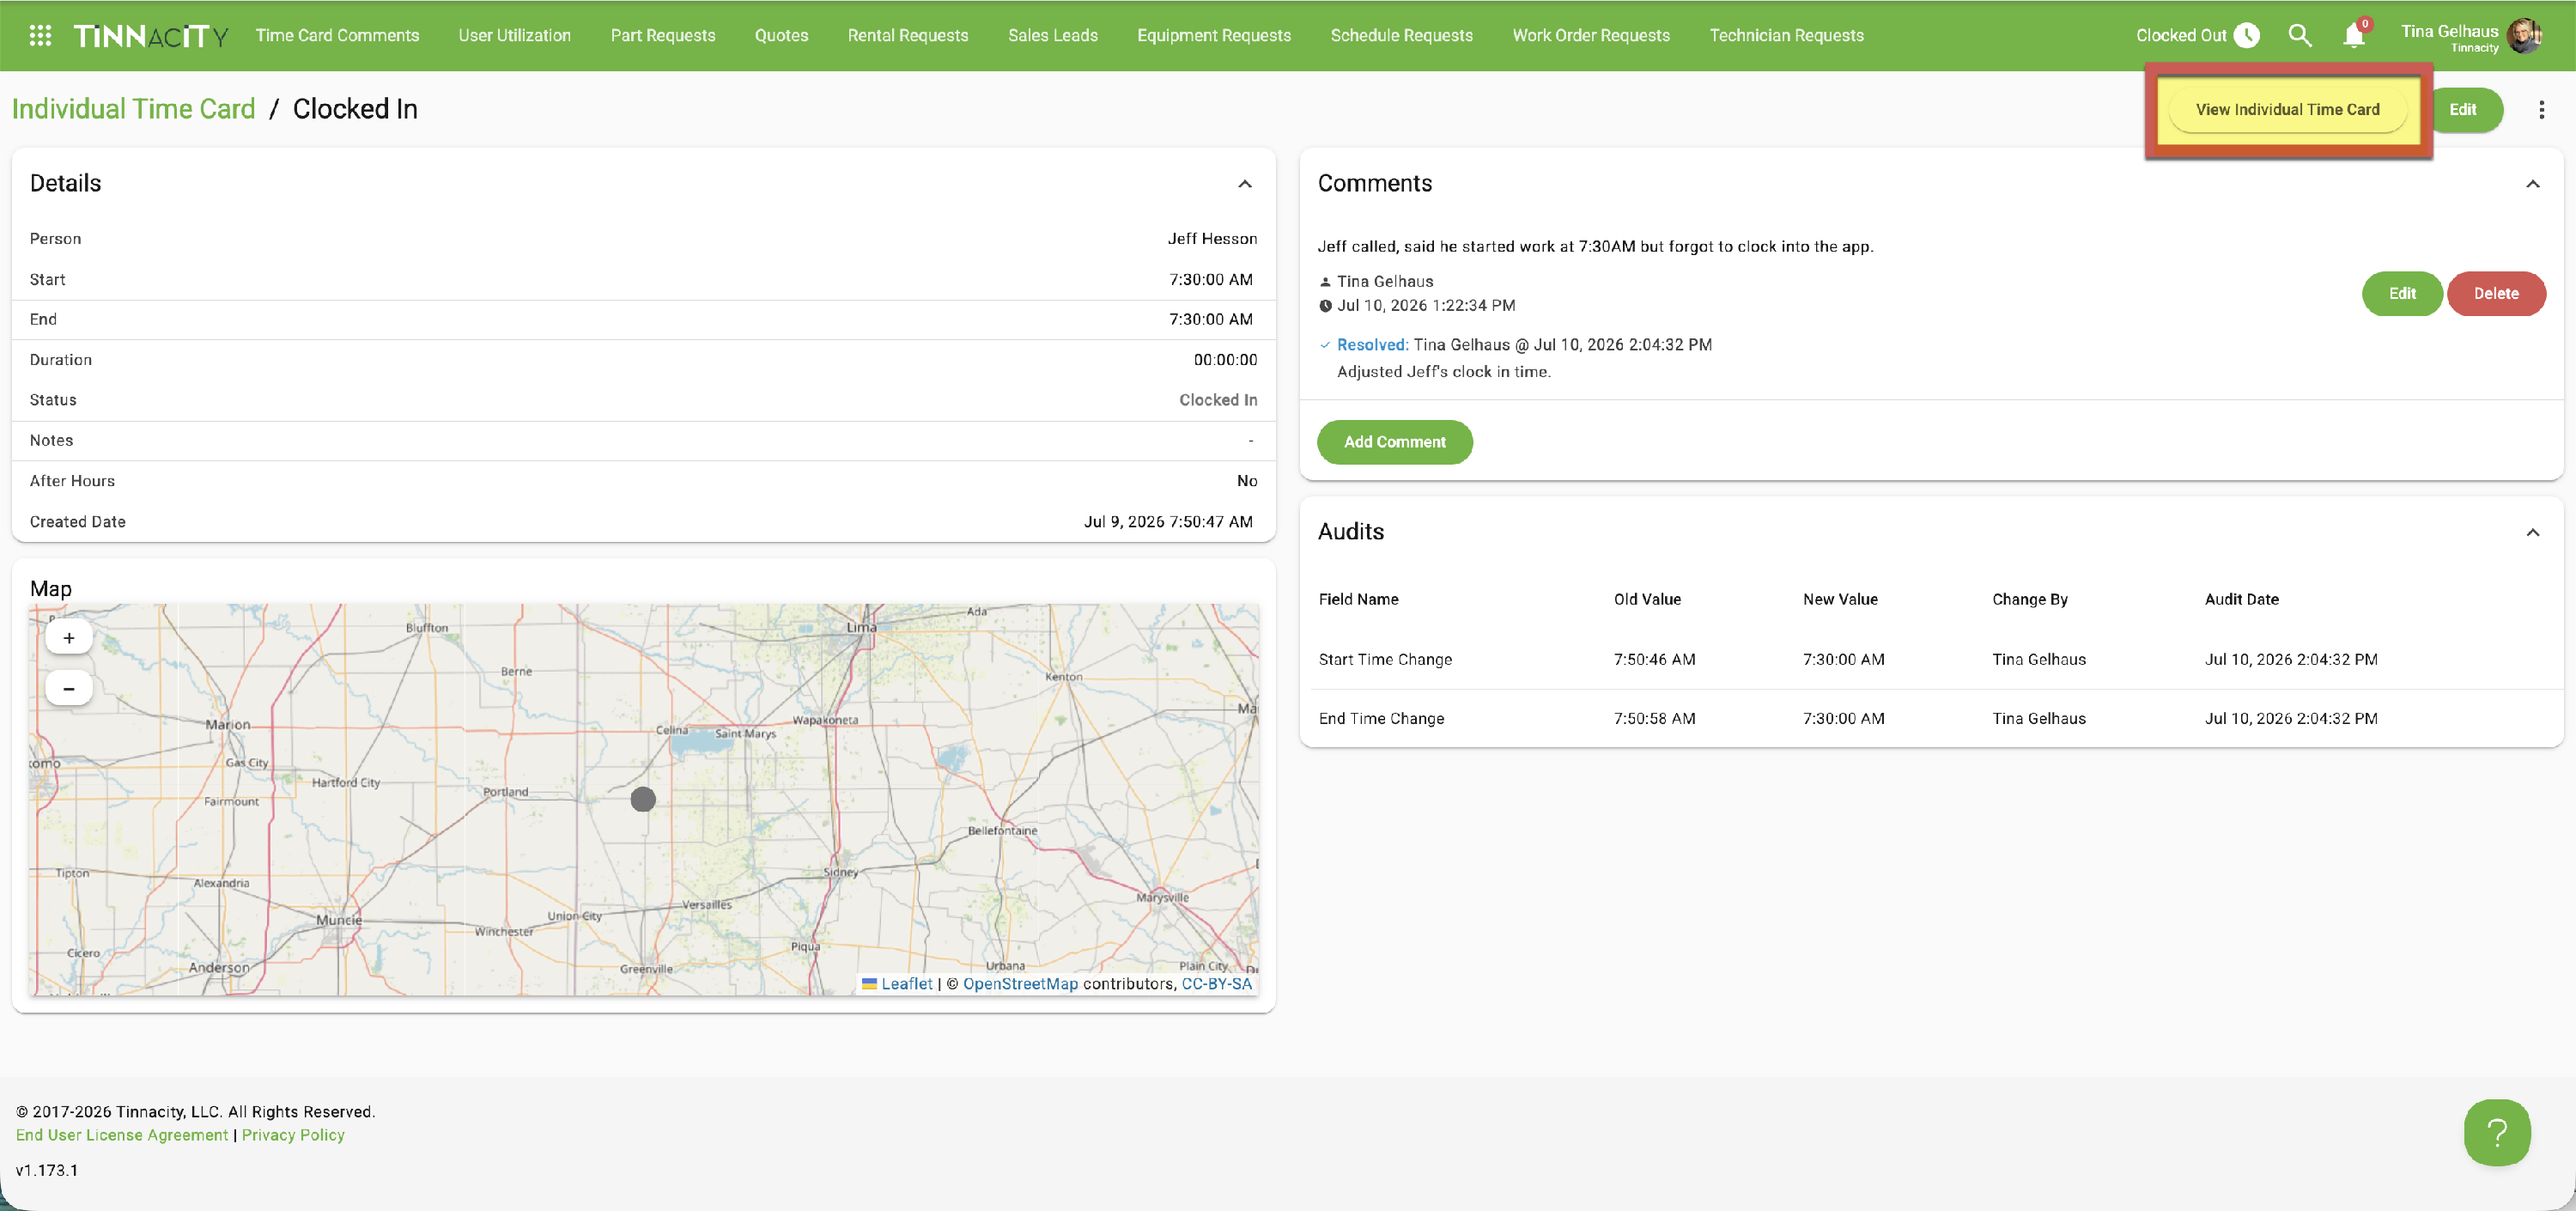
To continue with additional adjustments, click [View Individual Time Card].
-
Continuing with the example, since Jeff forgot to clock into the app his clock in start time was changed to 7:30 AM. This means the next time card entry's start time must be adjusted as well or you will have a gap. When adjusting a timecard entry for labor or travel, the work order must also be adjusted, change the Start Time to 7:30 AM - ensure 'Update Selected Labor/Travel on Work Order' is checked so that the labor start time is adjusted on the work order as well.